Permeabilization and cDNA Library Construction: Two Pro-Tips from Experts on the Visium Spatial Gene Expression Solution (Part 2)
This is the second part of a three-part blog series that follows the workflow of the Visium Spatial Gene Expression Solution, as it is applied to study heart tissue for myocardial infarction research. 10x Scientist Jennifer Chew continues the experiment, now on the Visium Spatial Gene Expression slides using heart tissue shipped from Germany by Spatial Challenge Winner Dr. Christoph Kuppe.
Please read Part 1, covering slide preparation and tissue optimization, if you haven’t yet!
Permeabilization and cDNA Library Construction
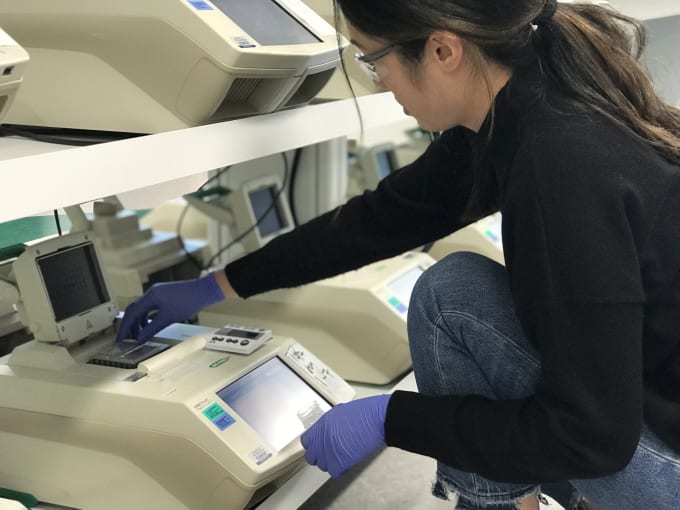
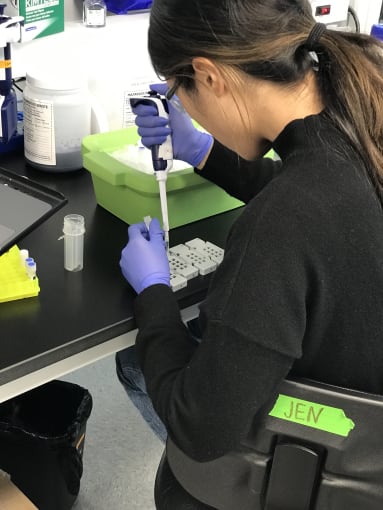
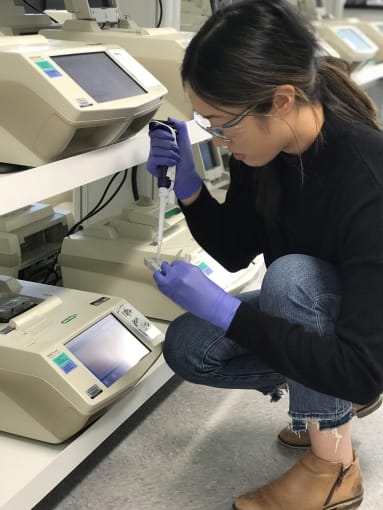
Having determined the optimal permeabilization conditions for the tissue, Jen began library construction using the Visium Spatial Gene Expression slides. She took the slides through the fixation, staining and imaging, then started the permeabilization. She first dried the slides thoroughly on the thermocycler, which would, in subsequent steps, also serve as an incubator for the permeabilization and reverse transcriptase (RT) reactions.
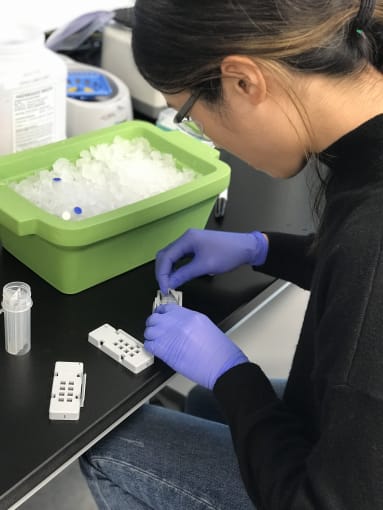
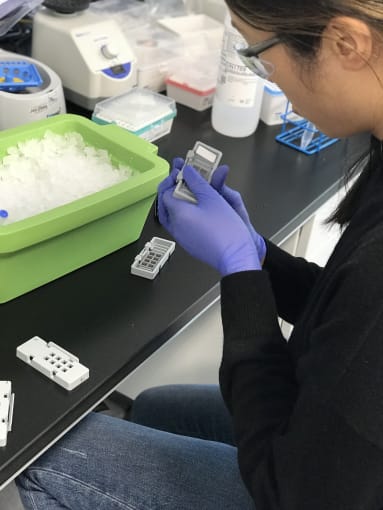
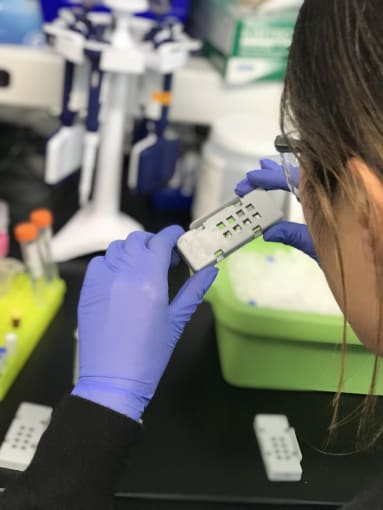
She then loaded the dry slides into a reaction cassette, a molded alignment device that is about the size of a tissue slide, with eight square openings on one side, matching the location and size of the capture areas. Inside the cassette, Jen loaded a rubber gasket that seals off each capture area and associated tissue sections from those surrounding it. Together, the cassette and gasket enable you to perform sealed reactions on top of the slide.
Jen offered some pro-tips at this point:
Pro-Tip #1: Make sure to load the tissue slide in the right orientation, face down, so that the tissue (not the back of the glass slide) is exposed to reaction solutions once you flip the cassette over.
Pro-Tip #2: Additionally, label the outside of the cassette, because once the slide is loaded you can’t read your original slide label.
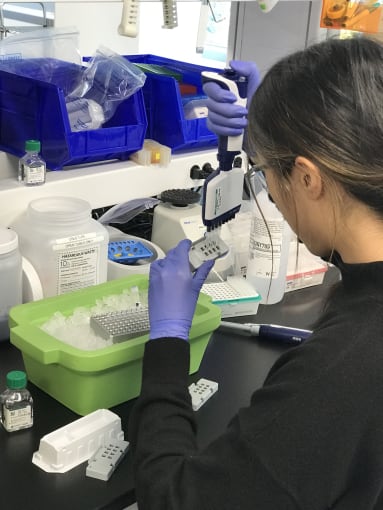
After preparing her reaction enzymes through several rounds of resuspending and spinning down reagents, Jen loaded the permeabilization buffer into the wells of the cassette. She gently tapped the cassette against her hand and lab bench, to ensure the solution covered the whole capture area.
She sealed each cassette with a clear, adhesive plastic strip, then loaded them into a thermocycler to incubate the permeabilization reaction. With her brief free time, Jen skipped a couple steps ahead in the protocol and prepared her RT reaction buffer.
Before beginning the qPCR, Jen removed the permeabilization solution and rinsed the slides with a buffer. She removed the rinsing buffer, then applied the RT solution and incubated the cassettes once again.
As she explained, this is a stepwise reaction. Unlike droplet-based reactions where all of your reagents are present in one place at the beginning of the experiment, here you can reopen your cassettes and add reaction solutions sequentially. For example, to accomplish second strand cDNA synthesis Jen reapplied the RT buffer.
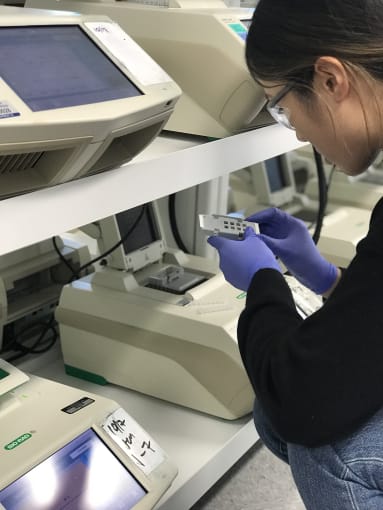
Subsequent steps are taken to fragment and process the prepared cDNA, to complete a sequencing-ready library. This is followed by a final sample index PCR. The Visium Spatial Gene Expression library is then sequenced using standard short-read sequencers, and data is processed and visualized using 10x Genomics software: Space Ranger Analysis Pipelines and Loupe Browser.
That’s it for Part 2! Many thanks to Jennifer Chew for performing this experiment and sharing her tips and experiences with our audience. There is more to come on the data analysis and visualization pipeline in Part 3 of this blog series!
In the meantime, you can explore these additional resources for the Visium Spatial Gene Expression Solution:
- How does the Visium Solution work? Read more →
- How do I get started with spatial gene expression experiments, and perform data analysis? View our webinars →
- Looking for the demonstrated protocols? Visit our Support Website →