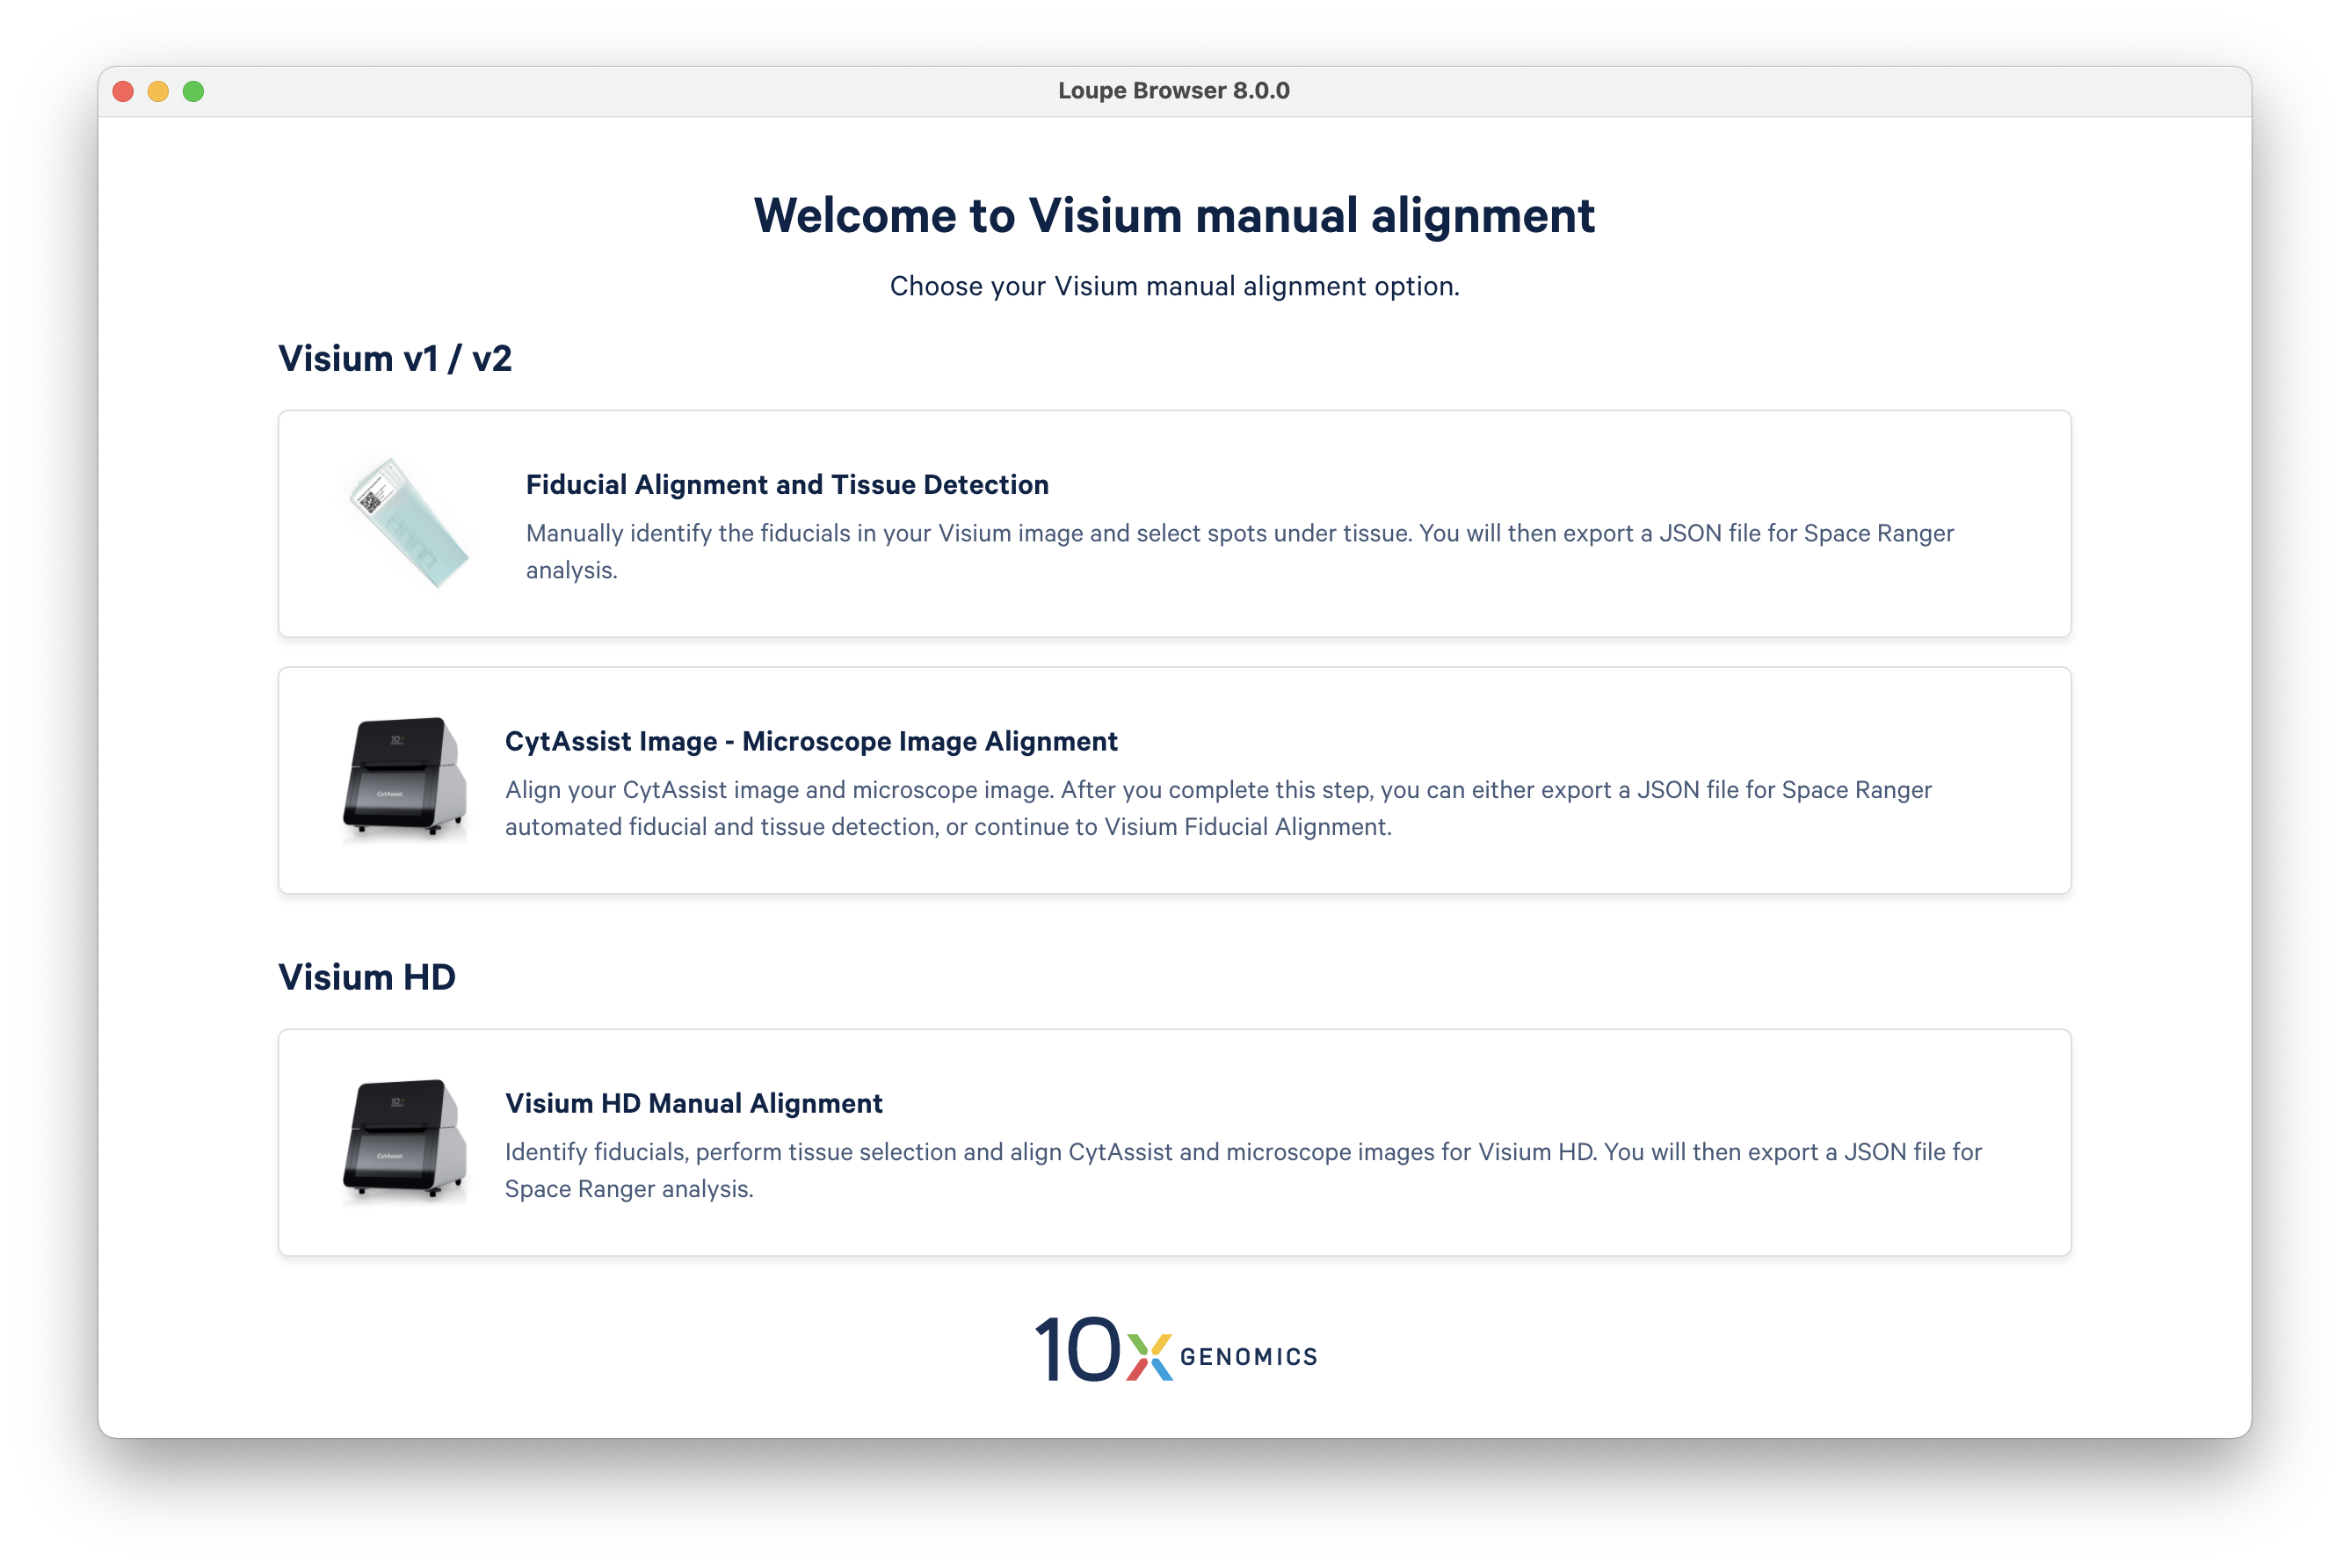
In most cases, Space Ranger uses automated image analysis algorithms to determine the position of fiducial markers, to identify tissue boundaries, and to align the microscope image to spatial expression data and to the CytAssist image. However, in cases where one of these steps fails or is unsatisfactory, manual alignment and tissue detection are necessary. To address this need, Loupe Browser provides the Visium HD Manual Alignment tool, enabling users to interactively align an image to the slide's fiducial marker locations, perform precise tissue selection, and export a JSON file for use in spaceranger count.
This tutorial uses a human brain dataset. To follow along, download and install Loupe Browser v8.0 or later. You will also need to download the CytAssist image and the H&E stained microscope image.
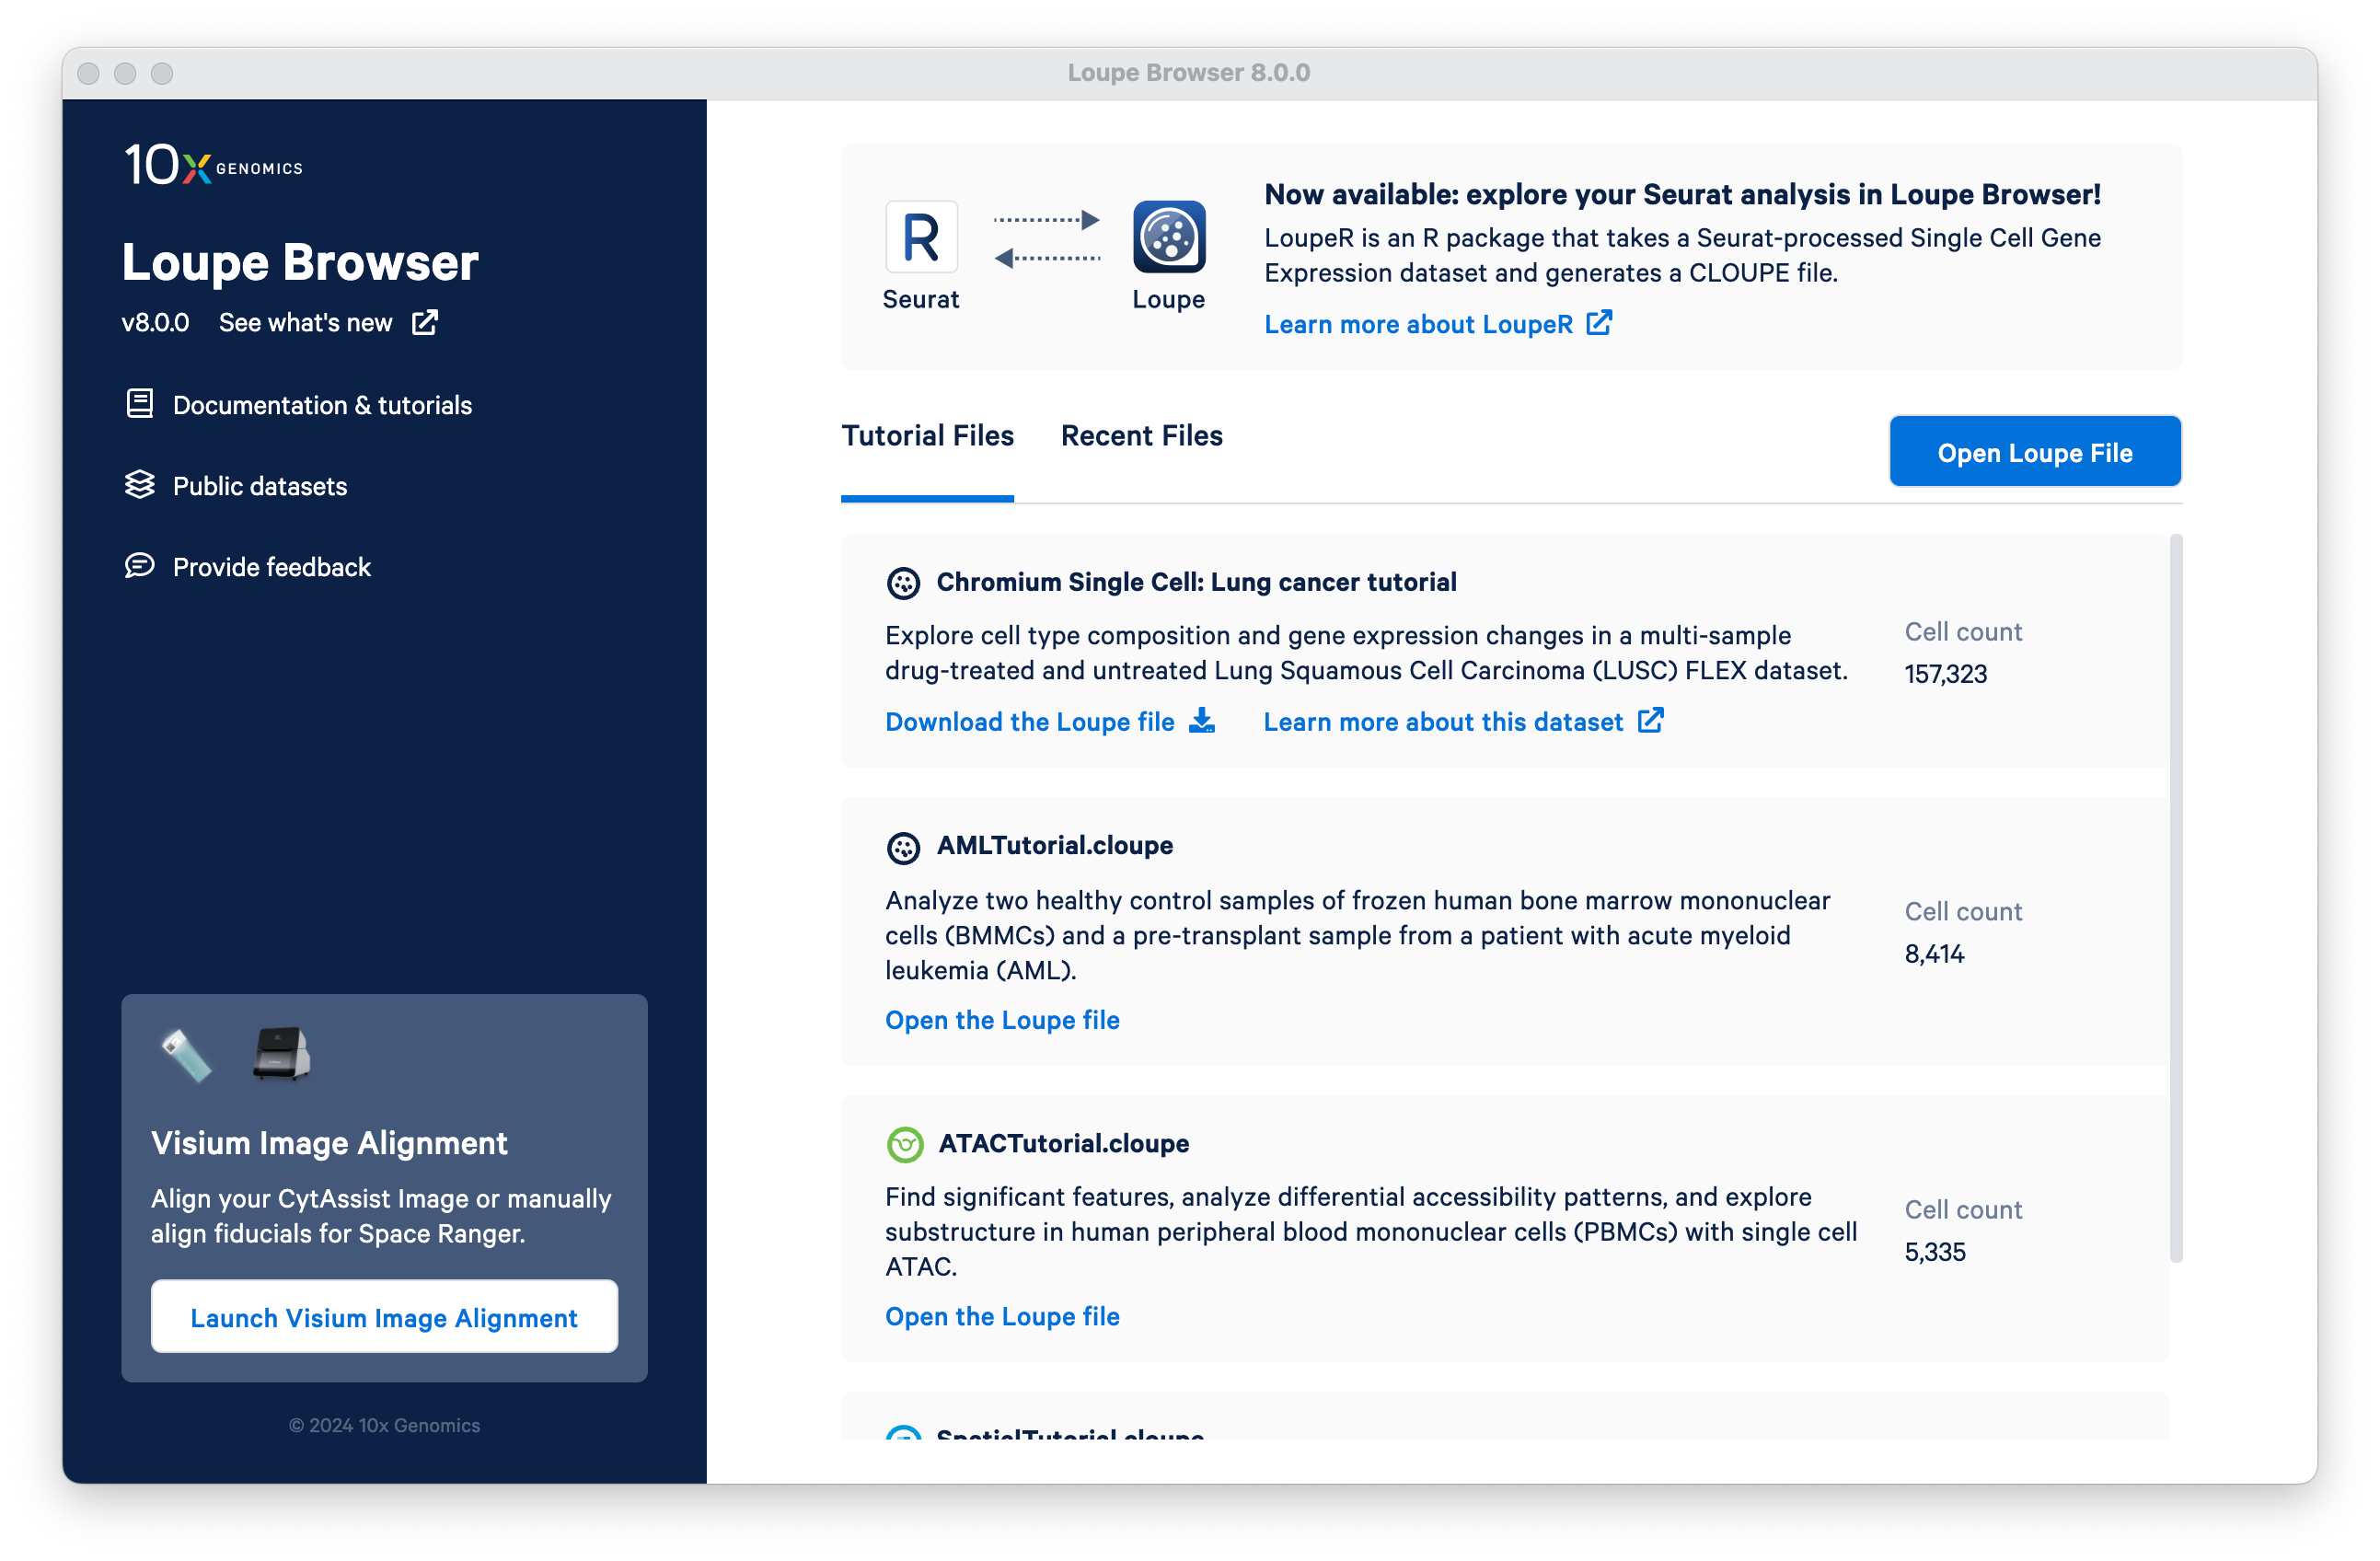
Open Loupe Browser and click the link on the bottom left to access Loupe Browser's Visium manual alignment options.
For Visium HD data, select the Visium HD Manual Alignment option under the Visium HD header (the other workflows are exclusively for Visium v1/v2).
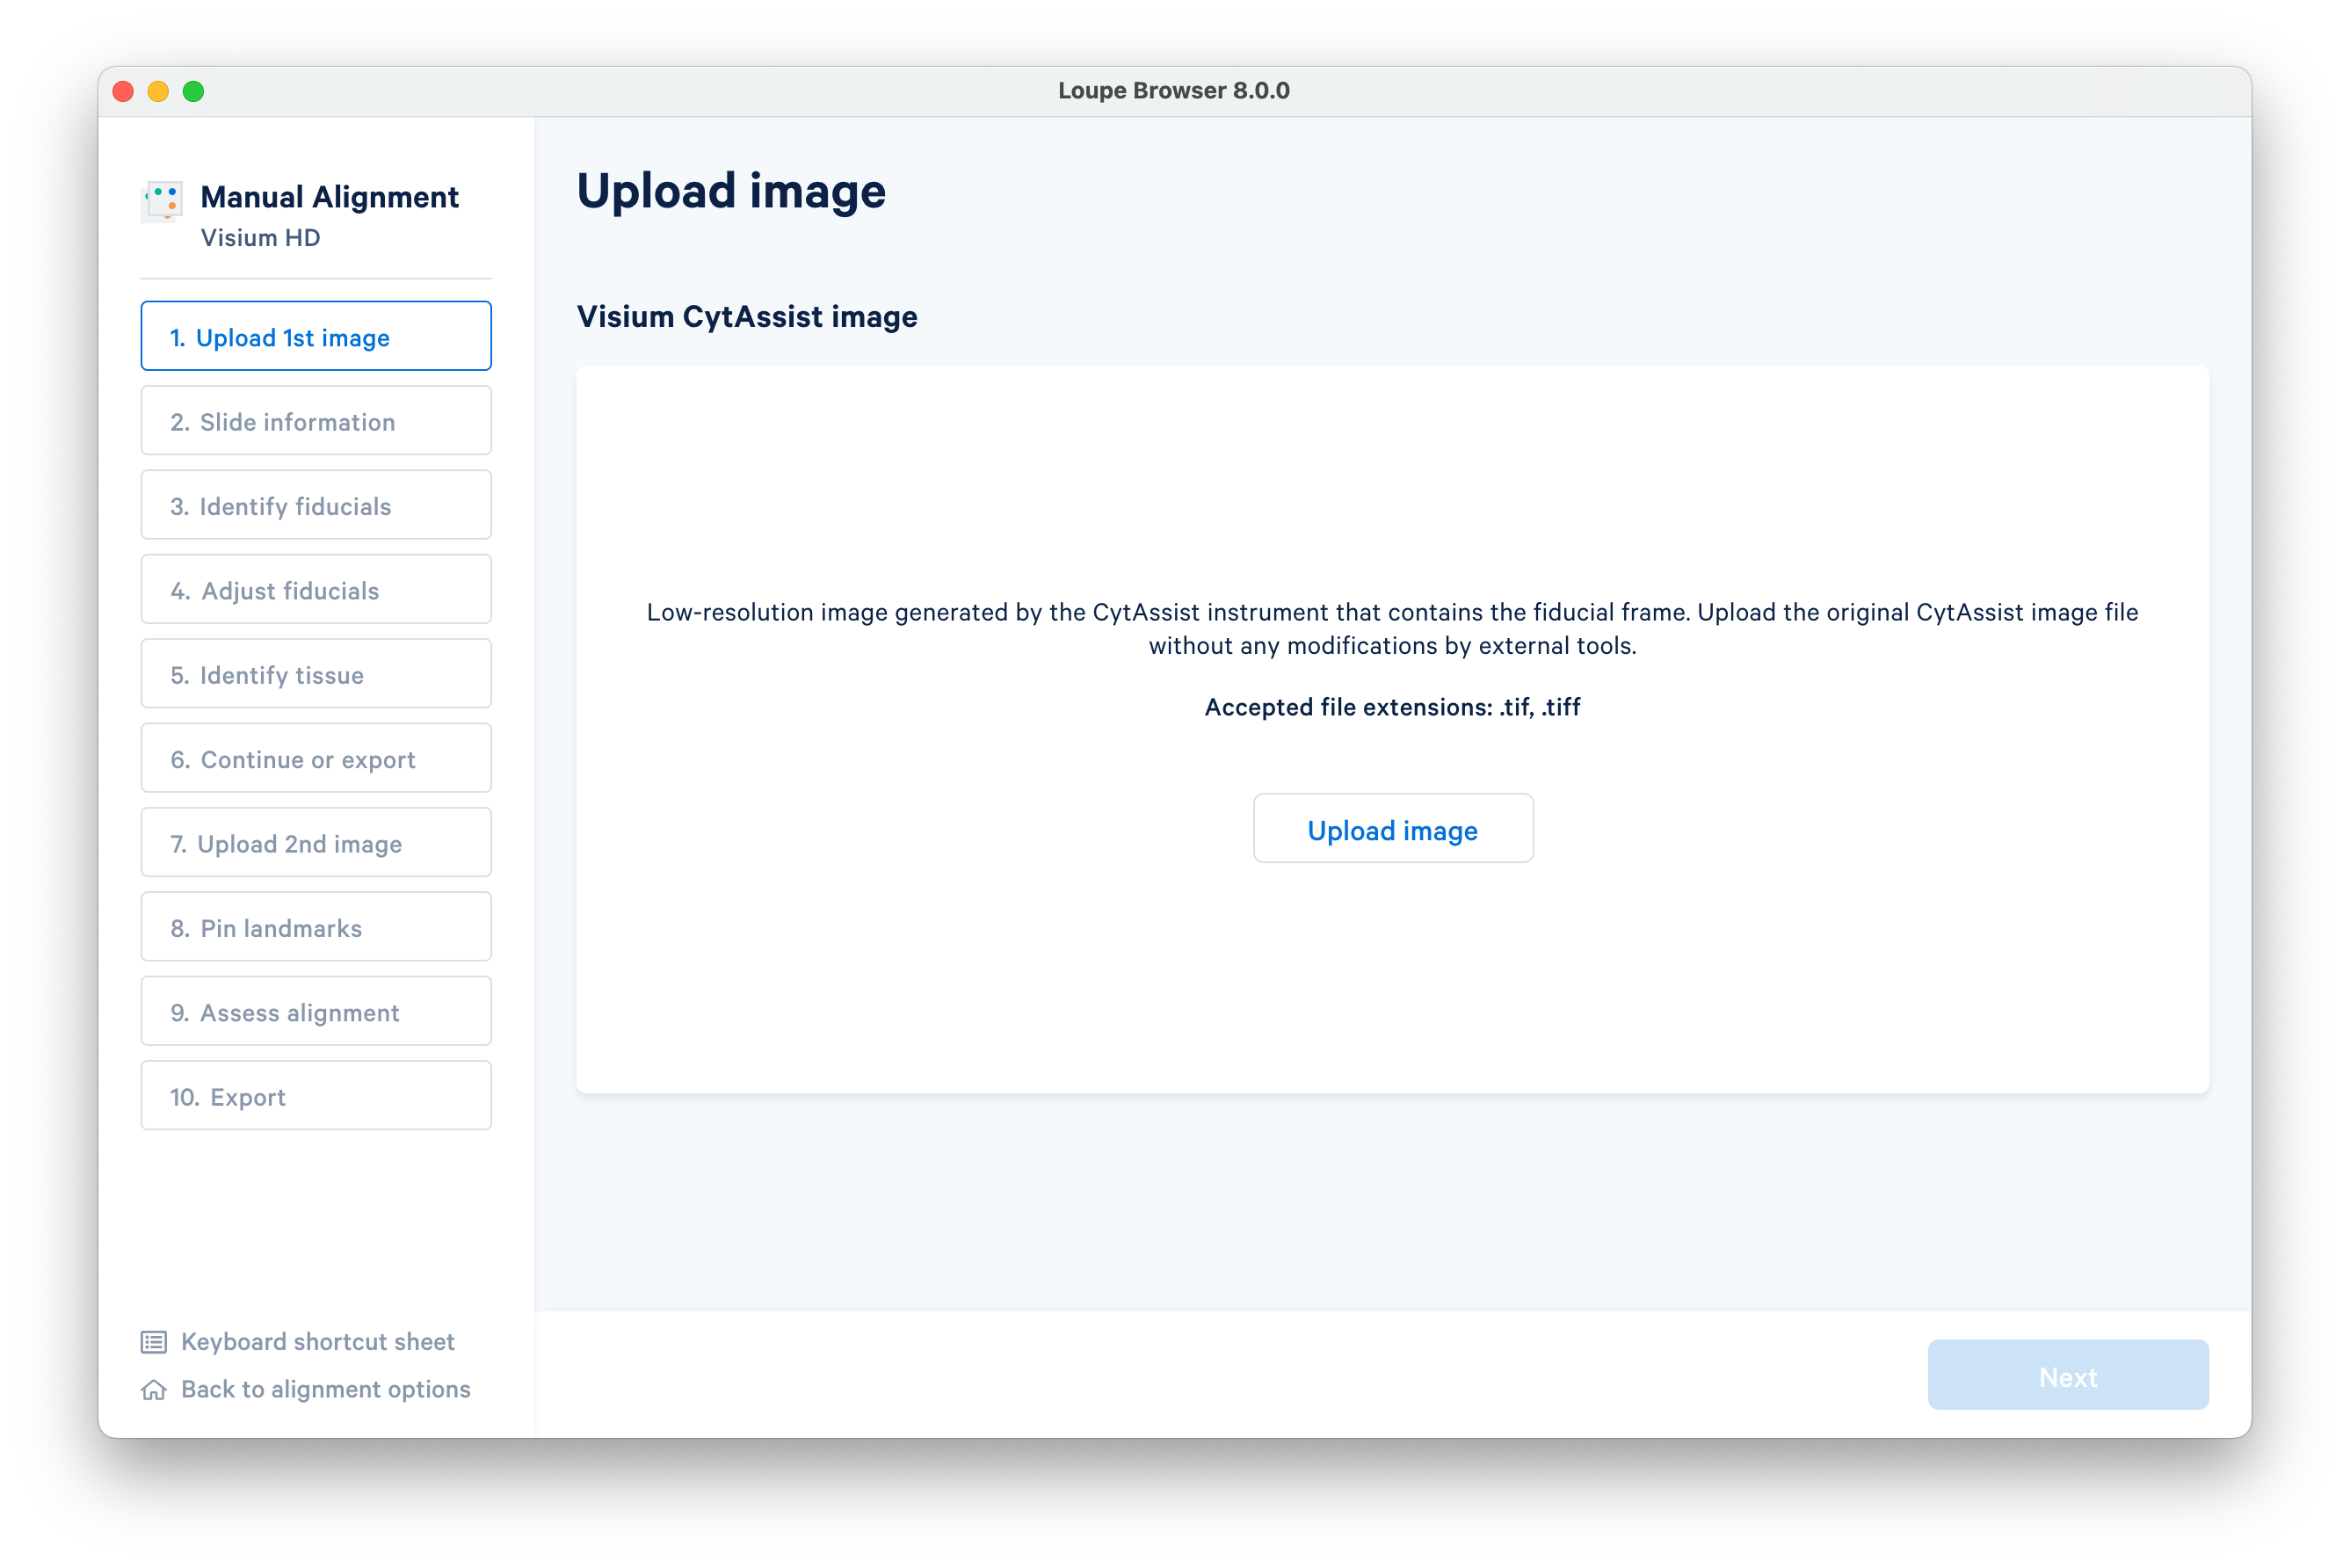
The first step is to upload the CytAssist image.
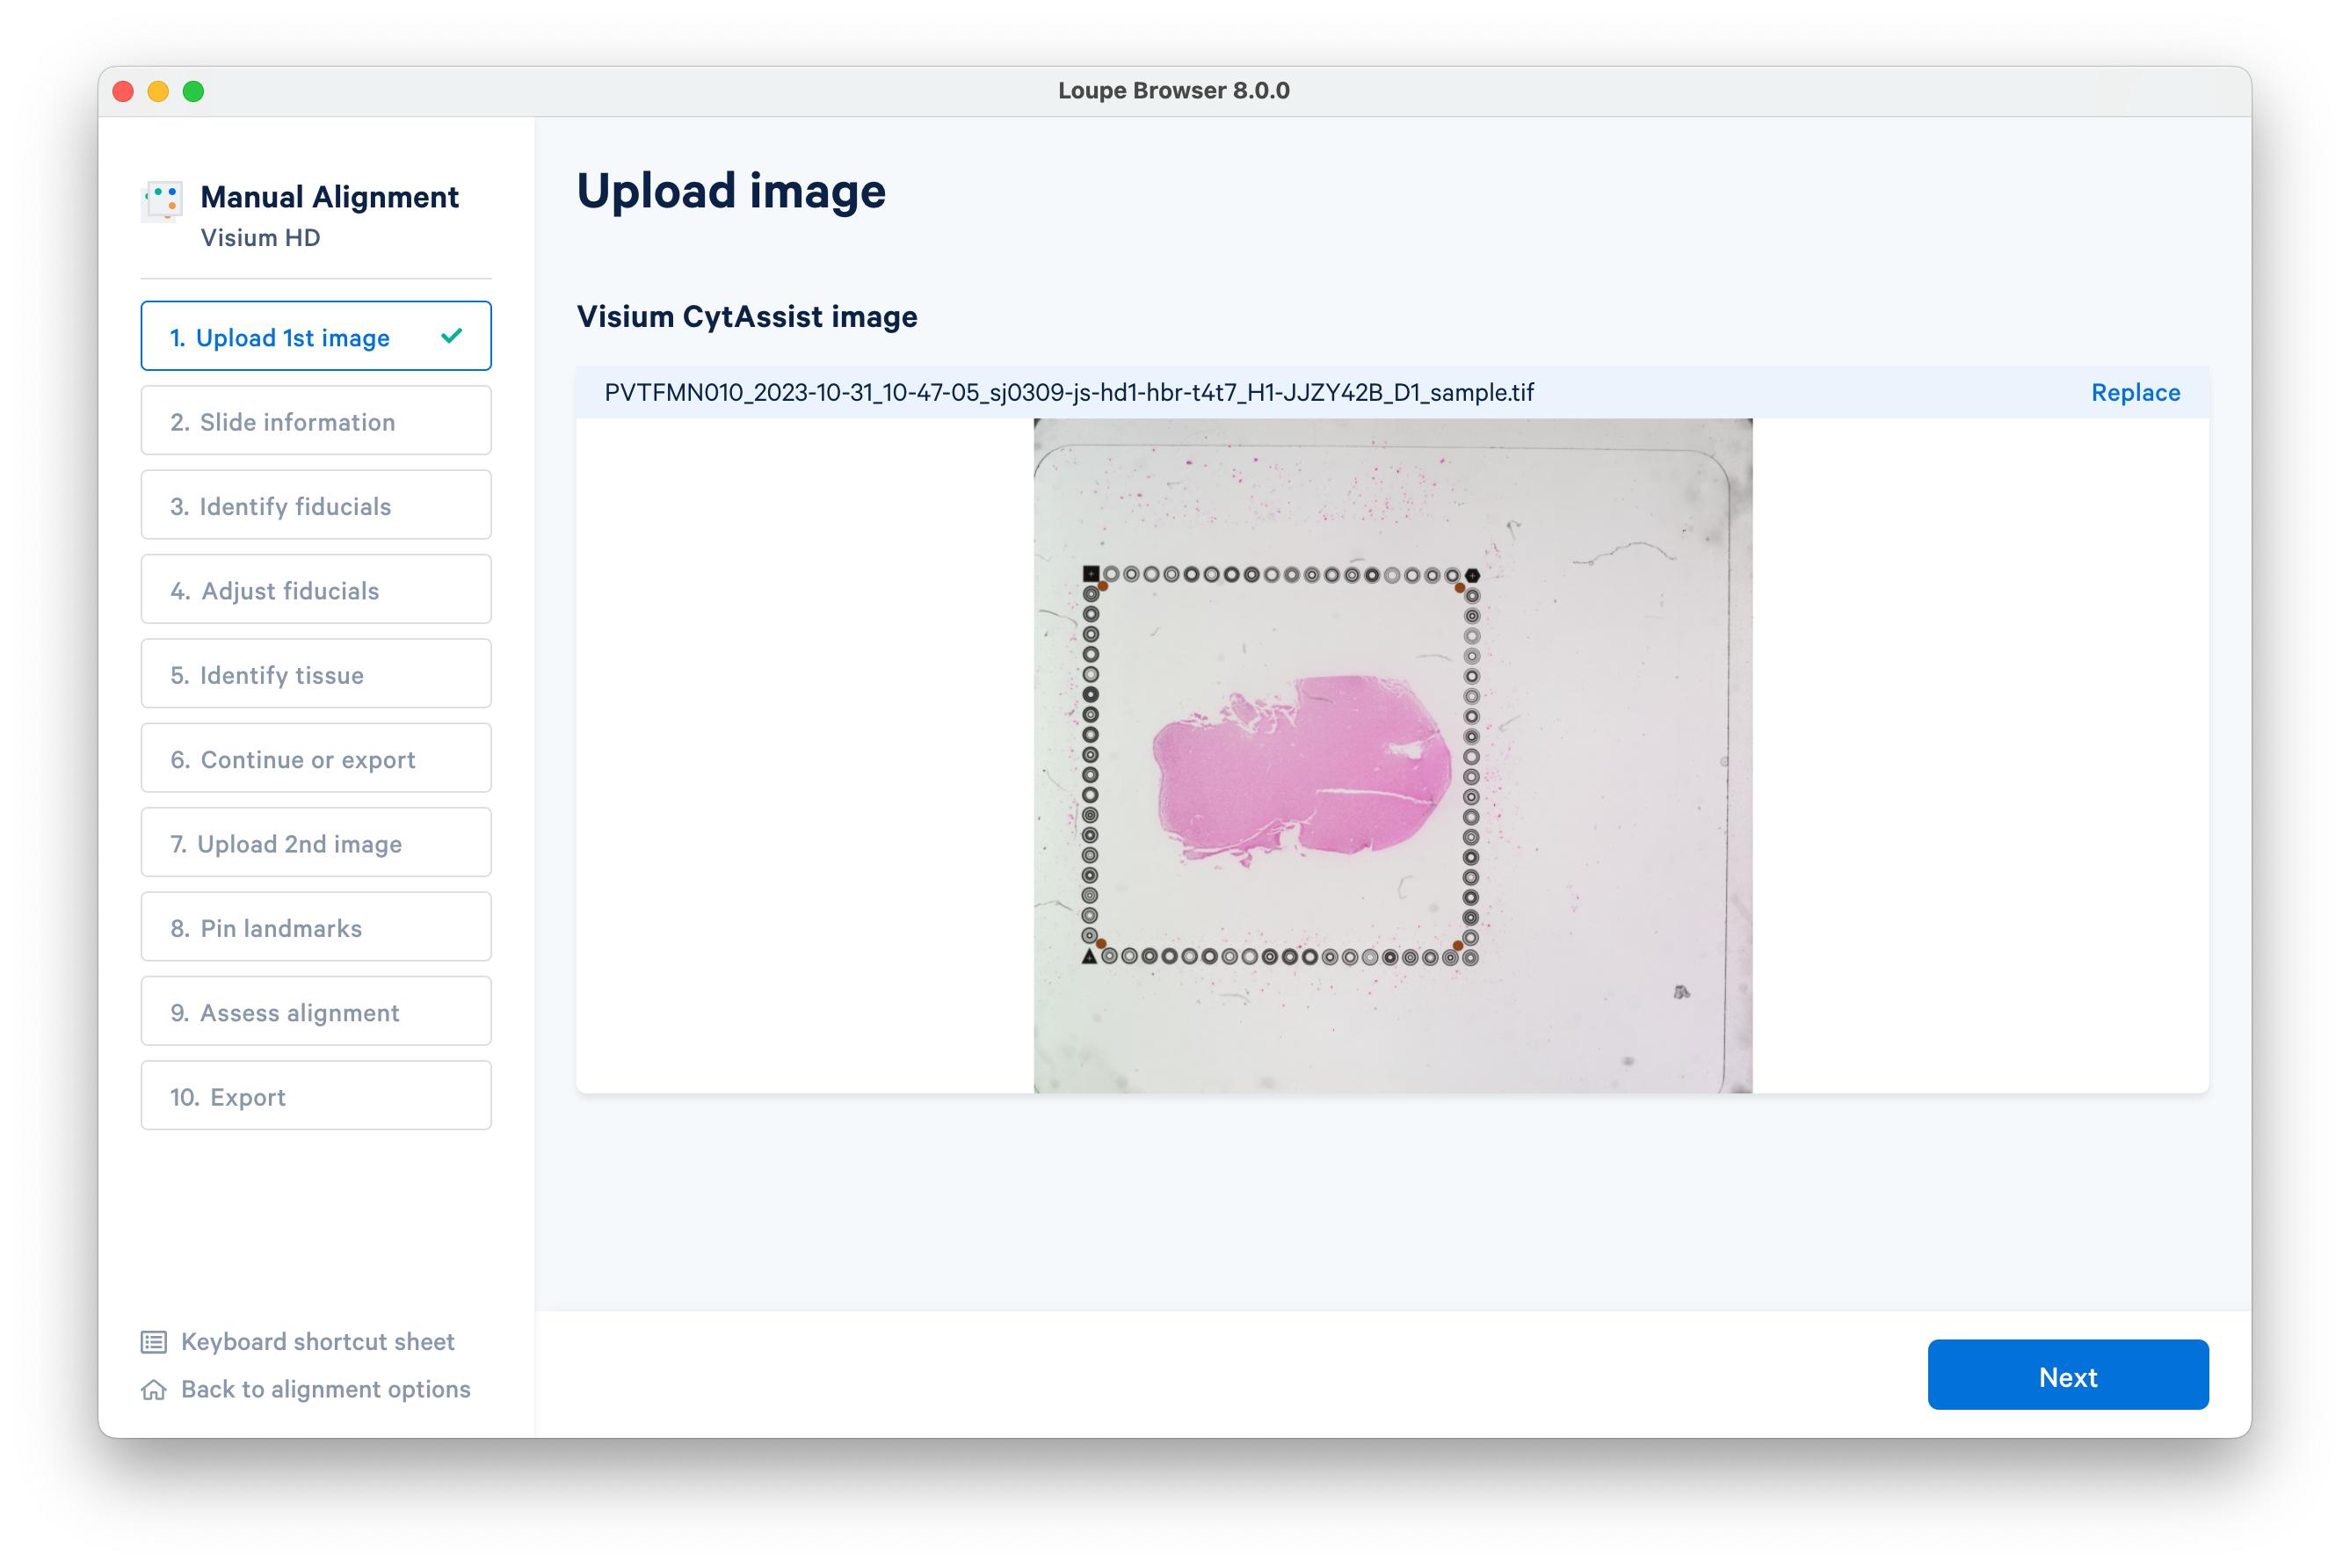
Once you have uploaded the CytAssist image, confirm the image is correct using the preview image and the filename.
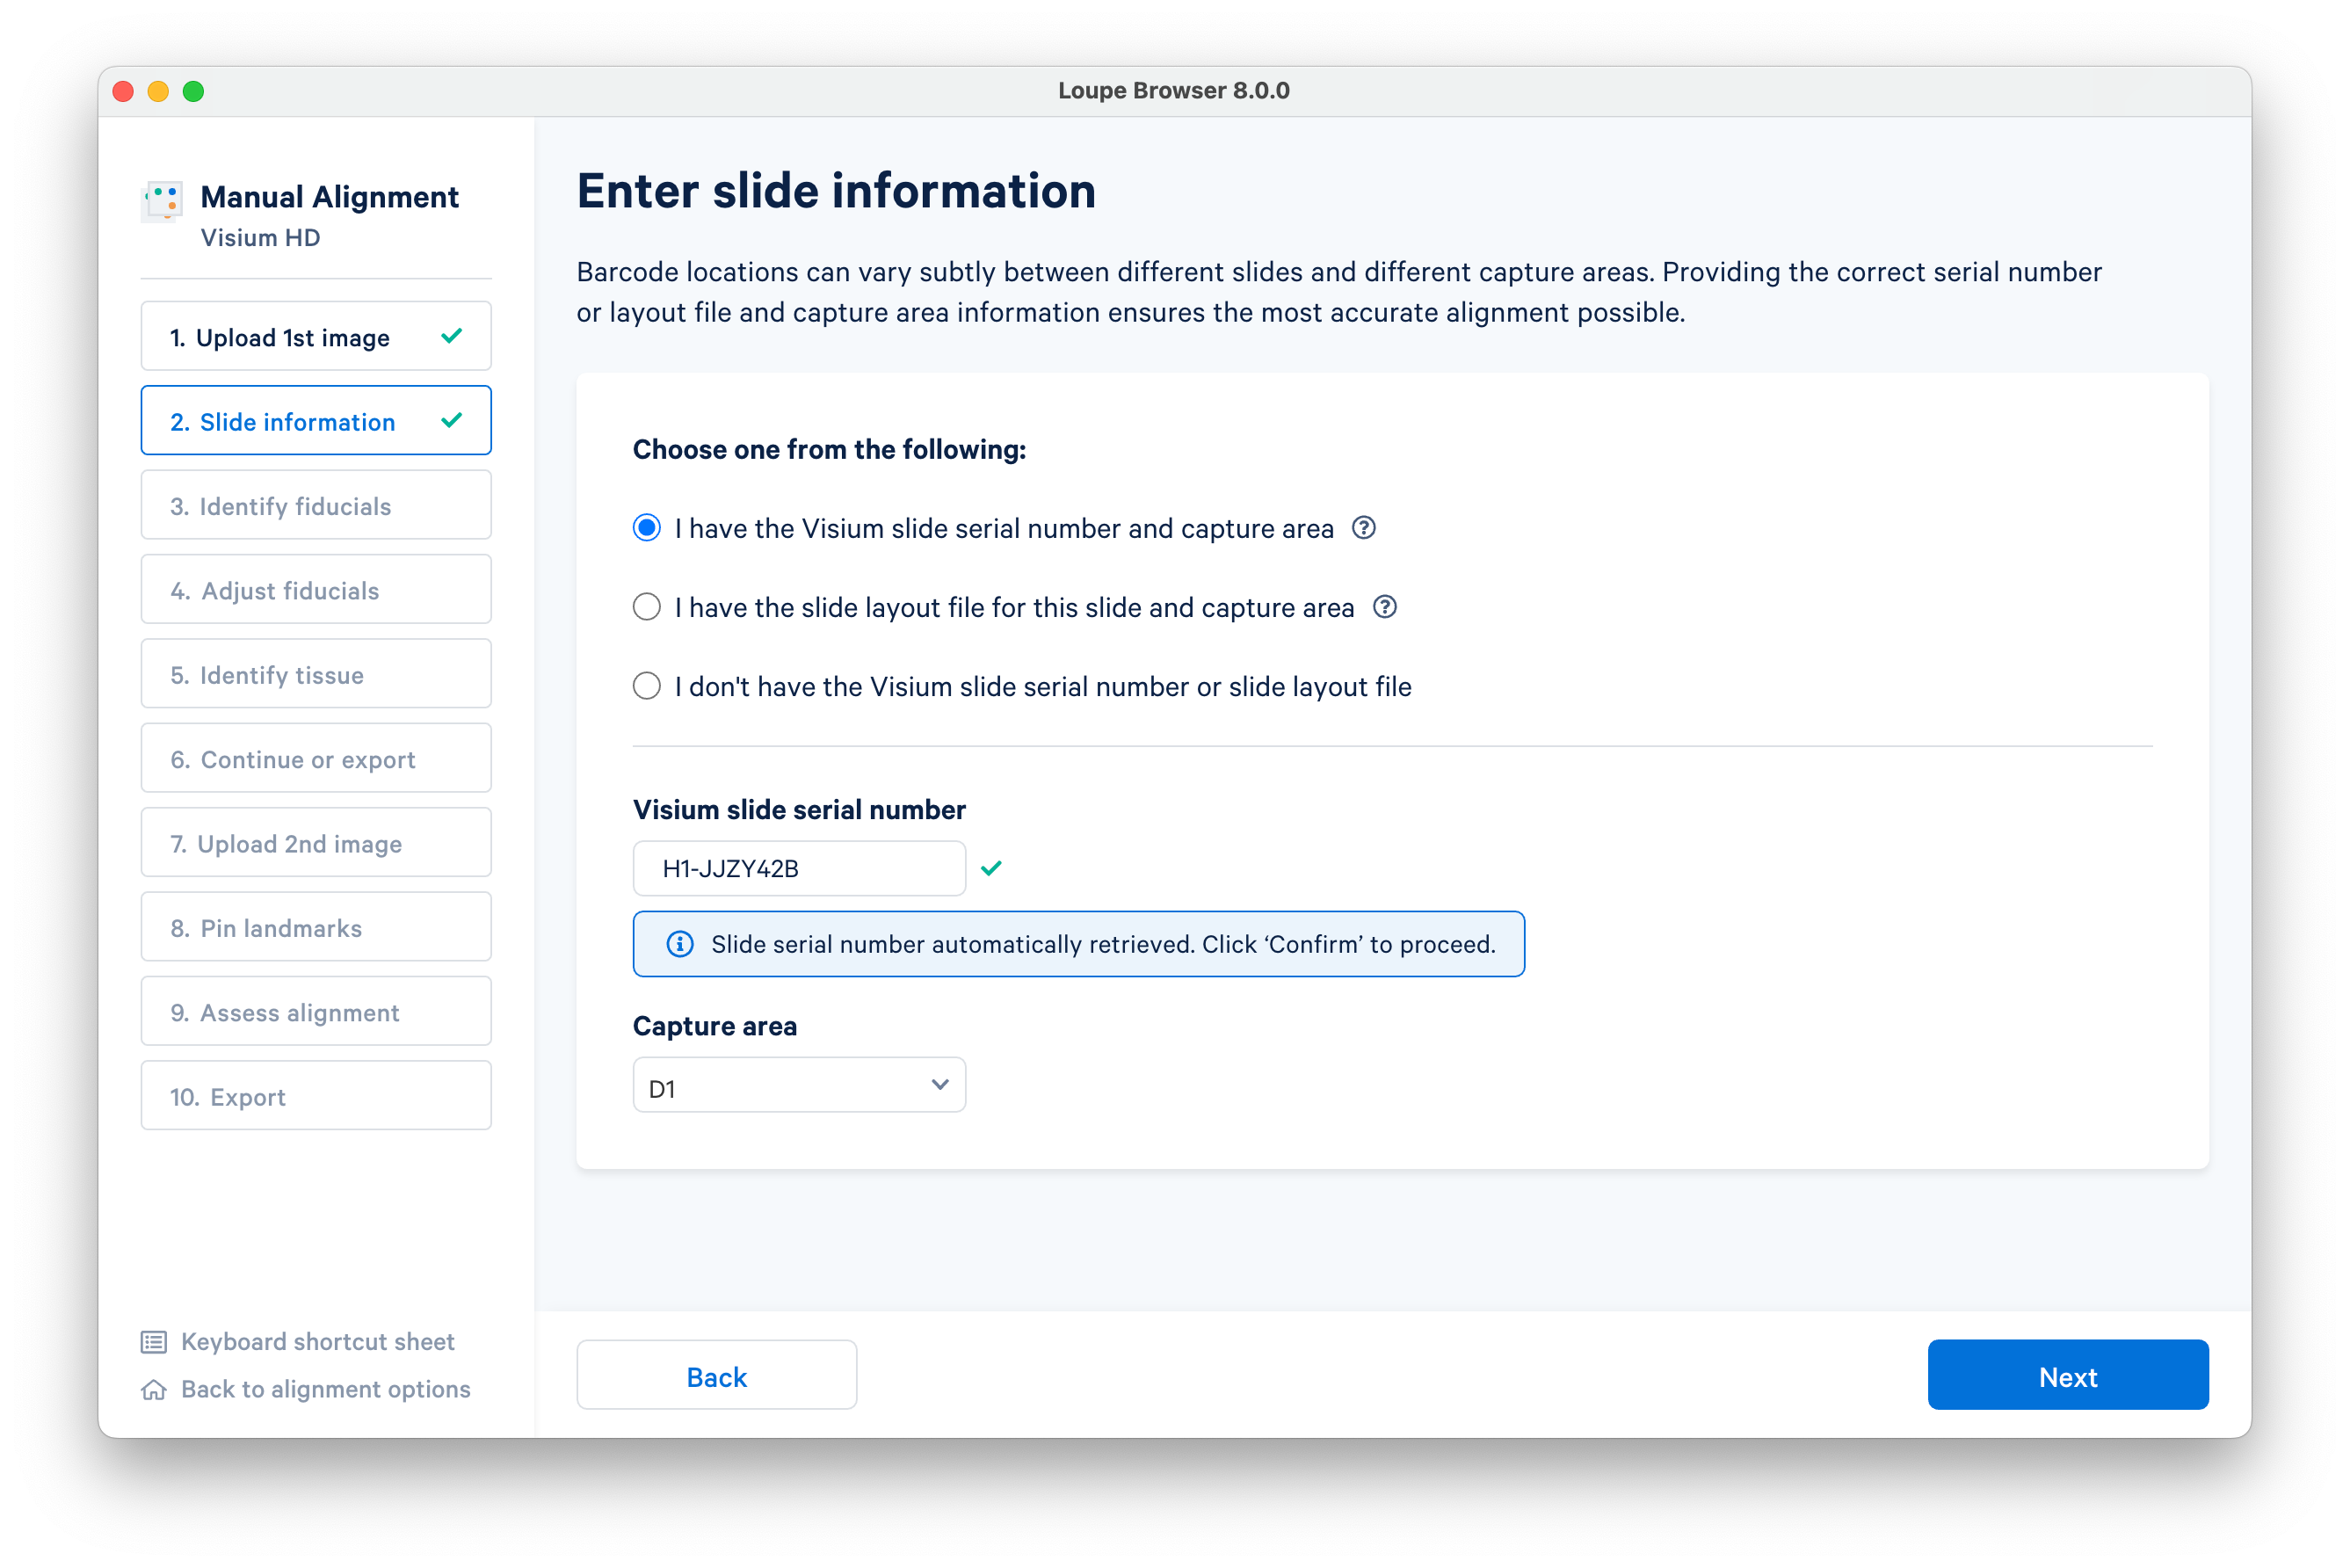
In this example, the Visium slide serial number and capture area were auto-populated by reading in the CytAssist image metadata. You can alternatively enter this information manually, or provide a slide layout file. Click Next to continue.
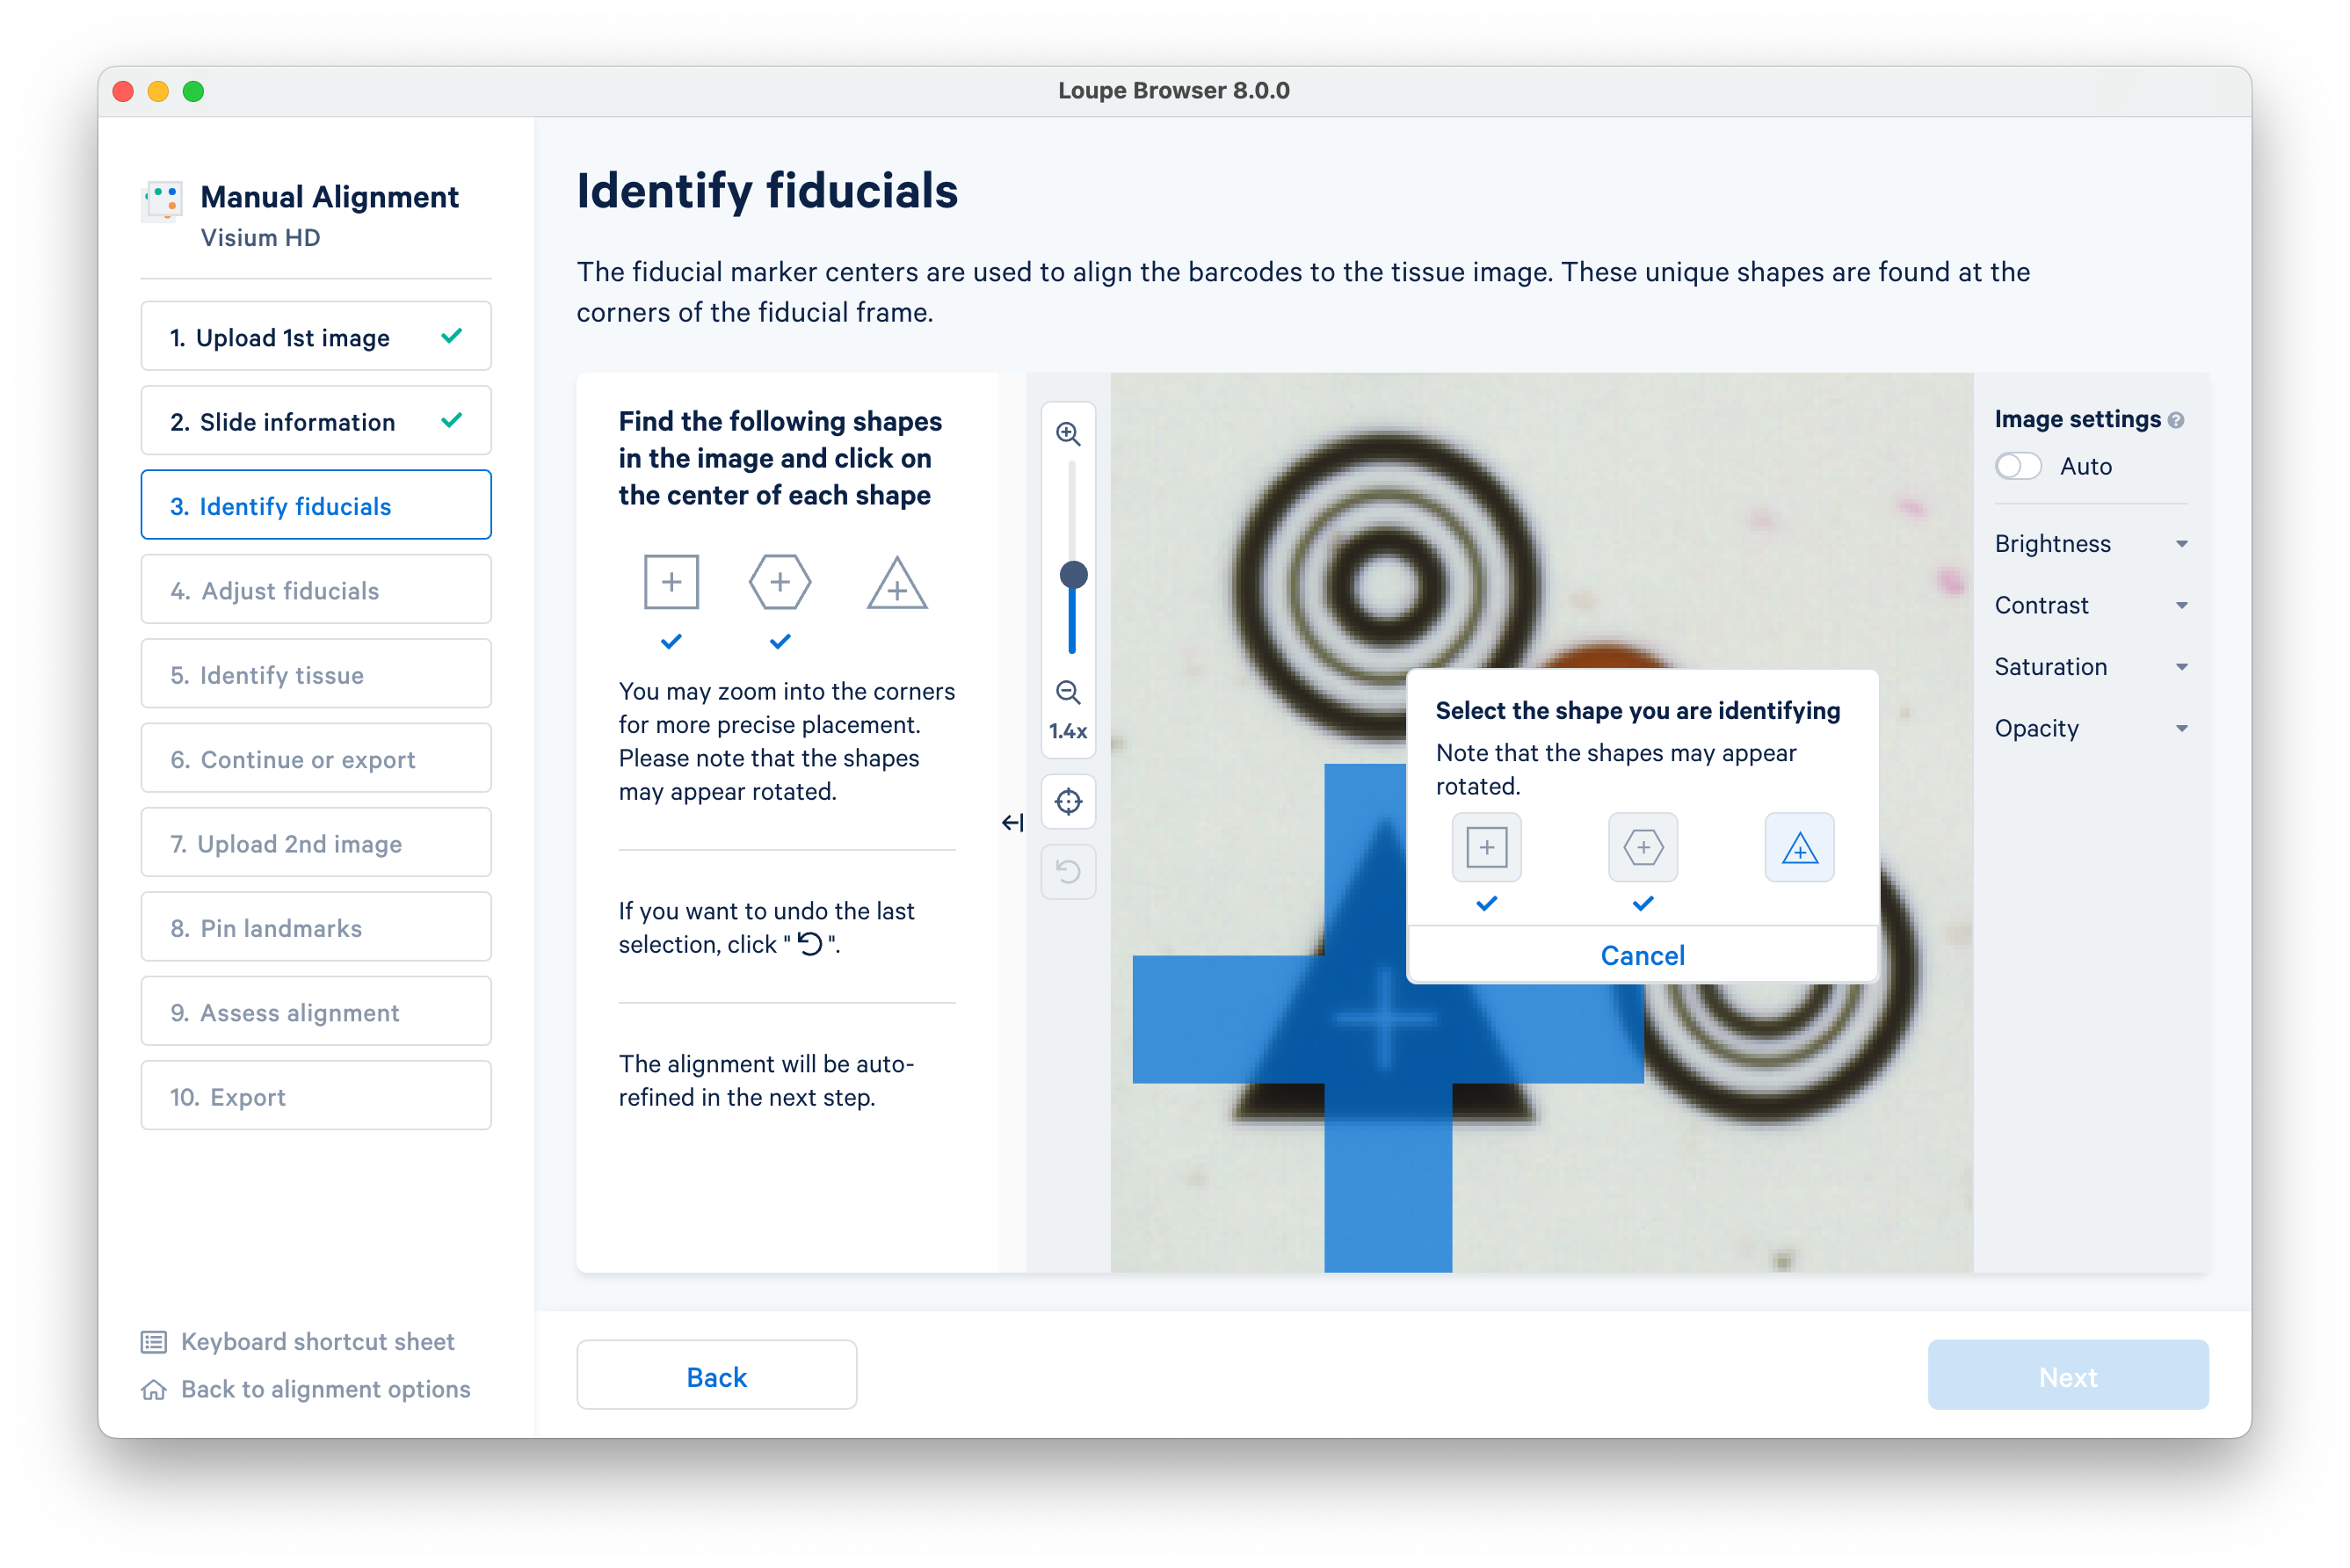
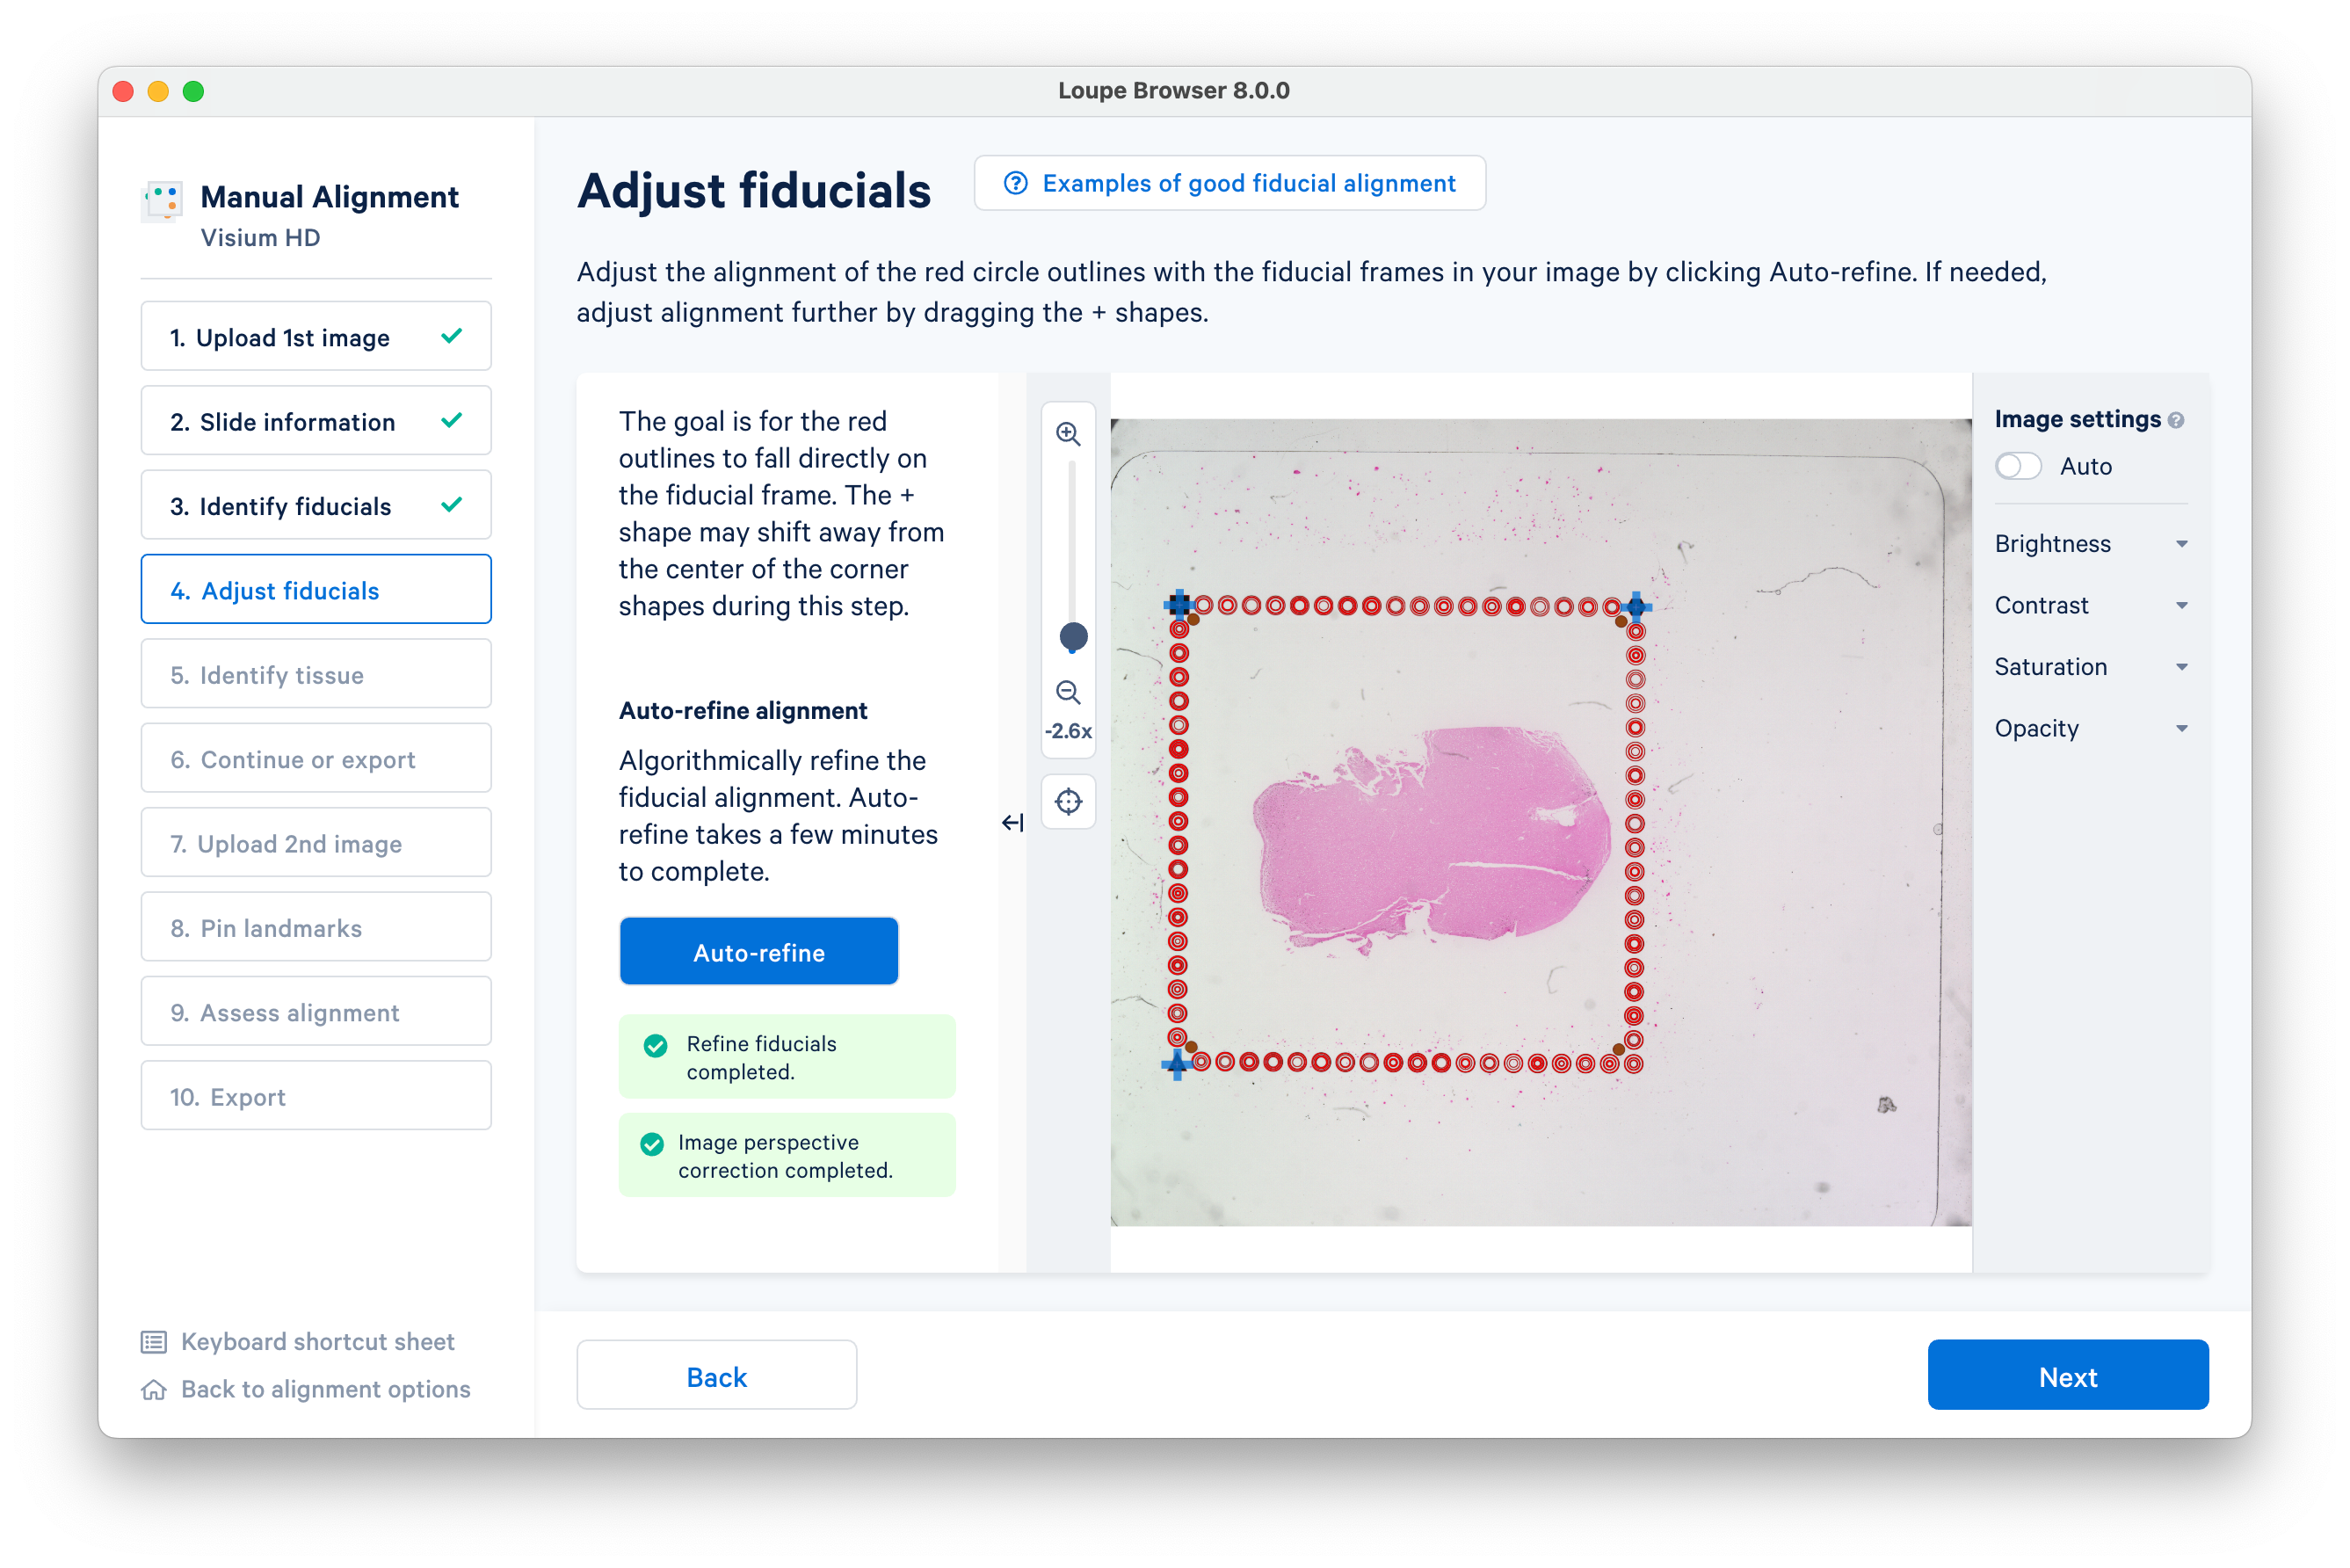
Follow the instructions on screen to find the square, hexagon, and triangle shaped fiducials.
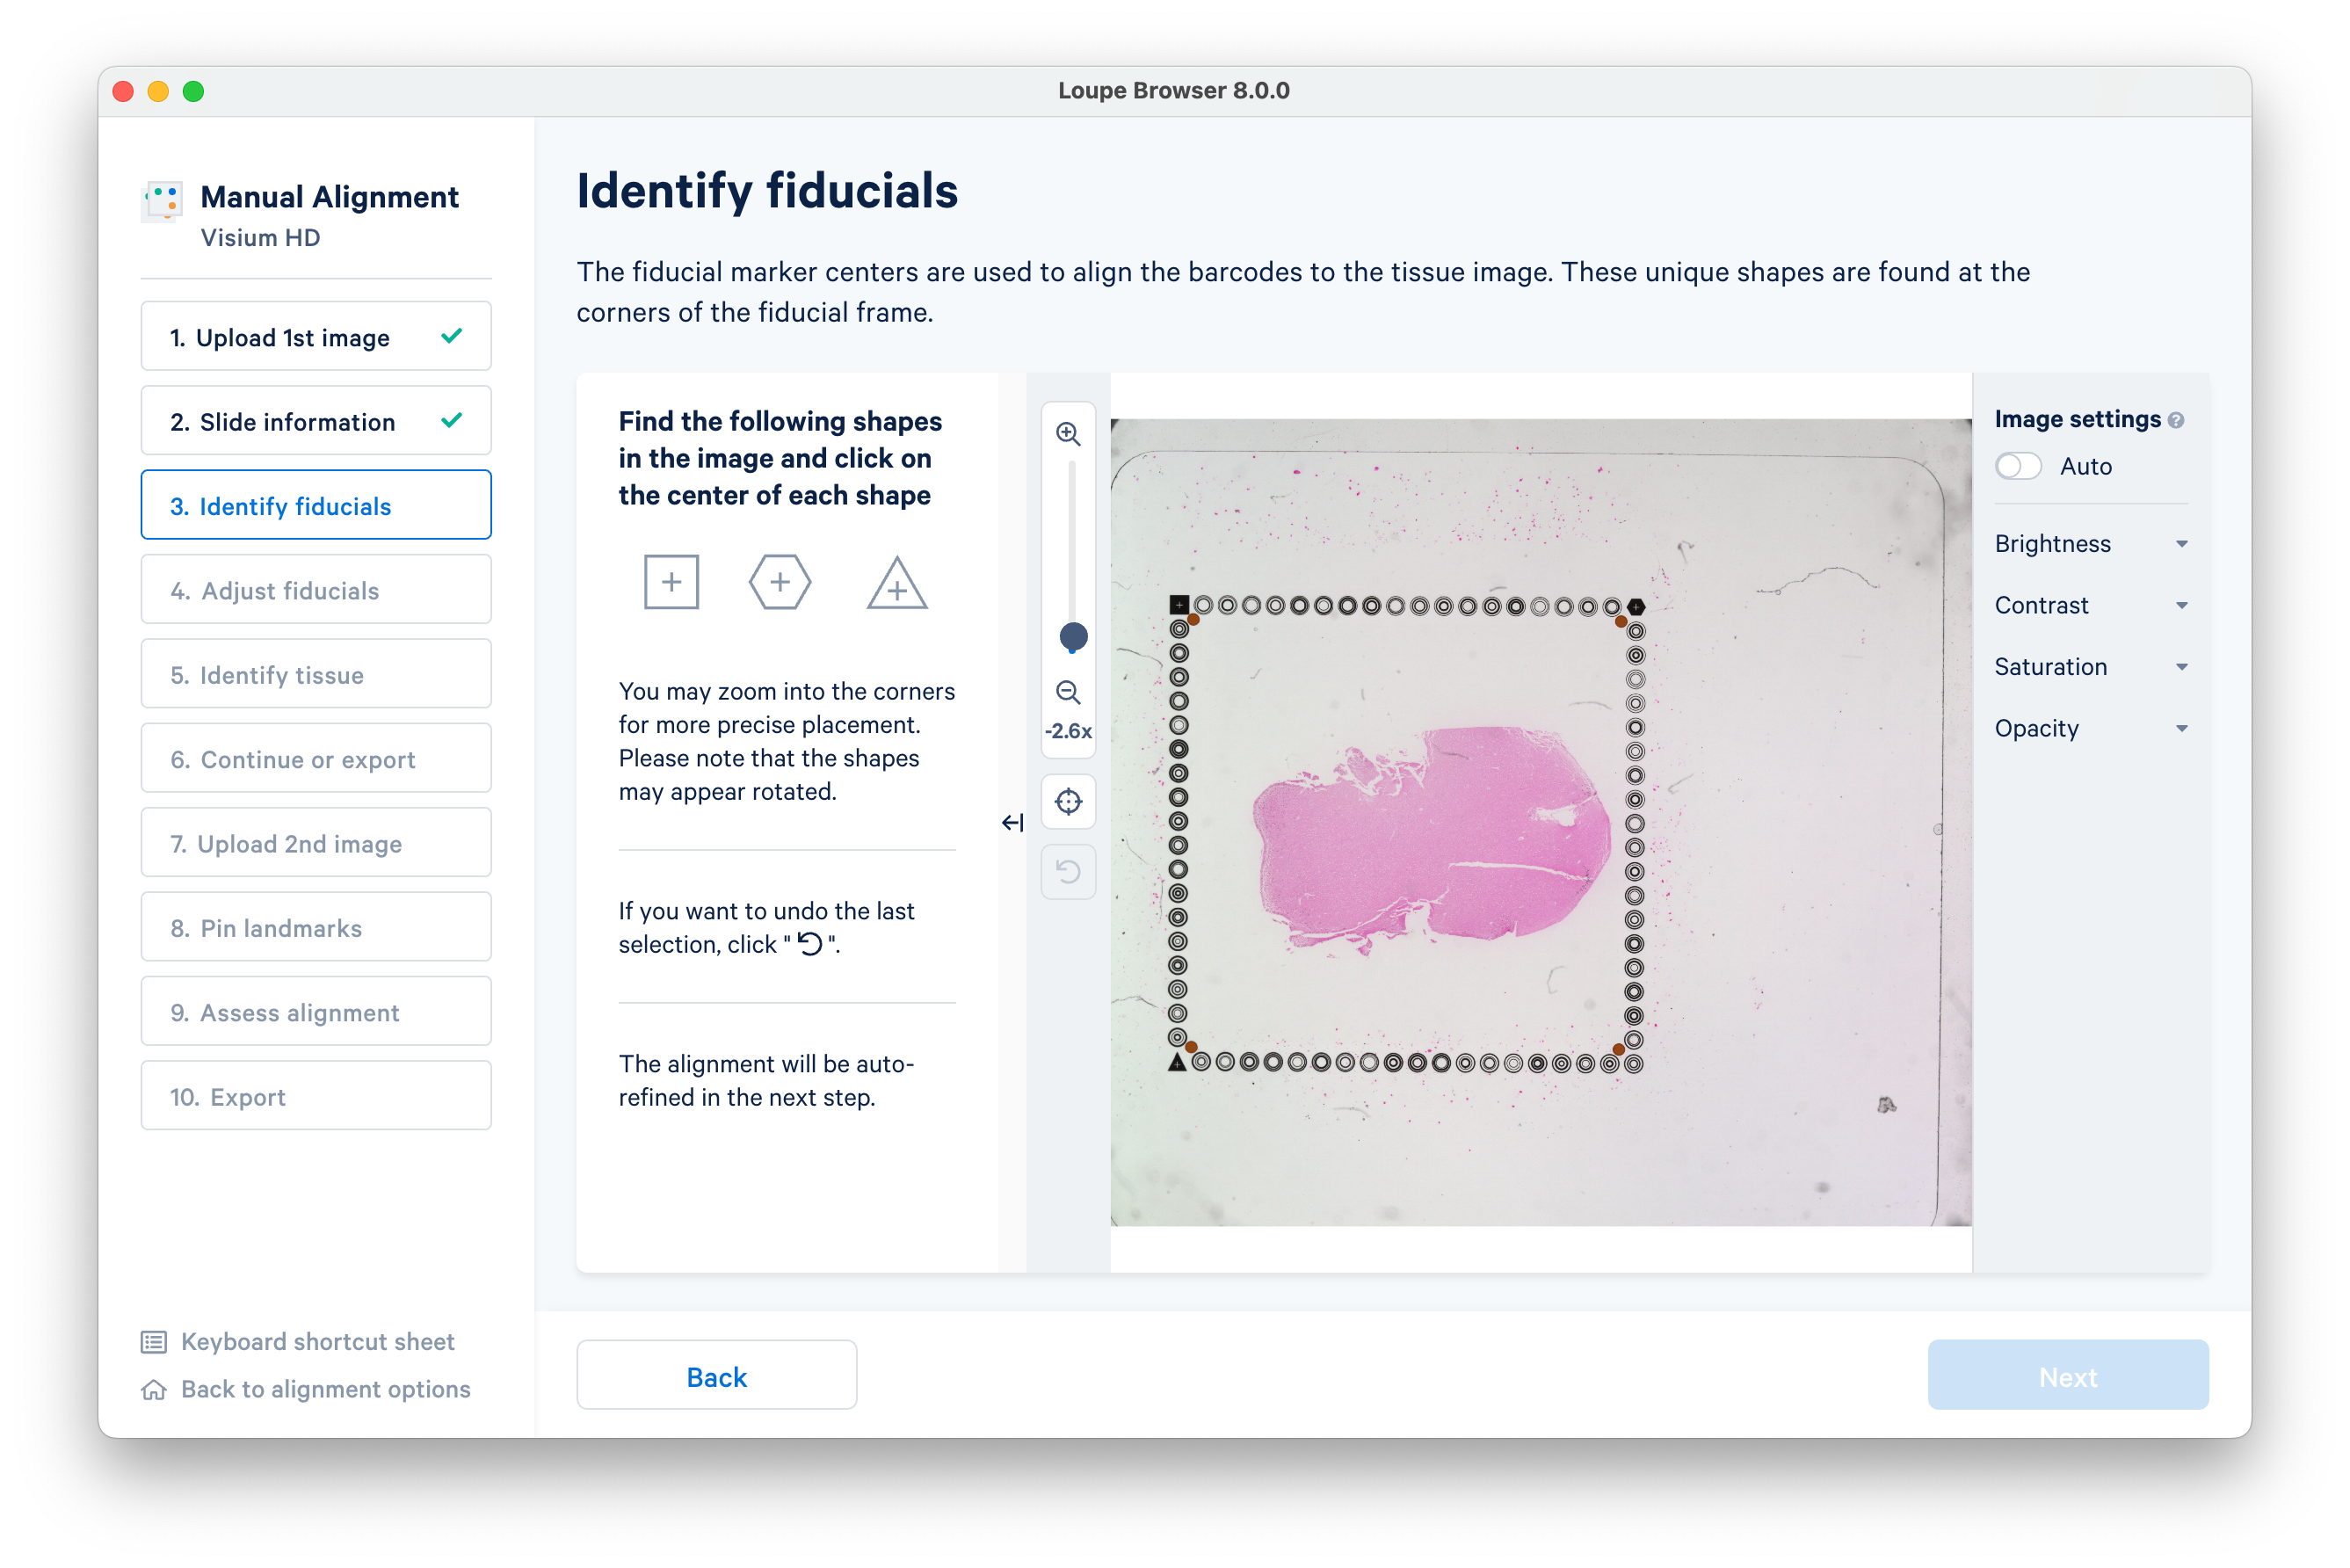
As you identify each fiducial, a box will appear to track your progress. When you have identified all three, click Next to advance.
Click Auto-refine to algorithmically refine the alignment.
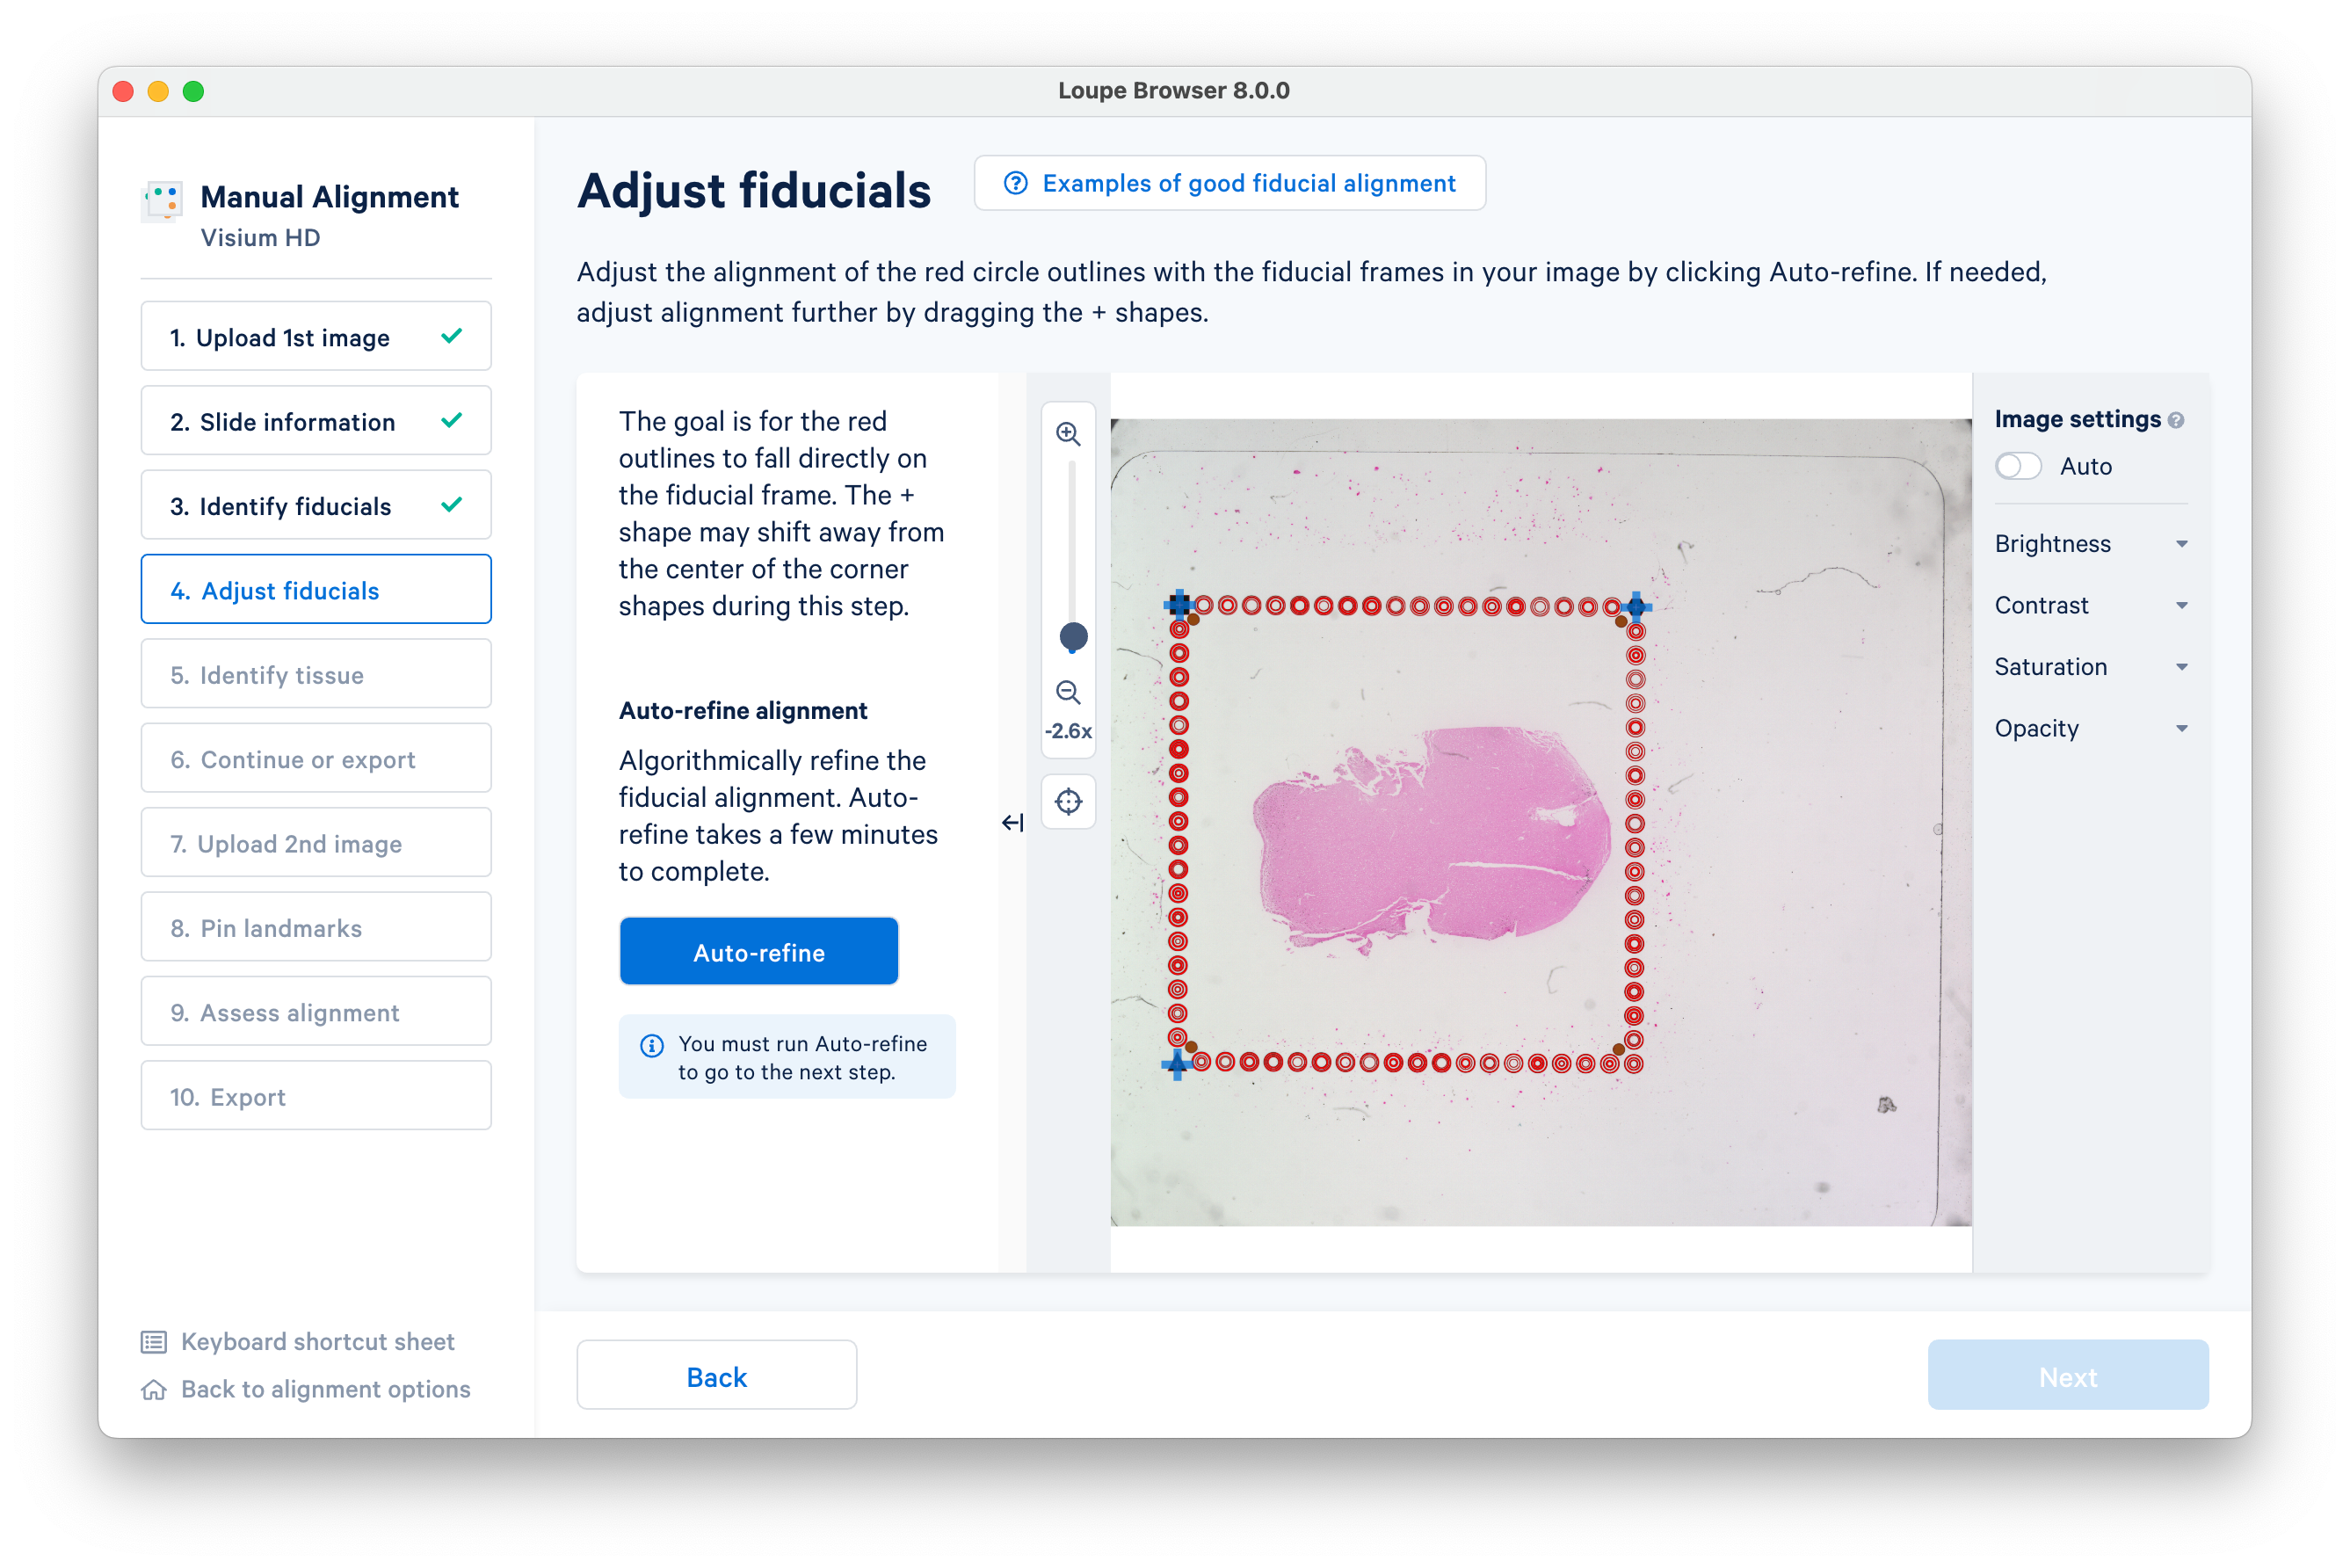
You can also visually inspect the alignment with the on-screen tools. Click Next after the automatic refinement completes.
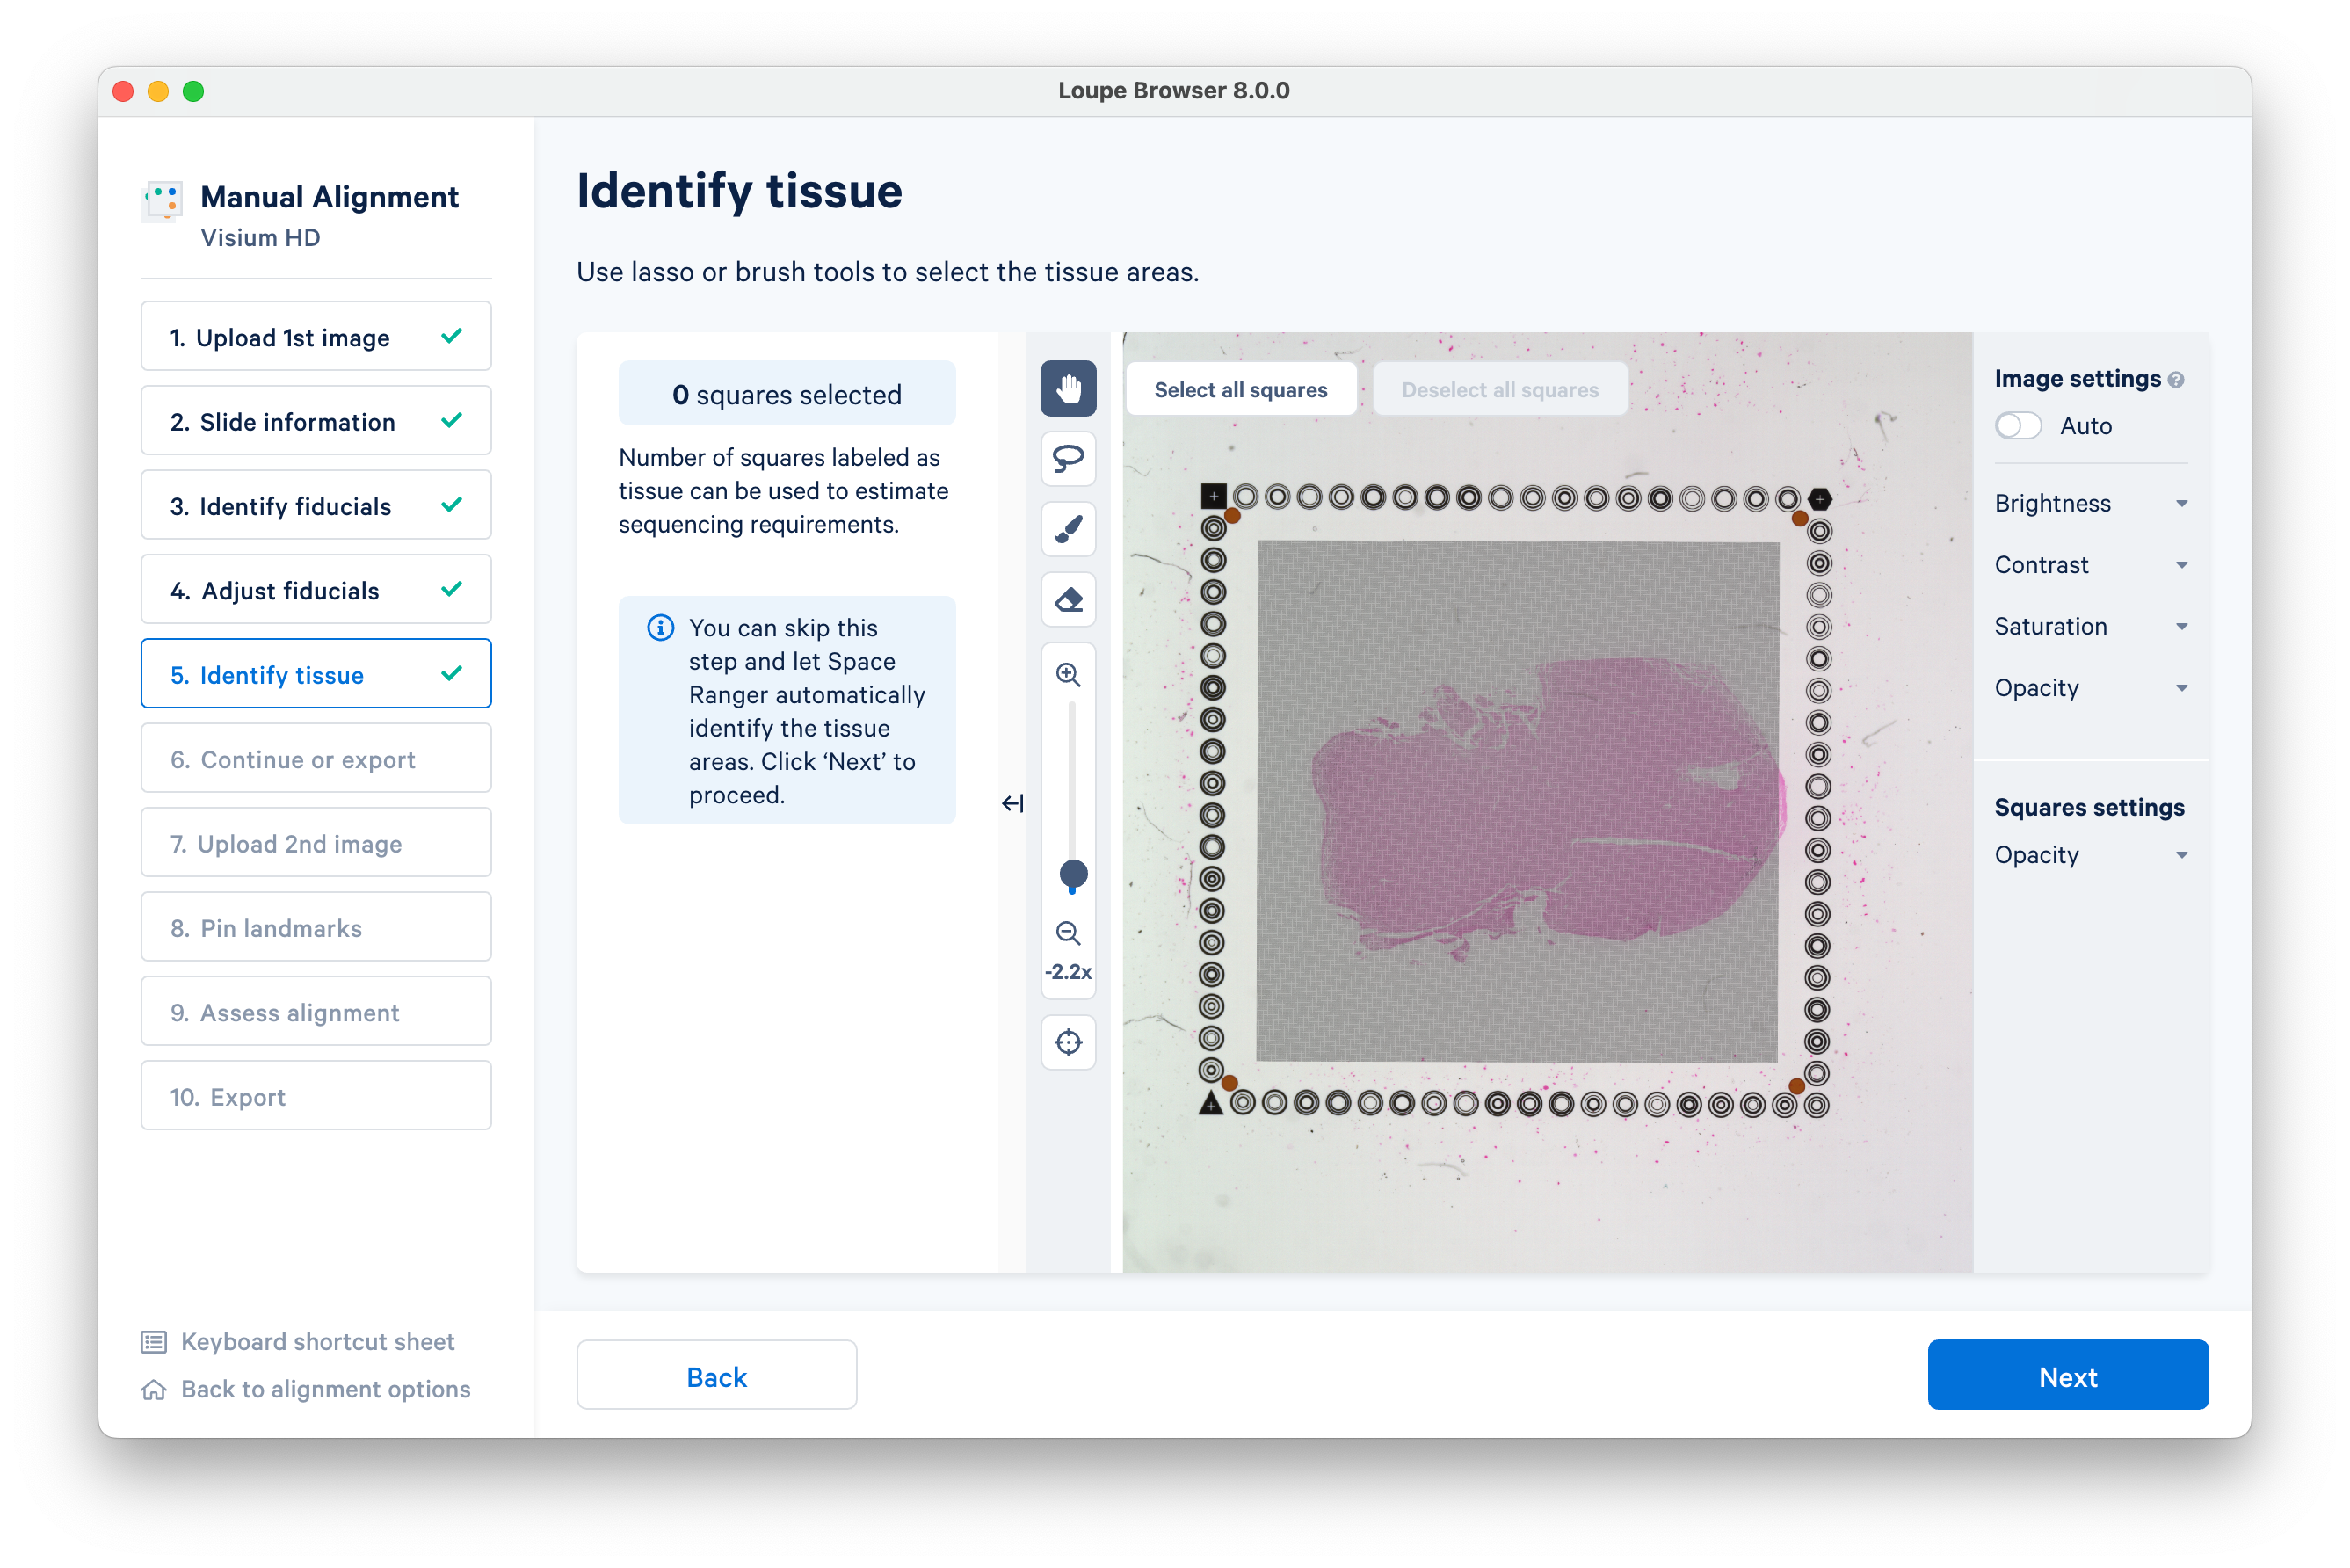
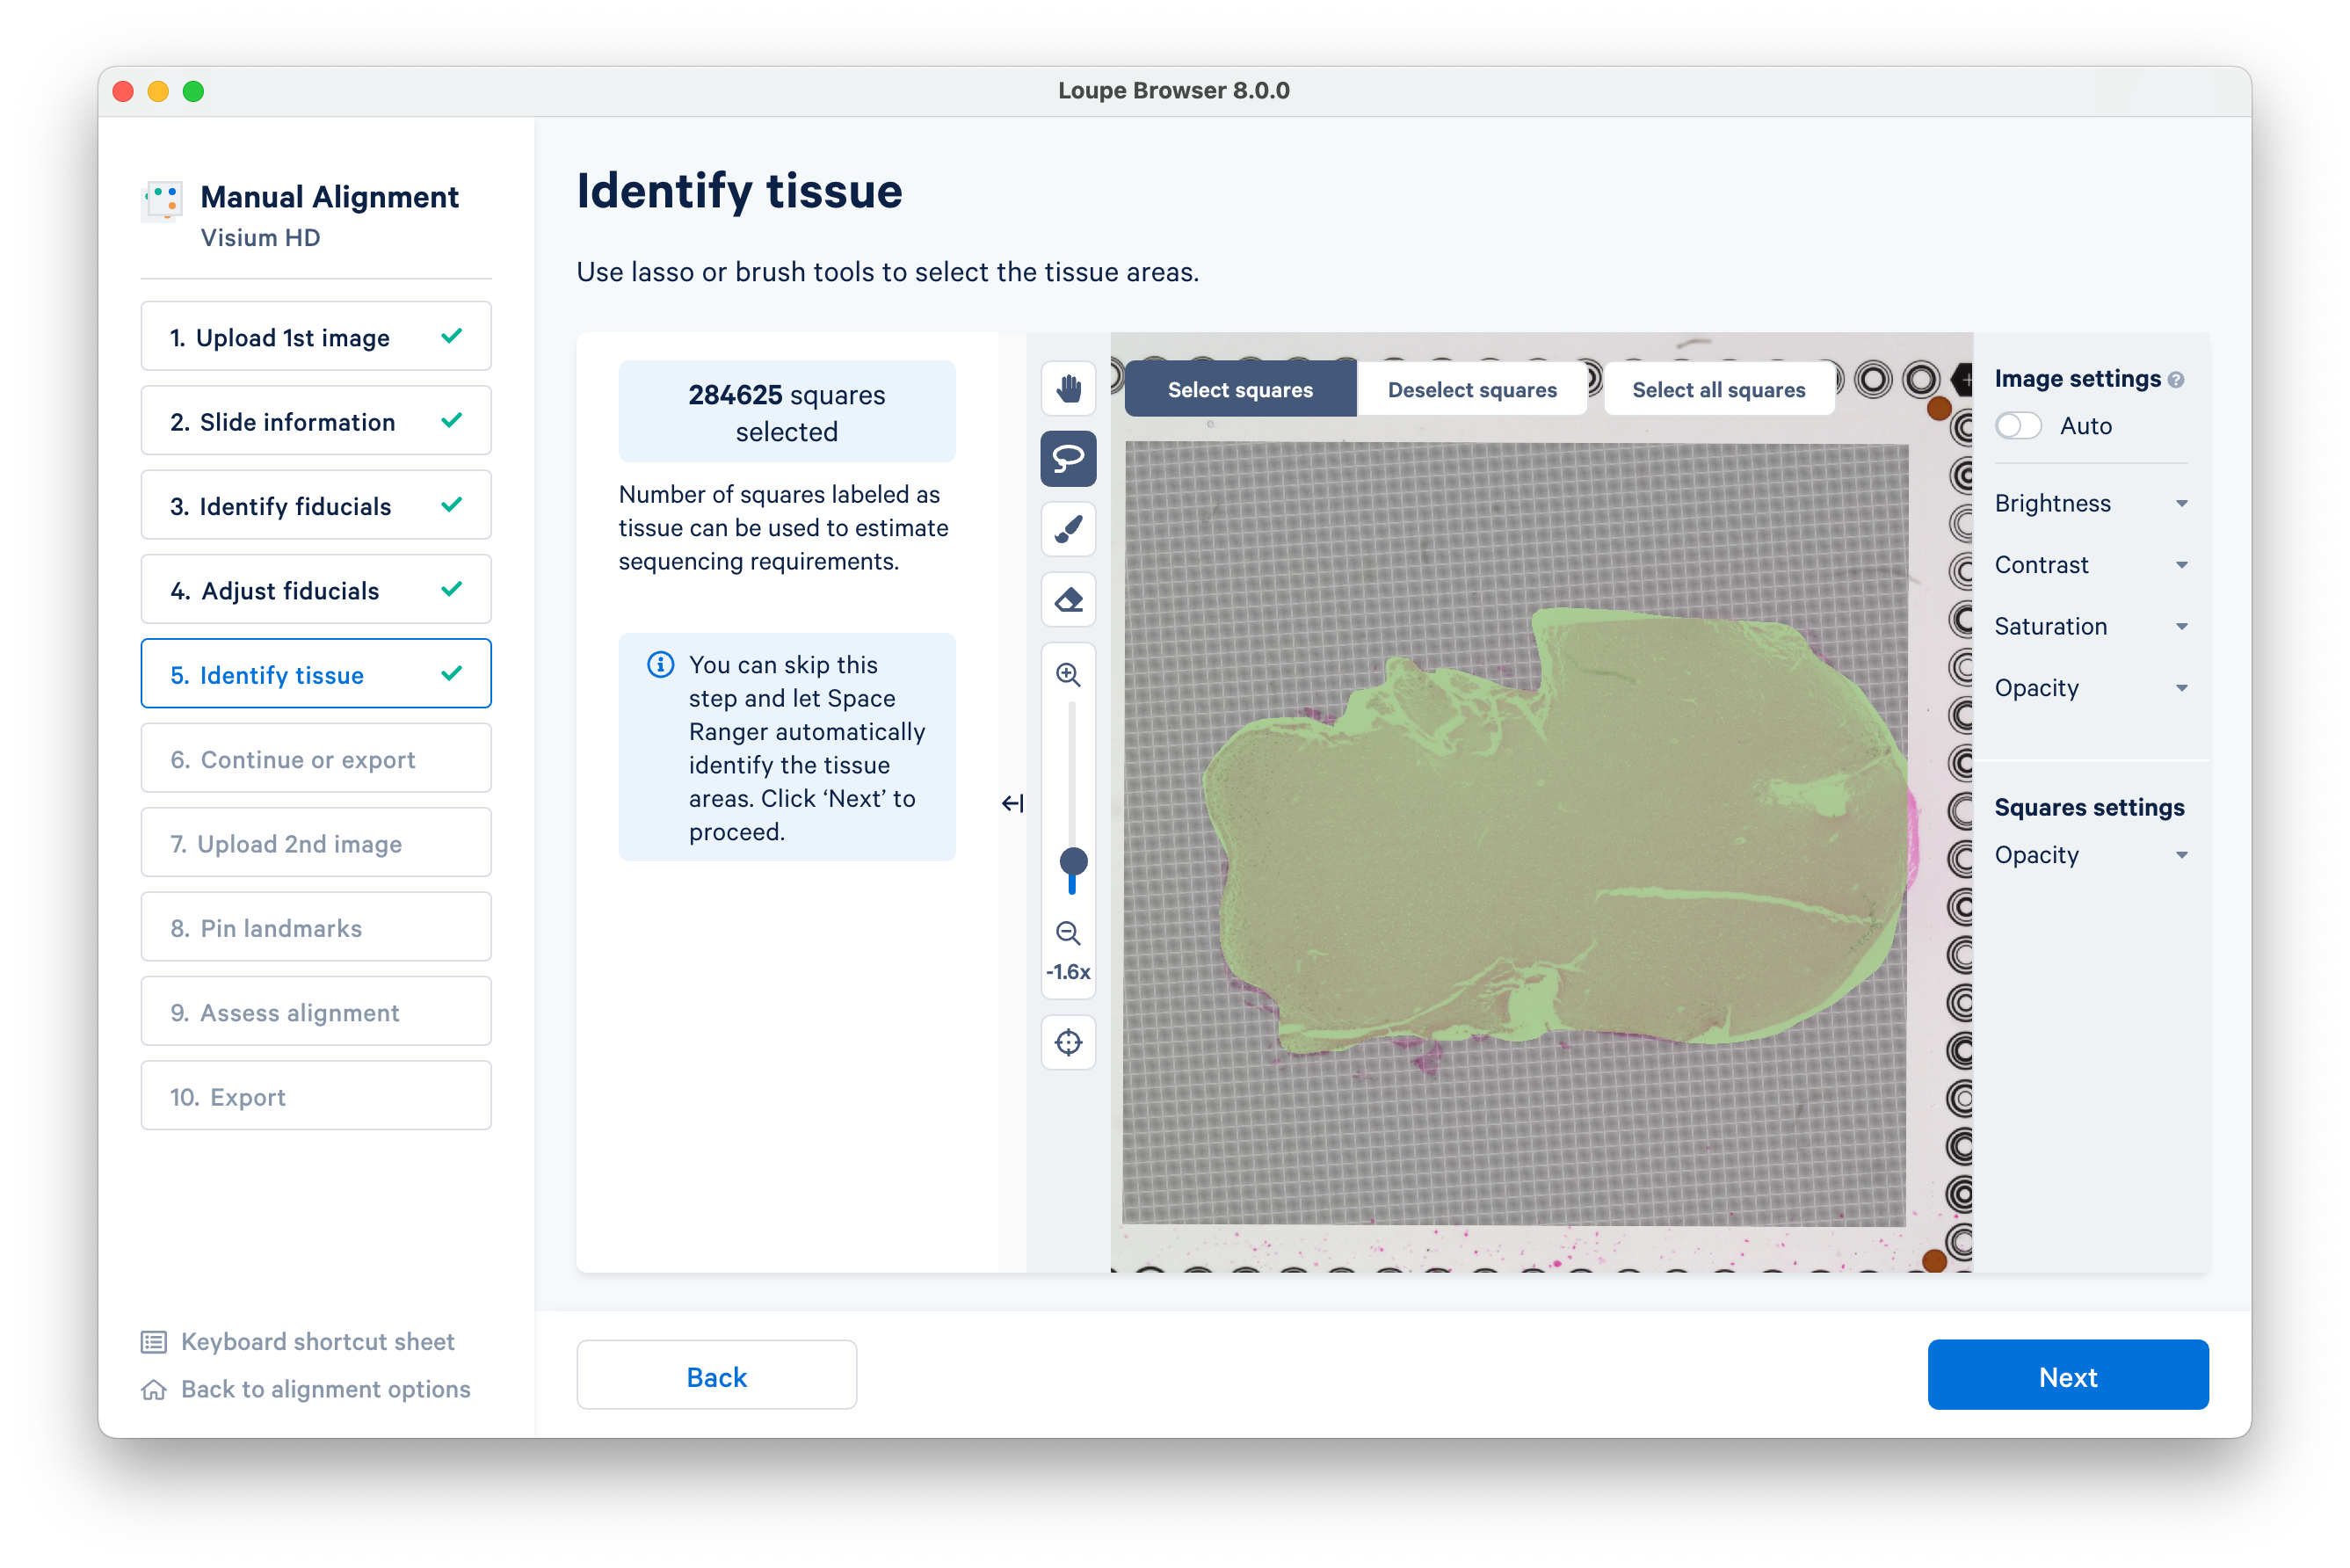
Use the lasso or brush tools to select the tissue areas, or skip this step and let Space Ranger automatically identify the tissue areas.
Here is an example using the lasso tool. When you are finished, click Next to proceed.
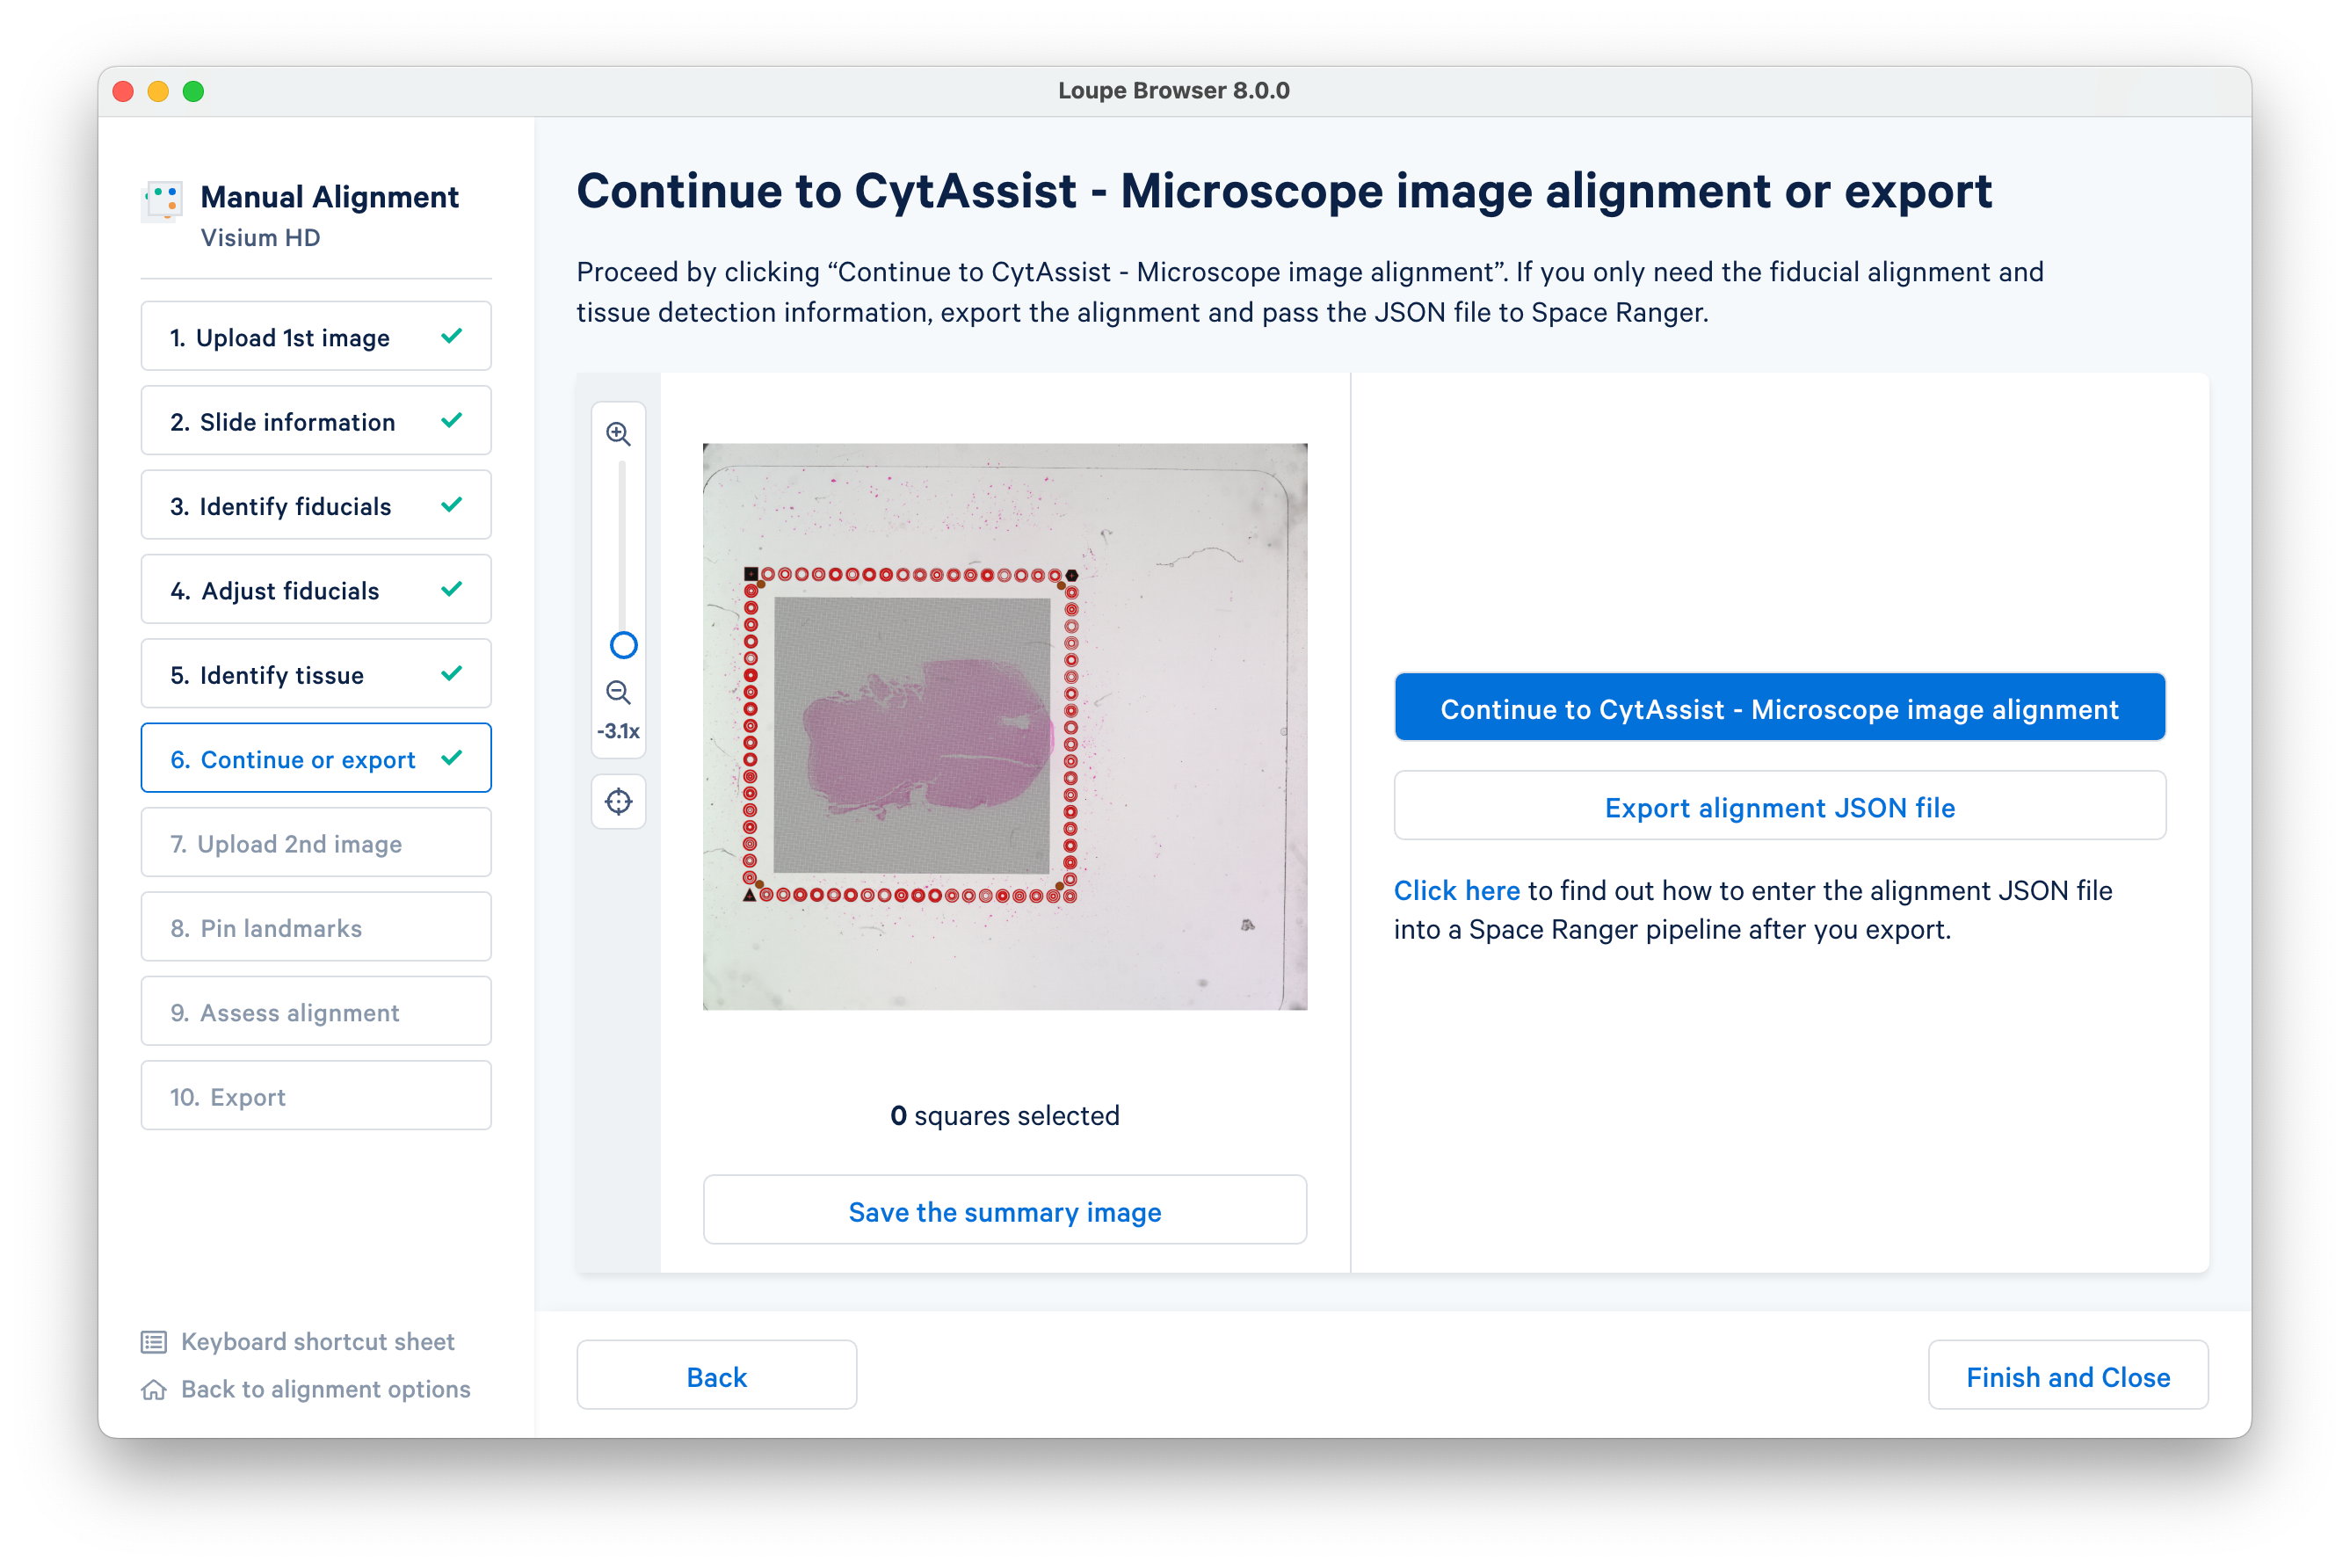
In this step, you have the option of exporting the alignment JSON file. Otherwise, continue to the next step.
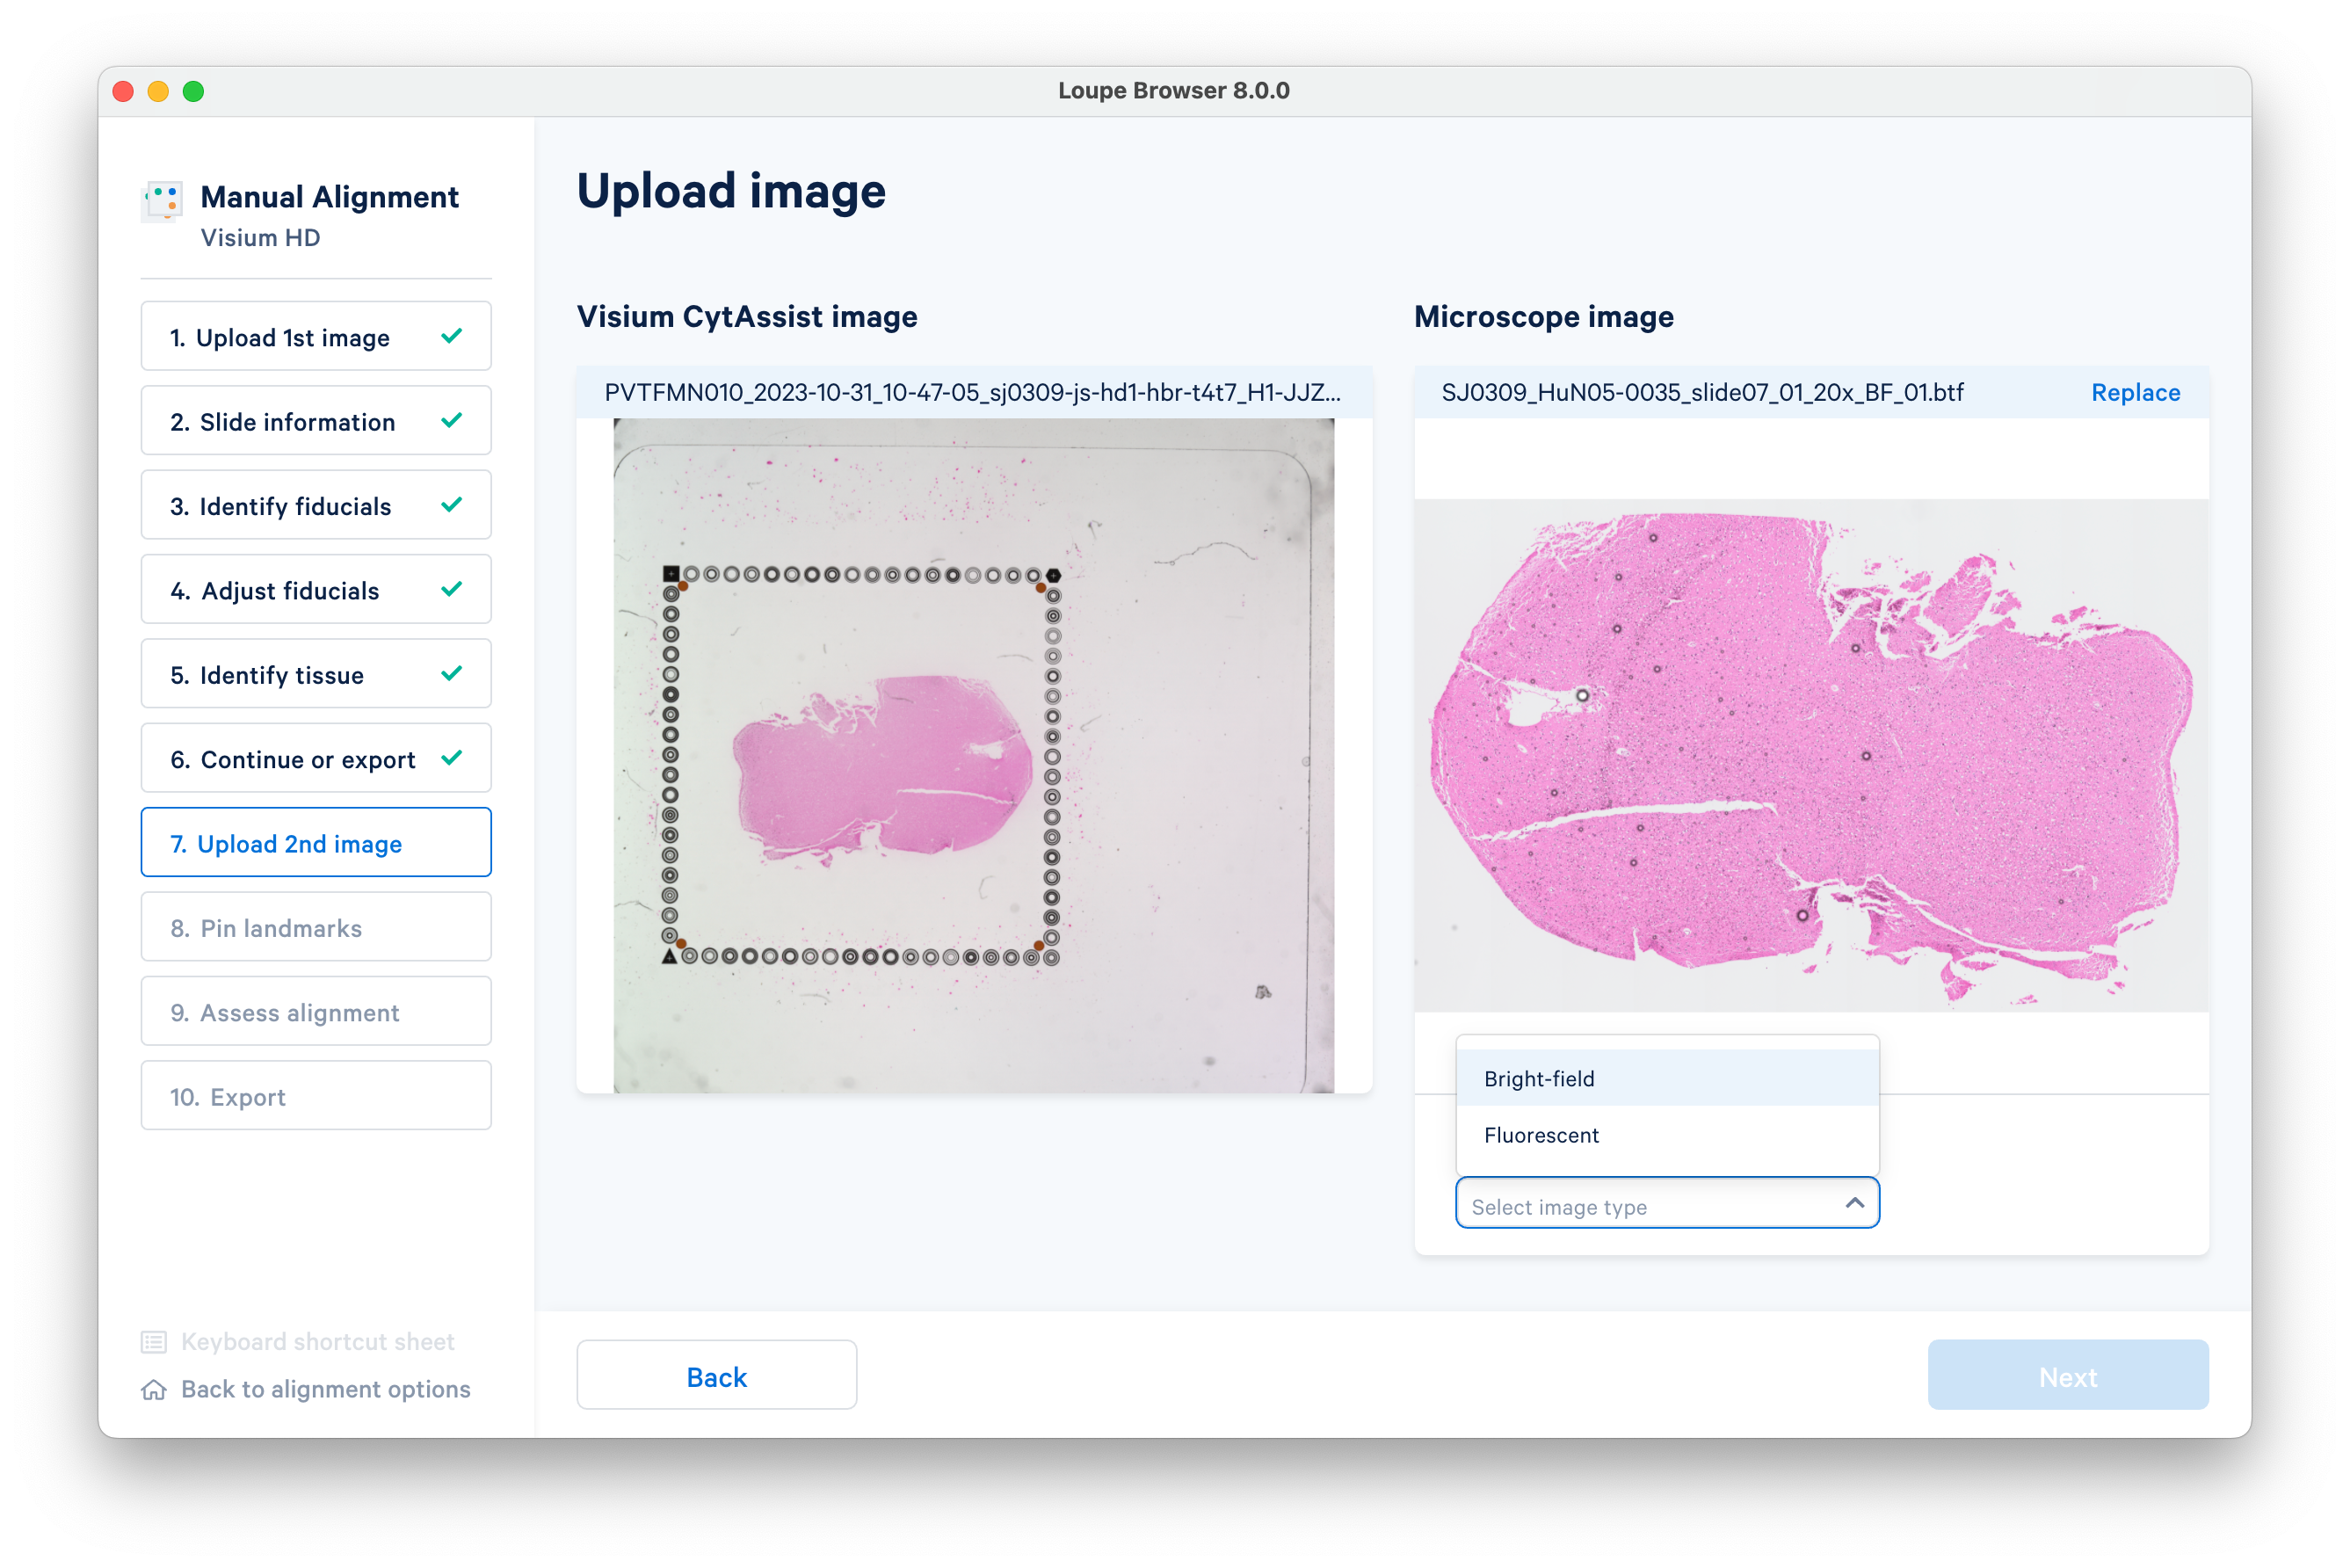
spaceranger count with the --loupe-alignment option.Upload the high-resolution microscope image (H&E or IF).
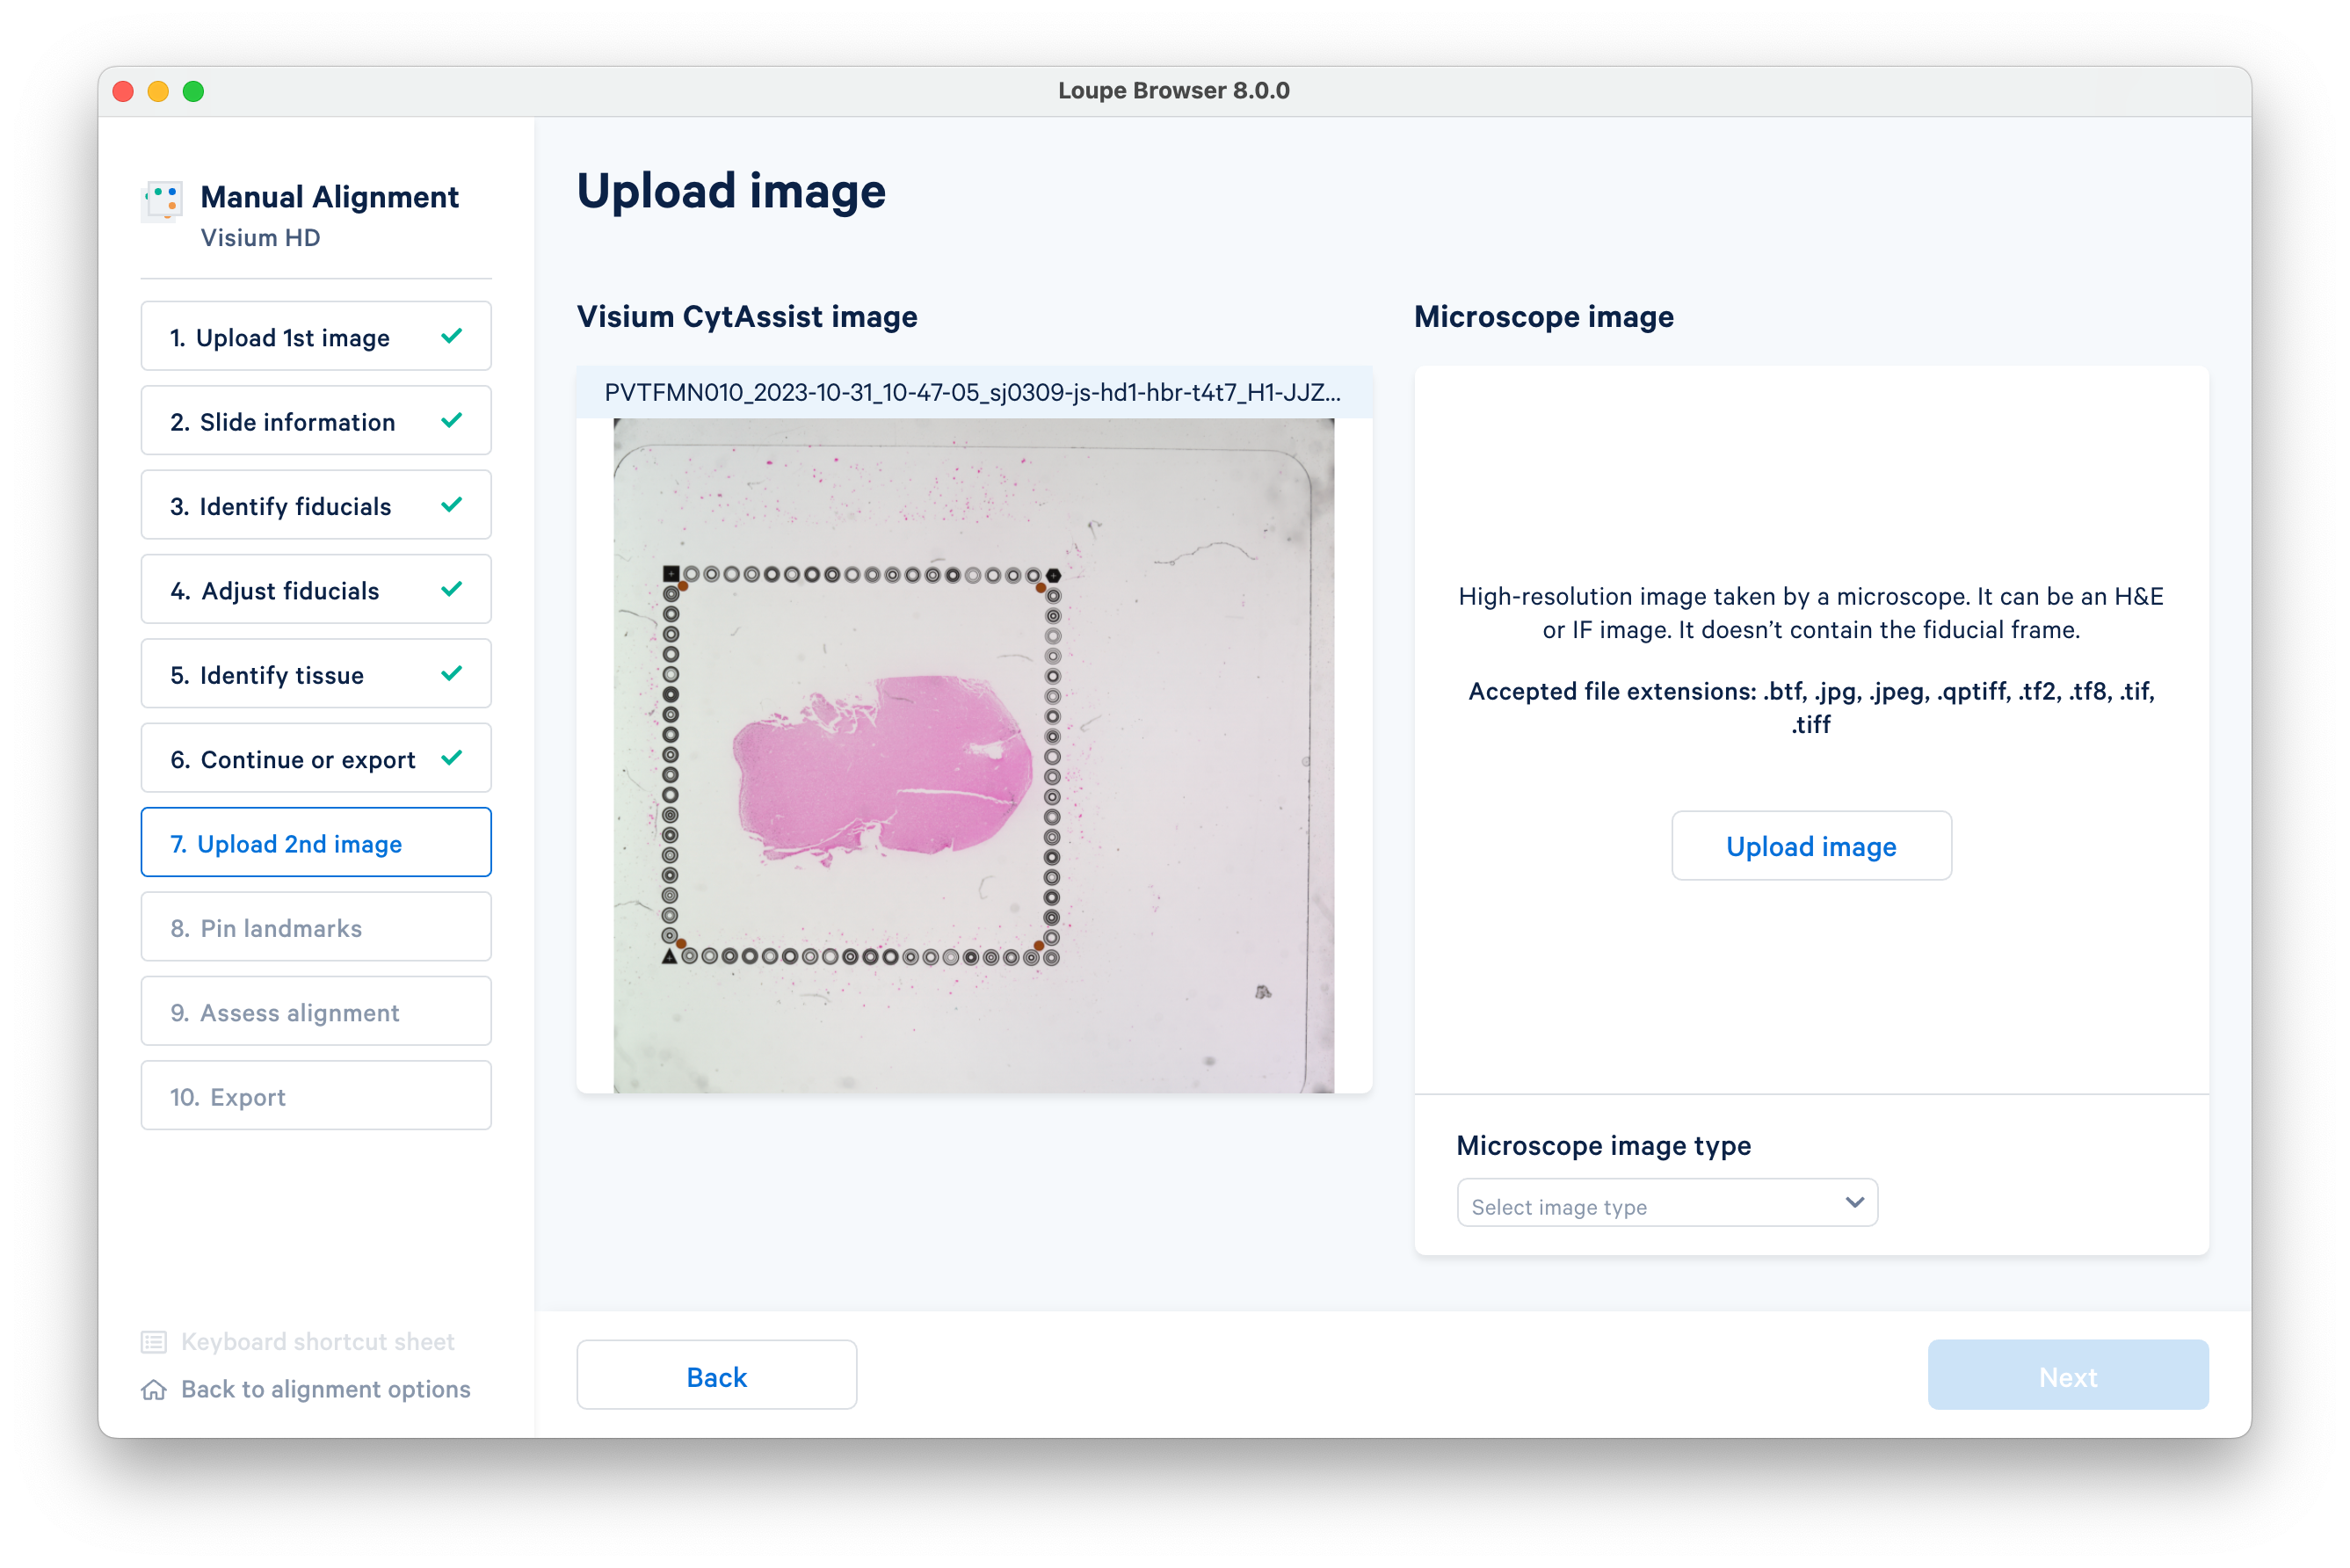
For H&E images, as in this case, select brightfield.
It is necessary to pin landmarks to get an accurate alignment. Tissue edges and other structures can make good landmarks.

Make sure to zoom in when placing landmarks for the best accuracy.
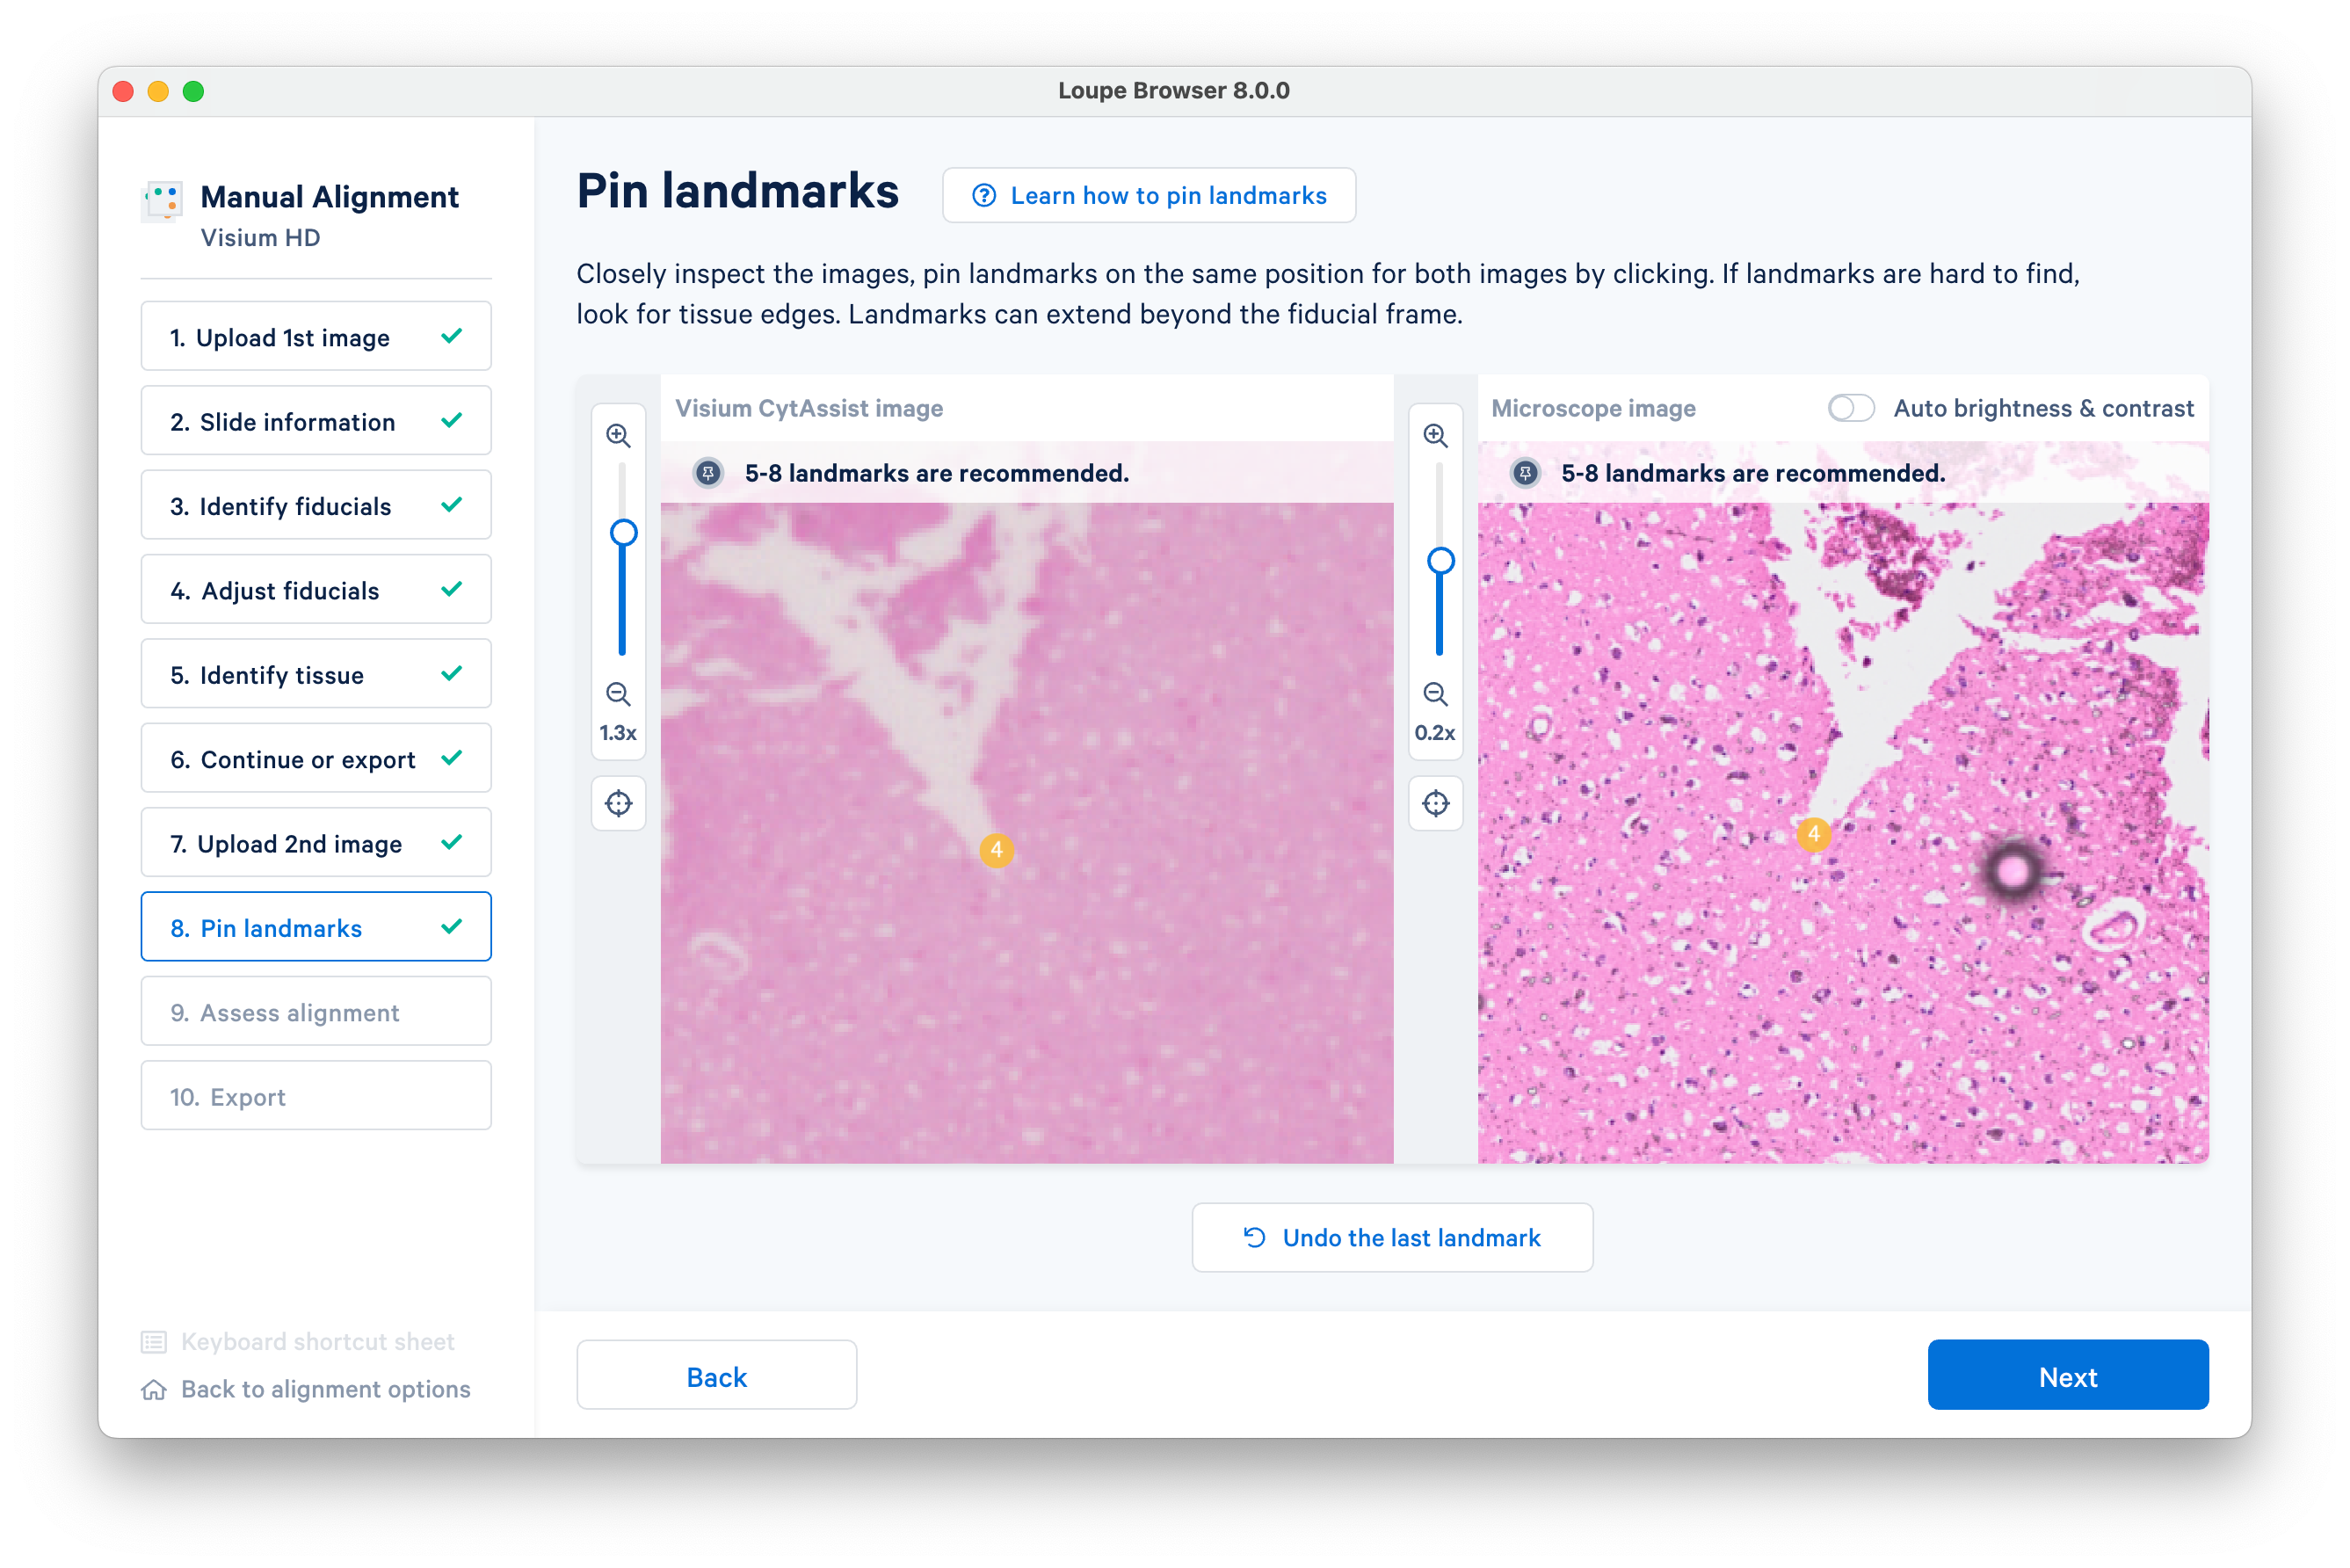
In this example we will proceed with six landmarks. Placing five to eight landmarks should be enough for the auto-refinement algorithm in most cases.
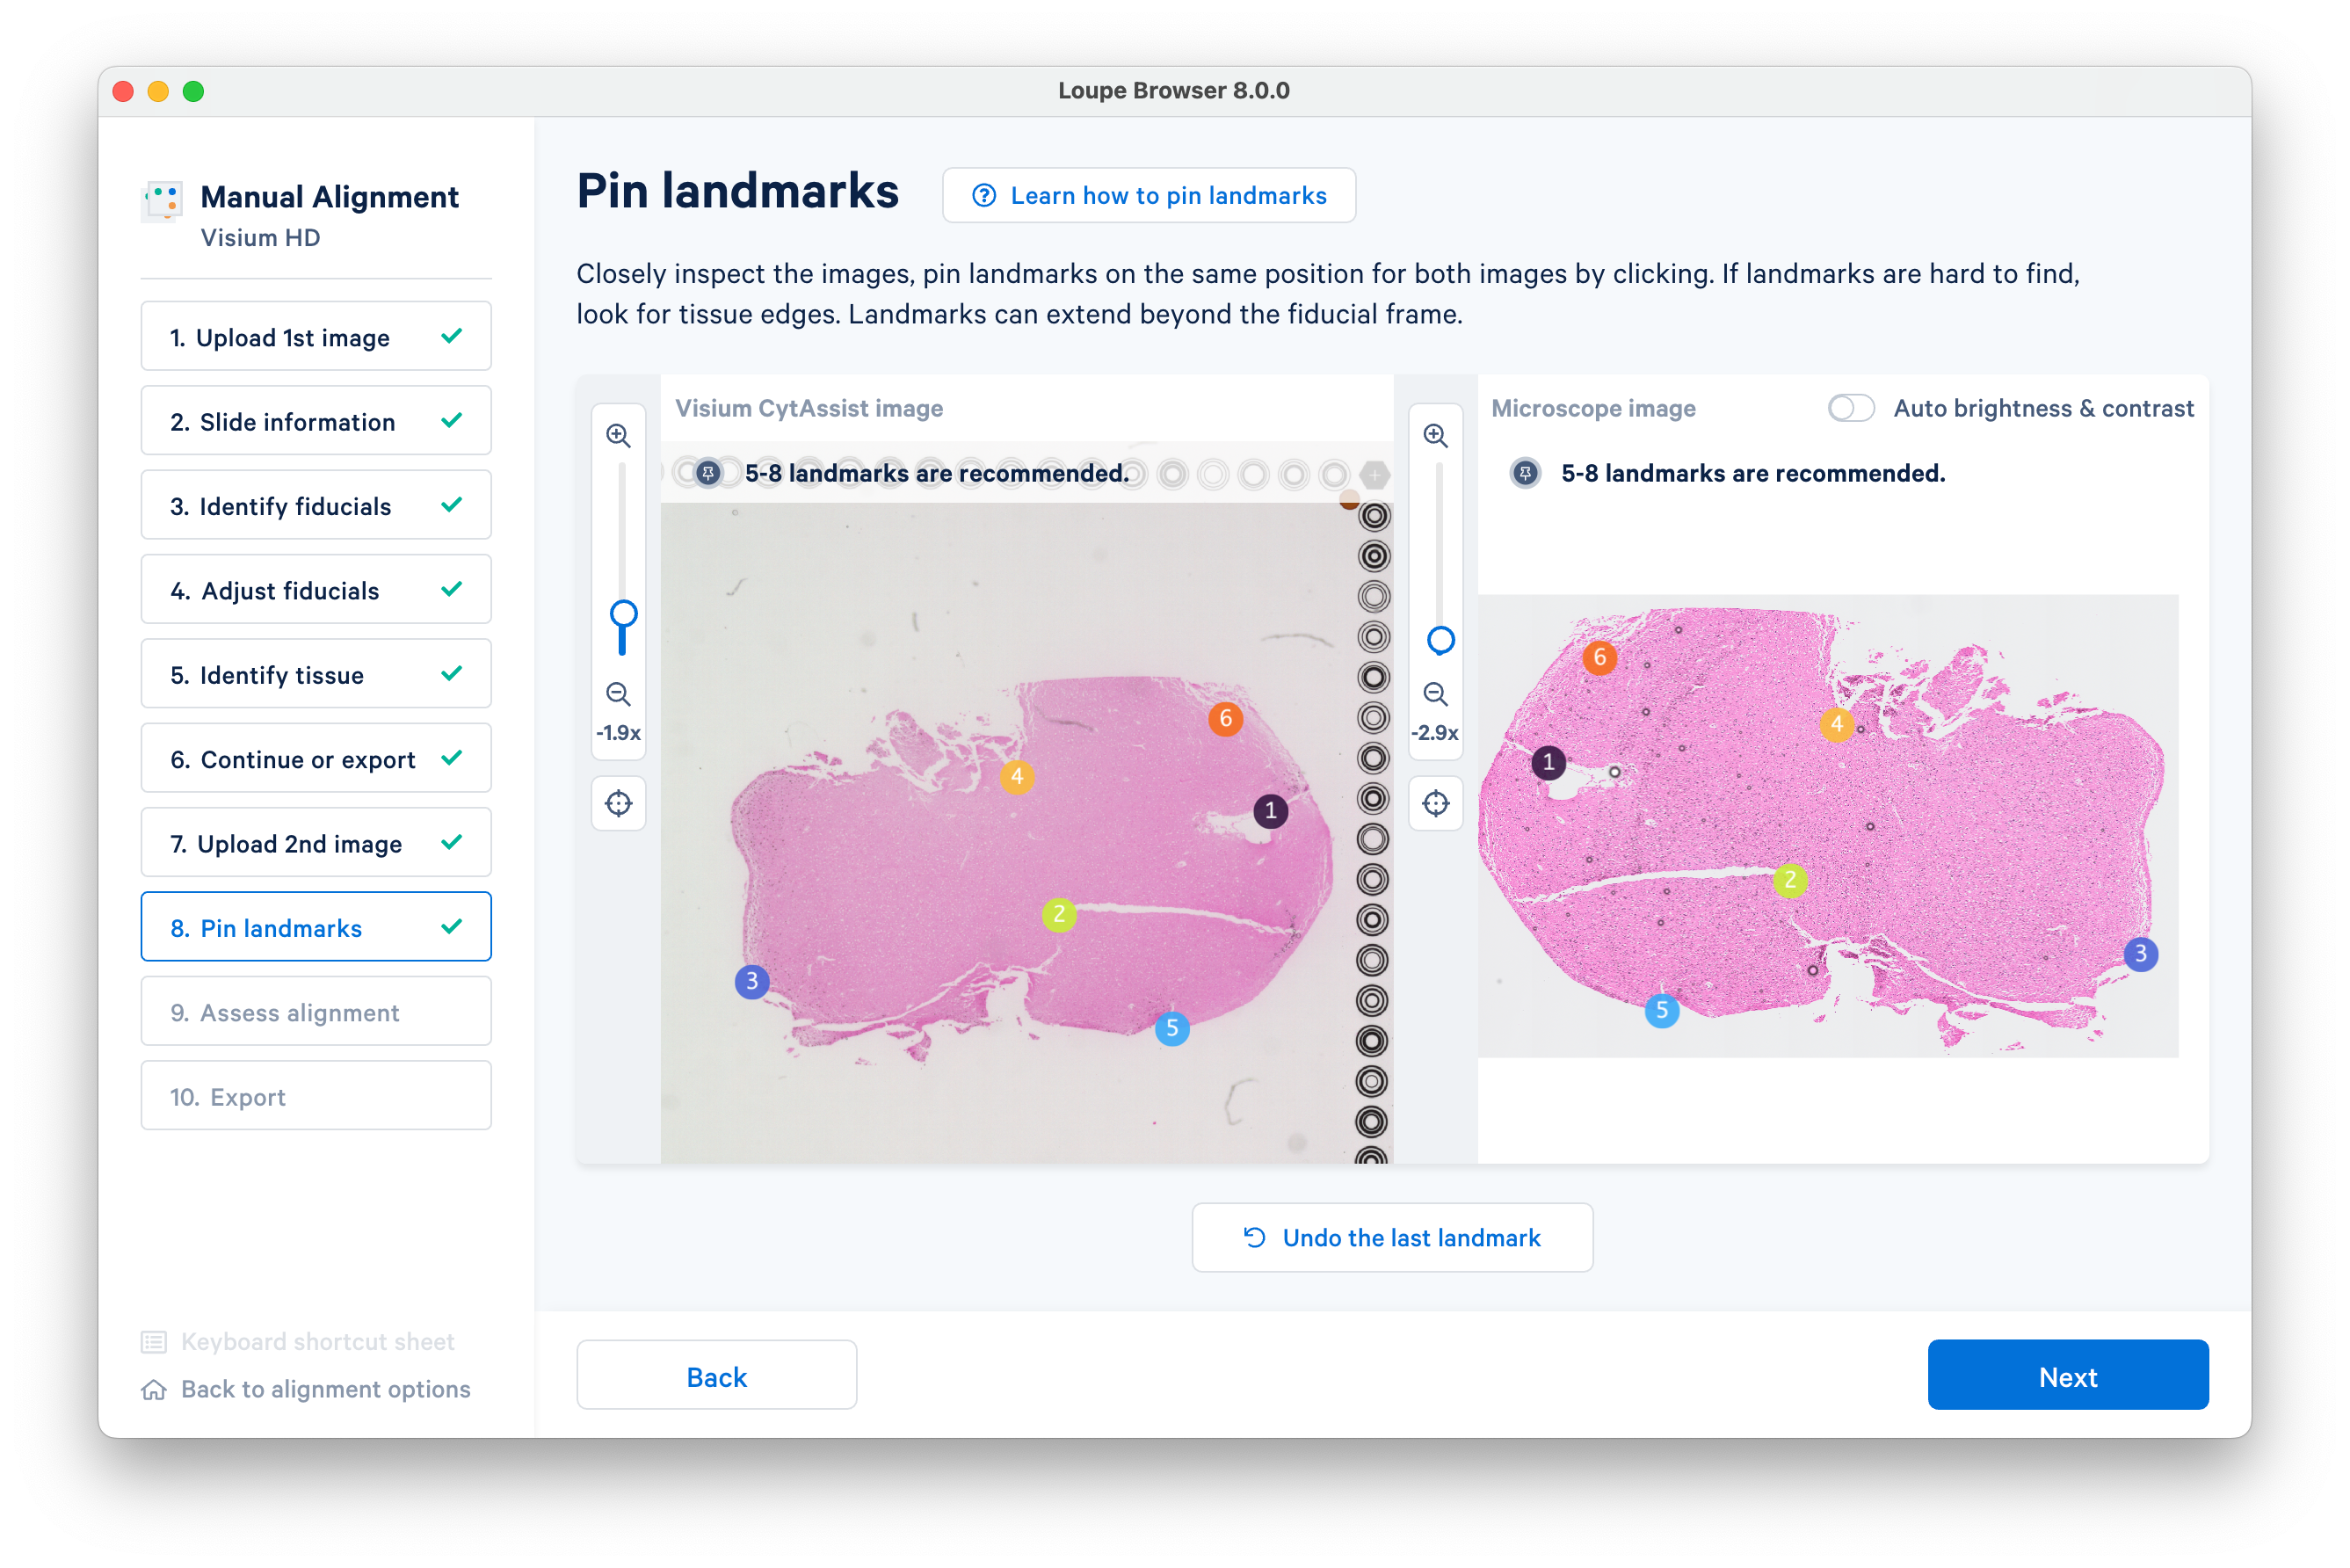
Click Next to advance to the next step.
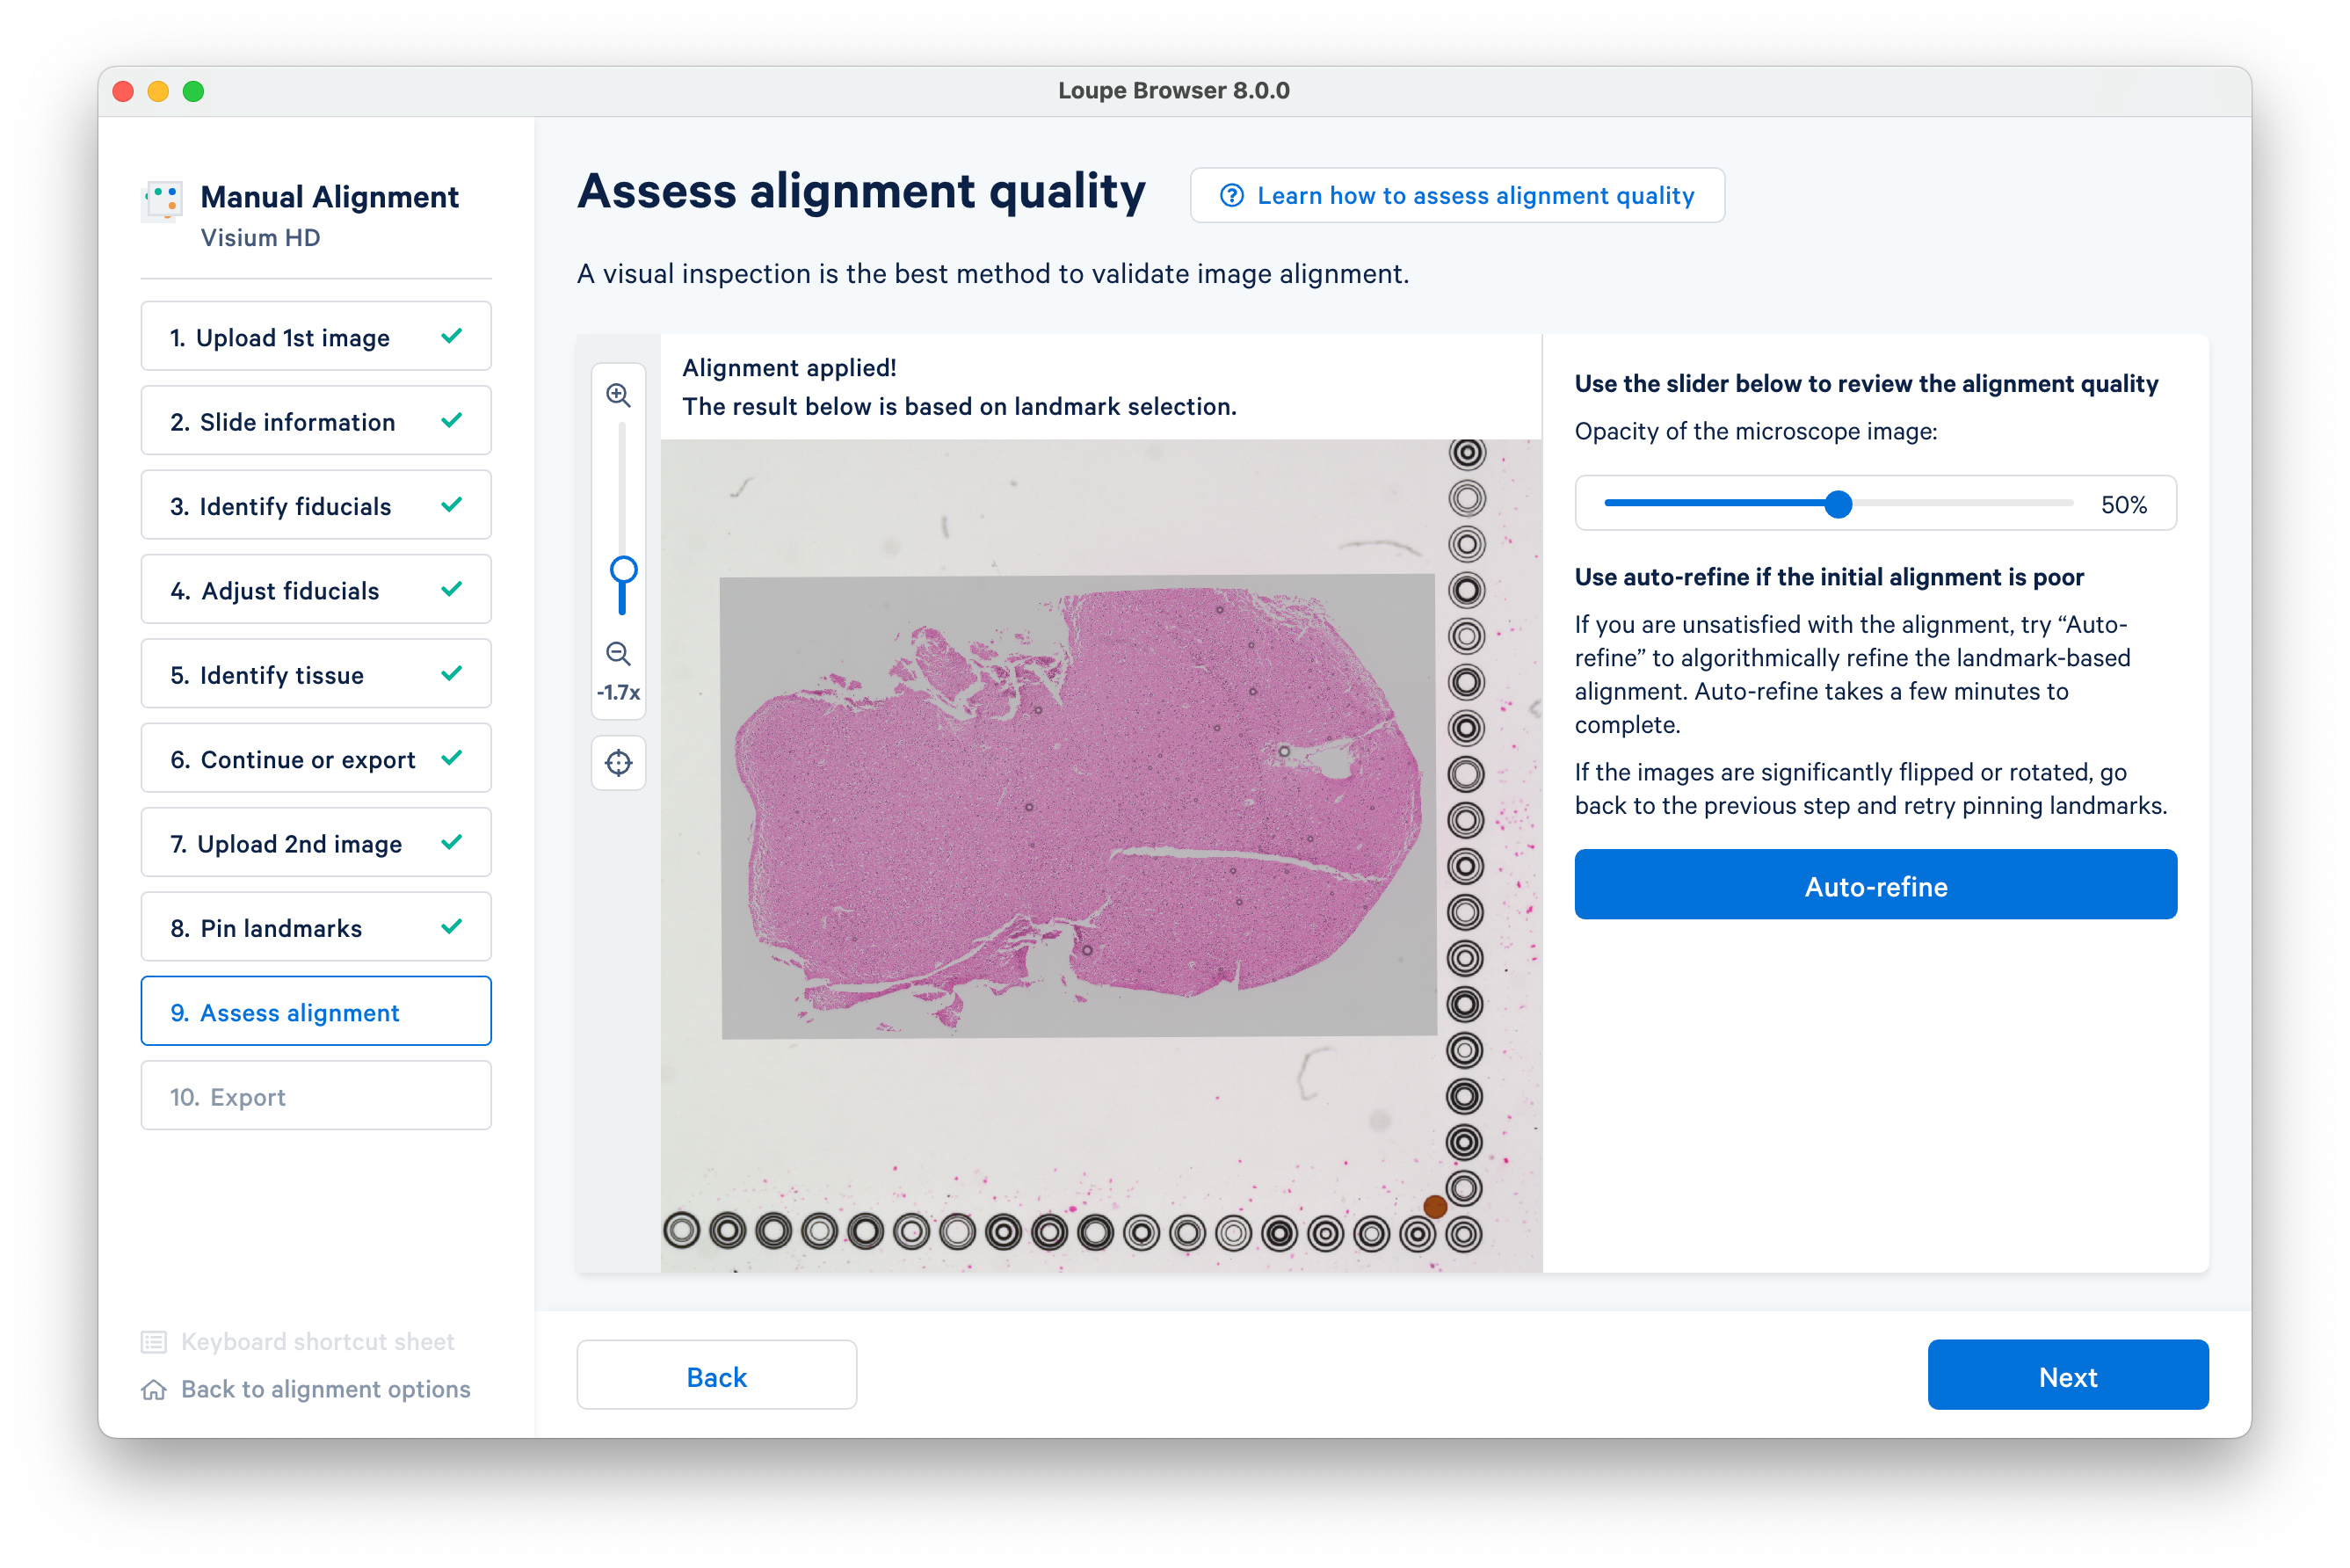
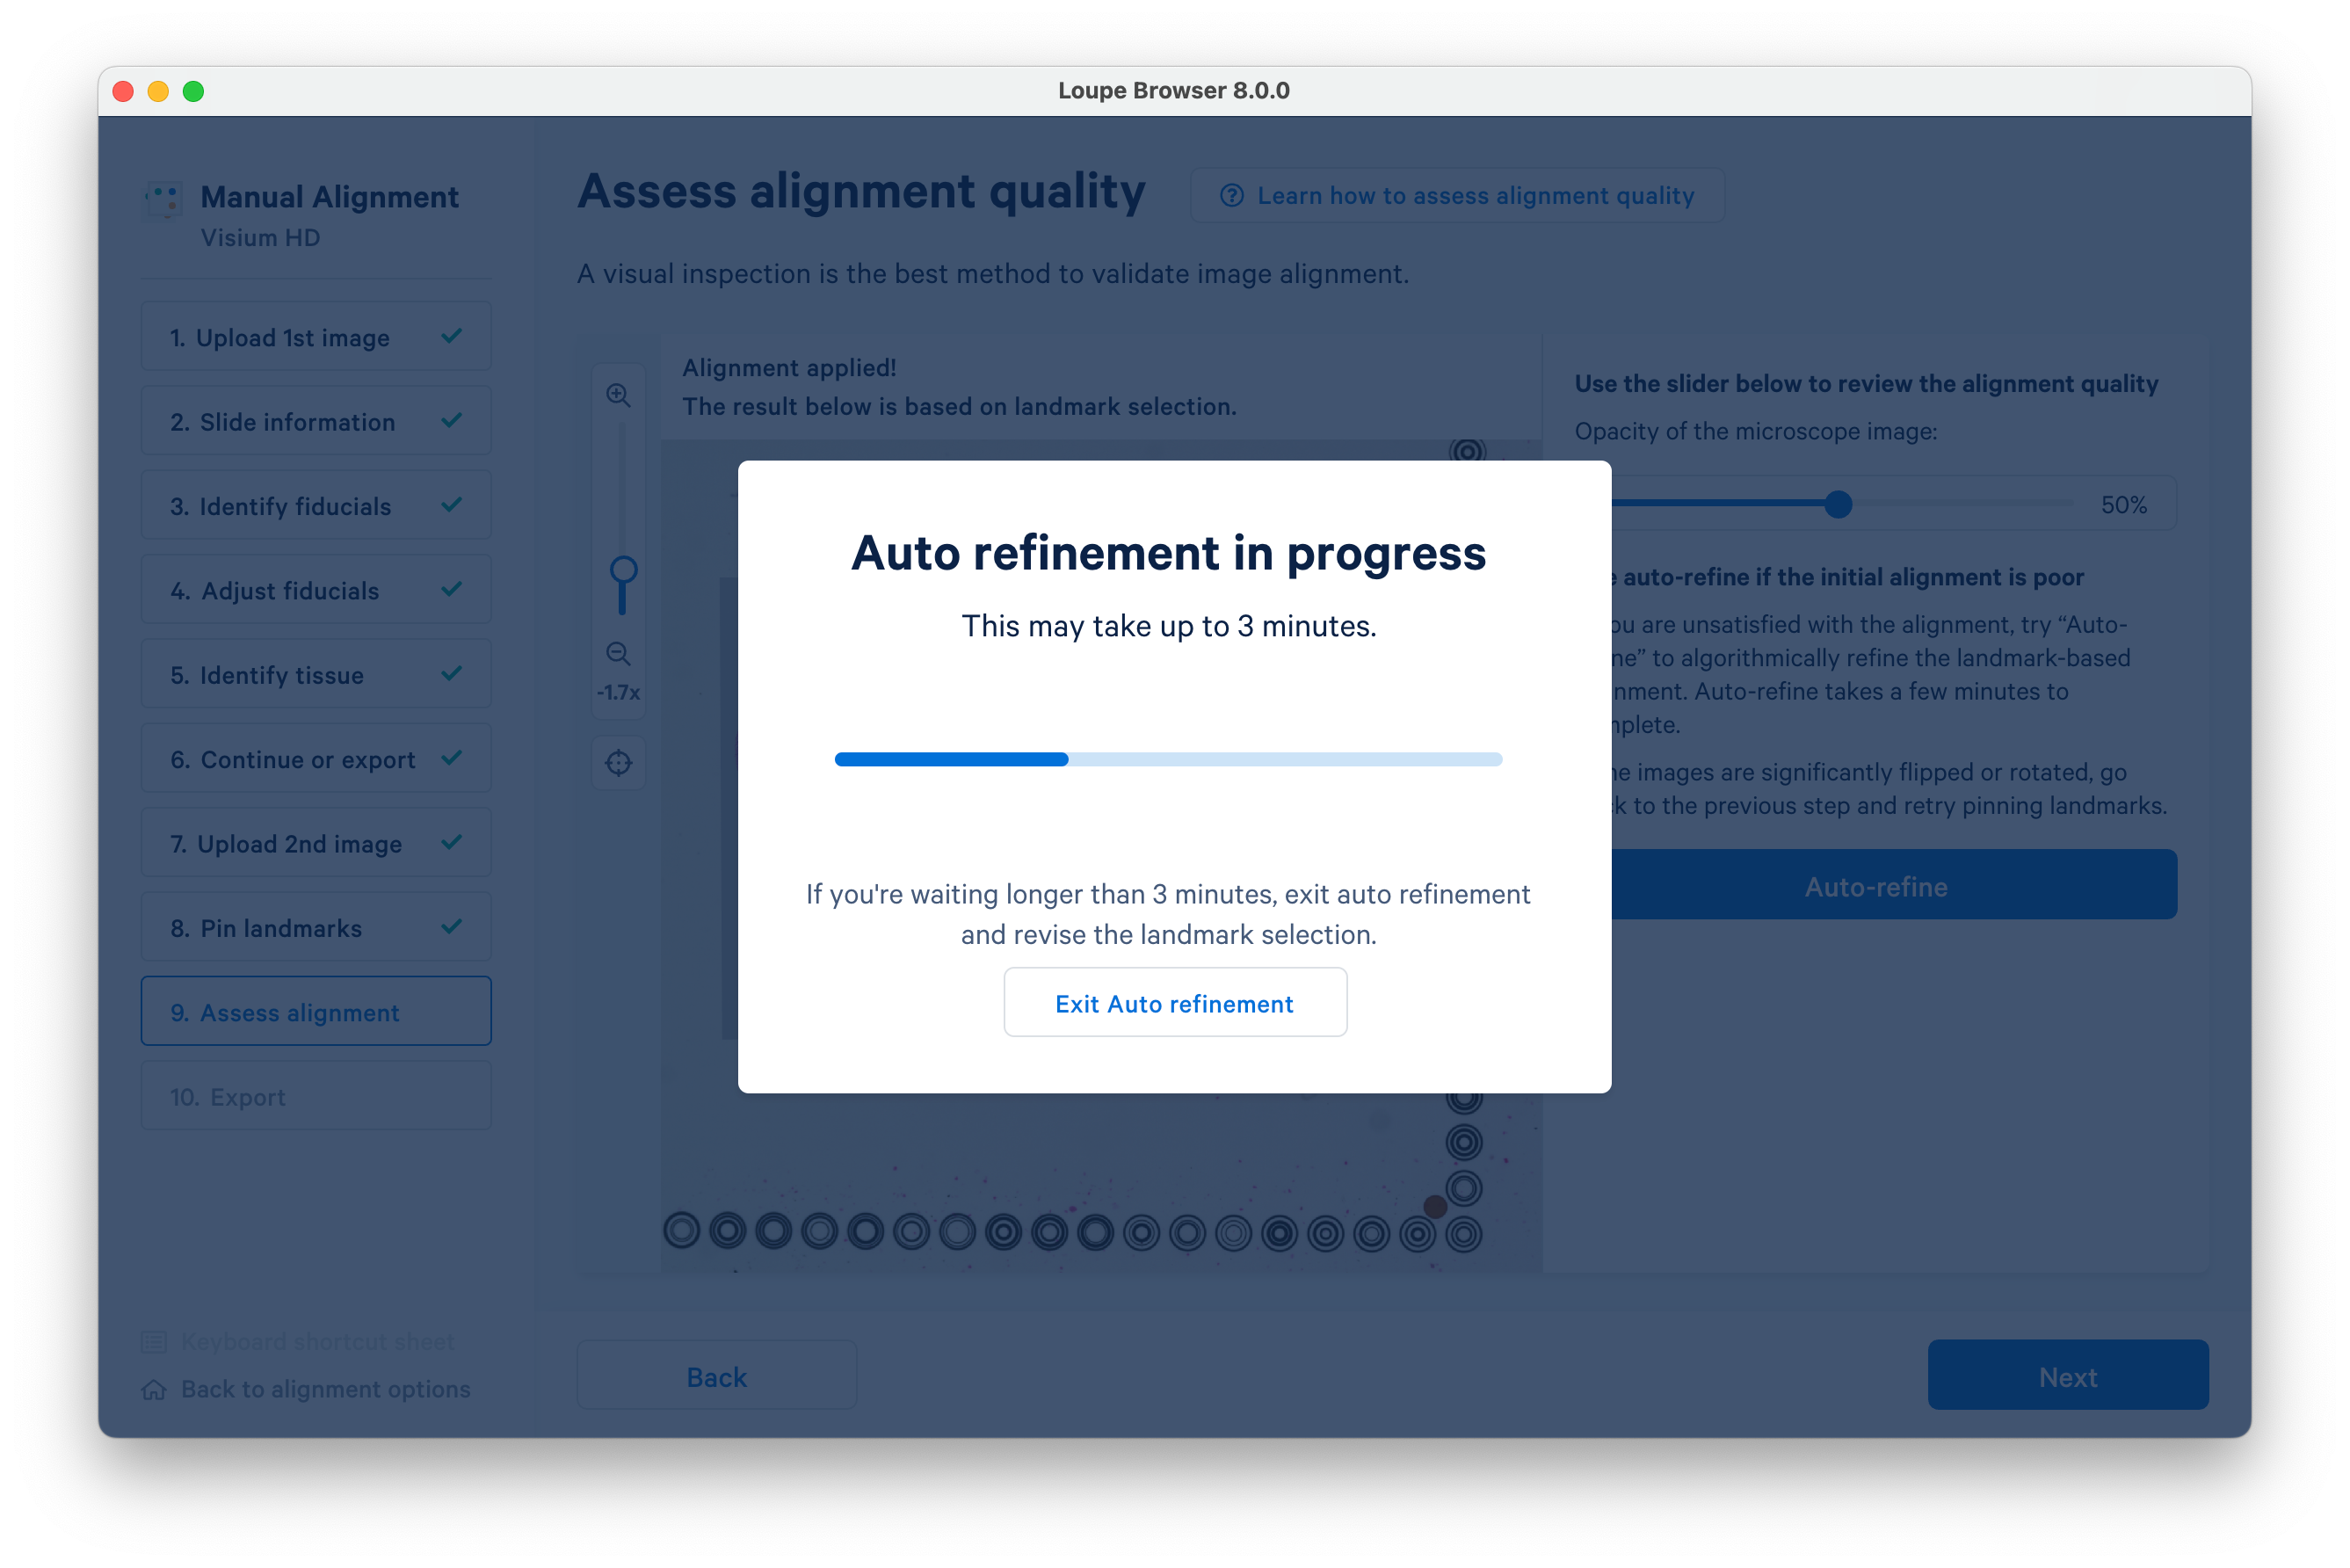
It is strongly recommended to use auto-refinement, which may take a few minutes to complete. This step may fail to complete if initial landmark placement was not precise enough. If so, it is recommended to repeat the previous step.

Zooming in to tissue edges can help visually inspect the alignment quality.
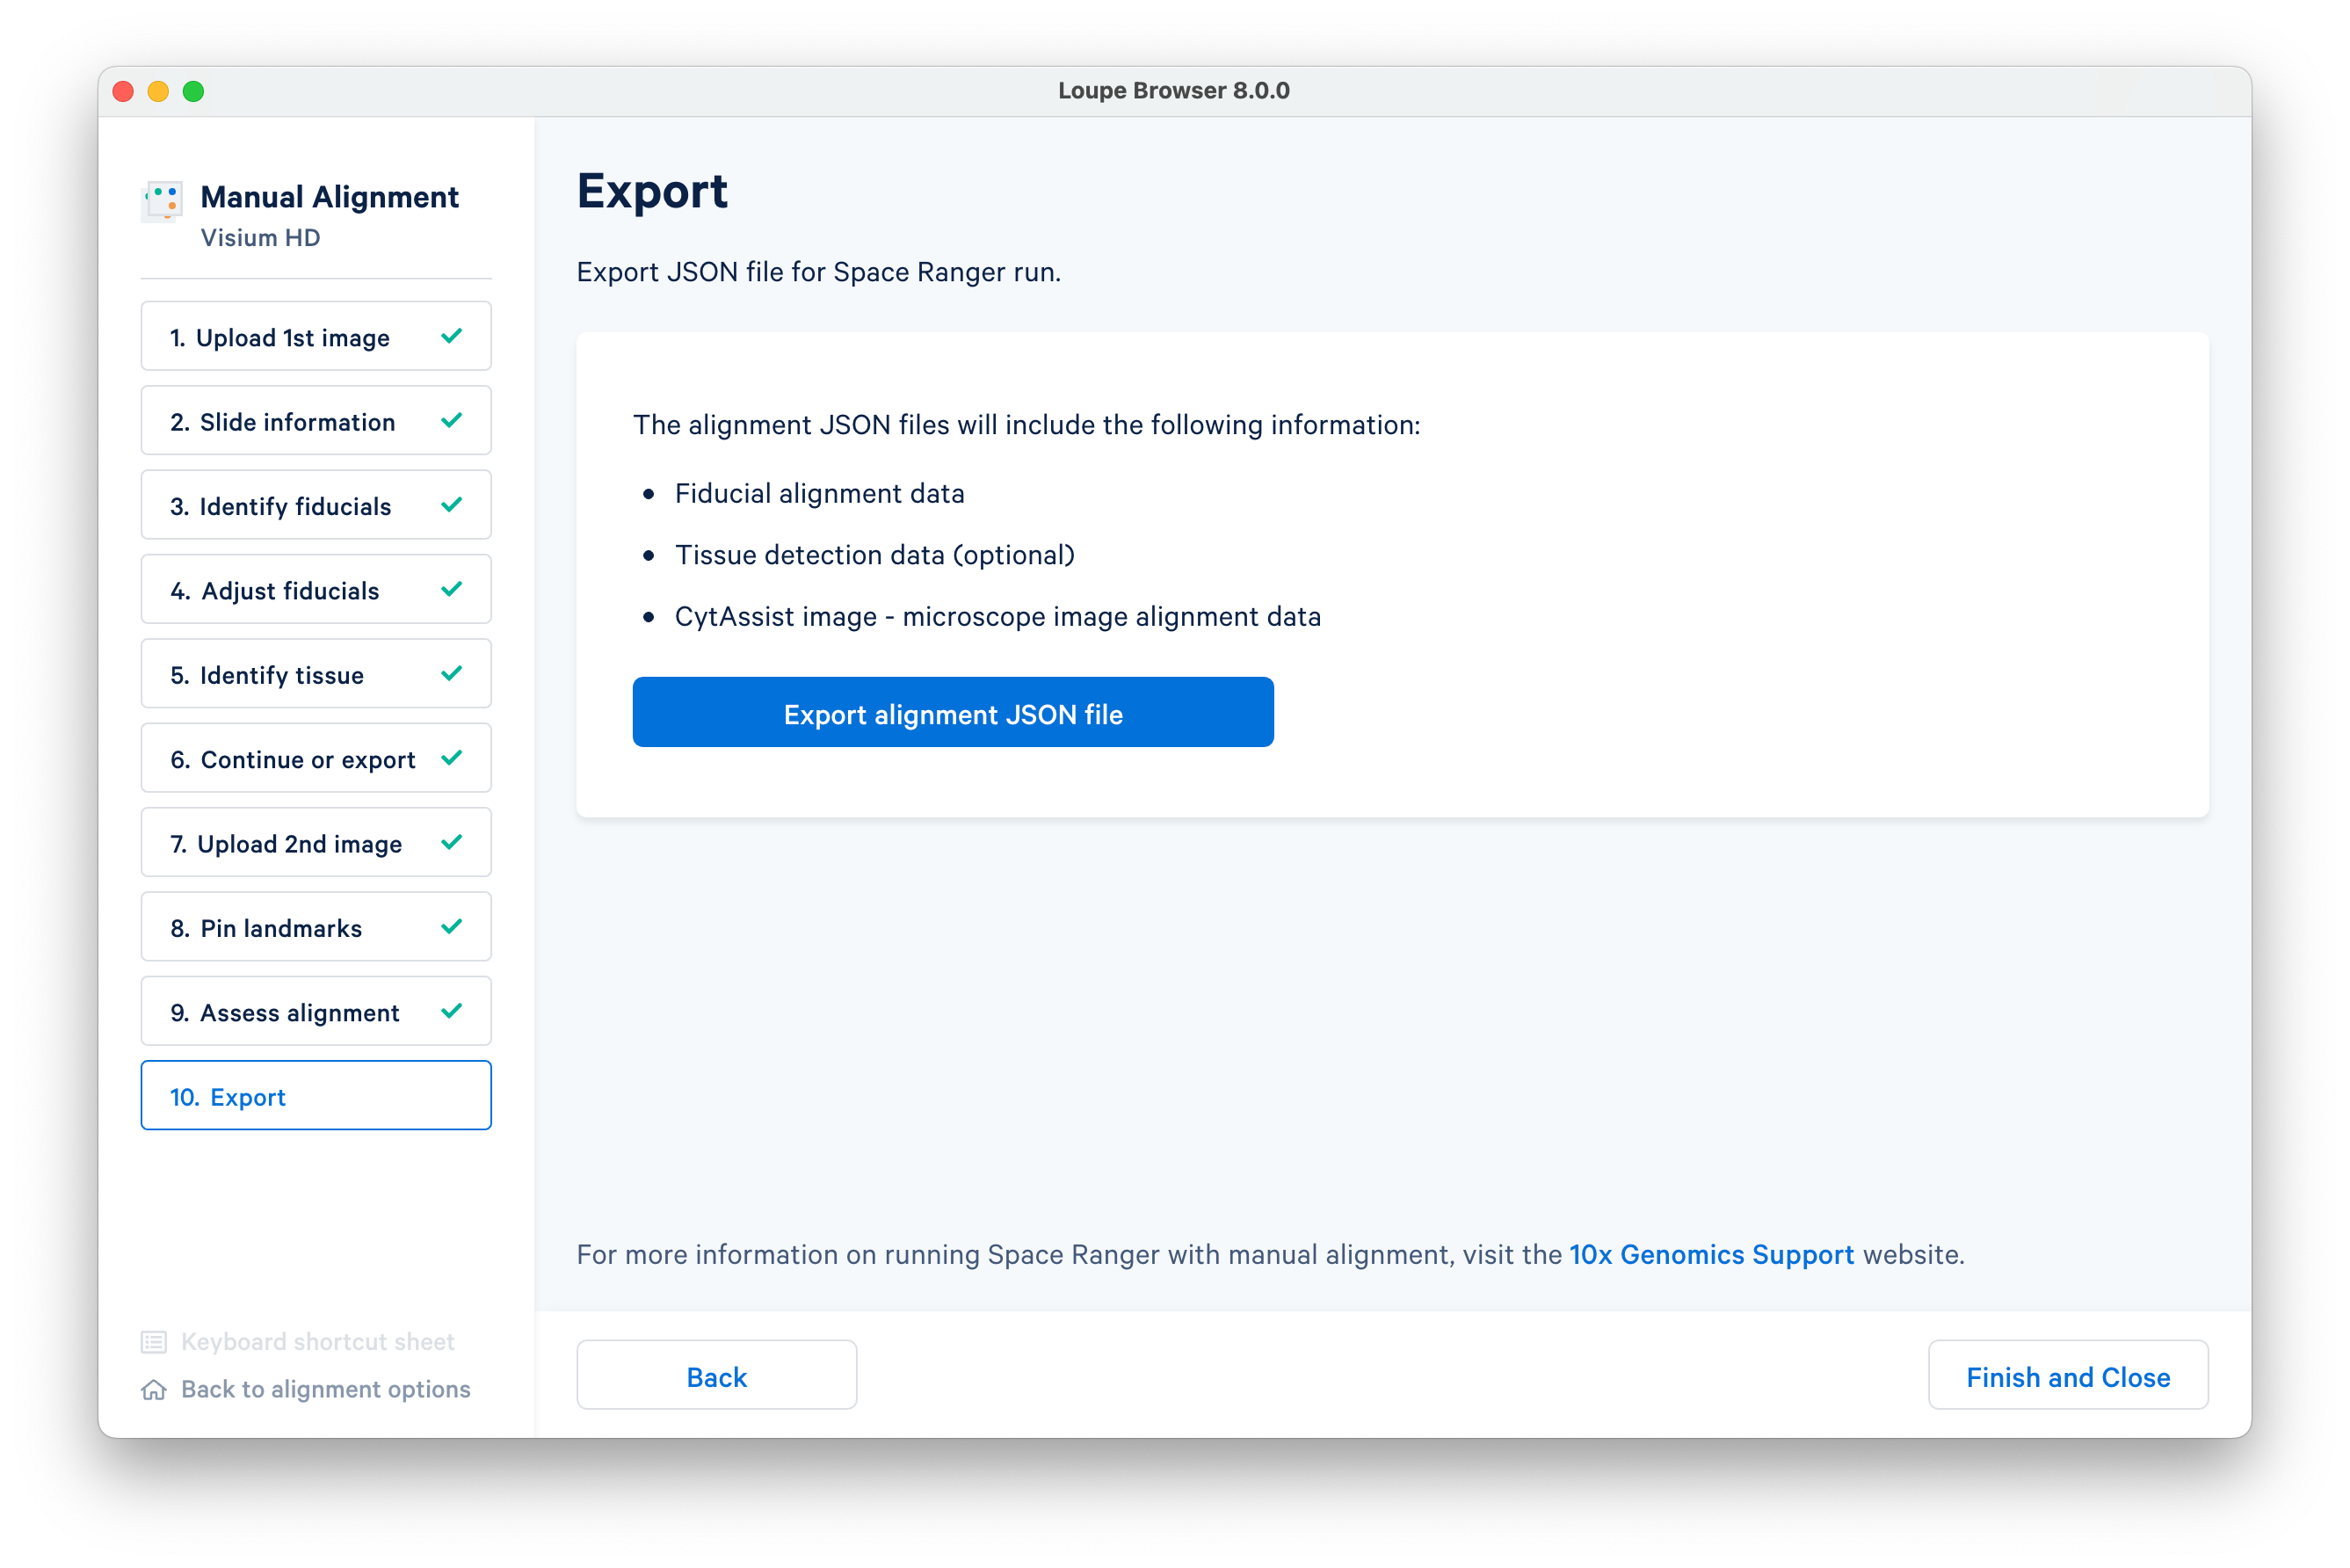
When you are satisfied with your alignment, export it as a JSON file to input to spaceranger count.
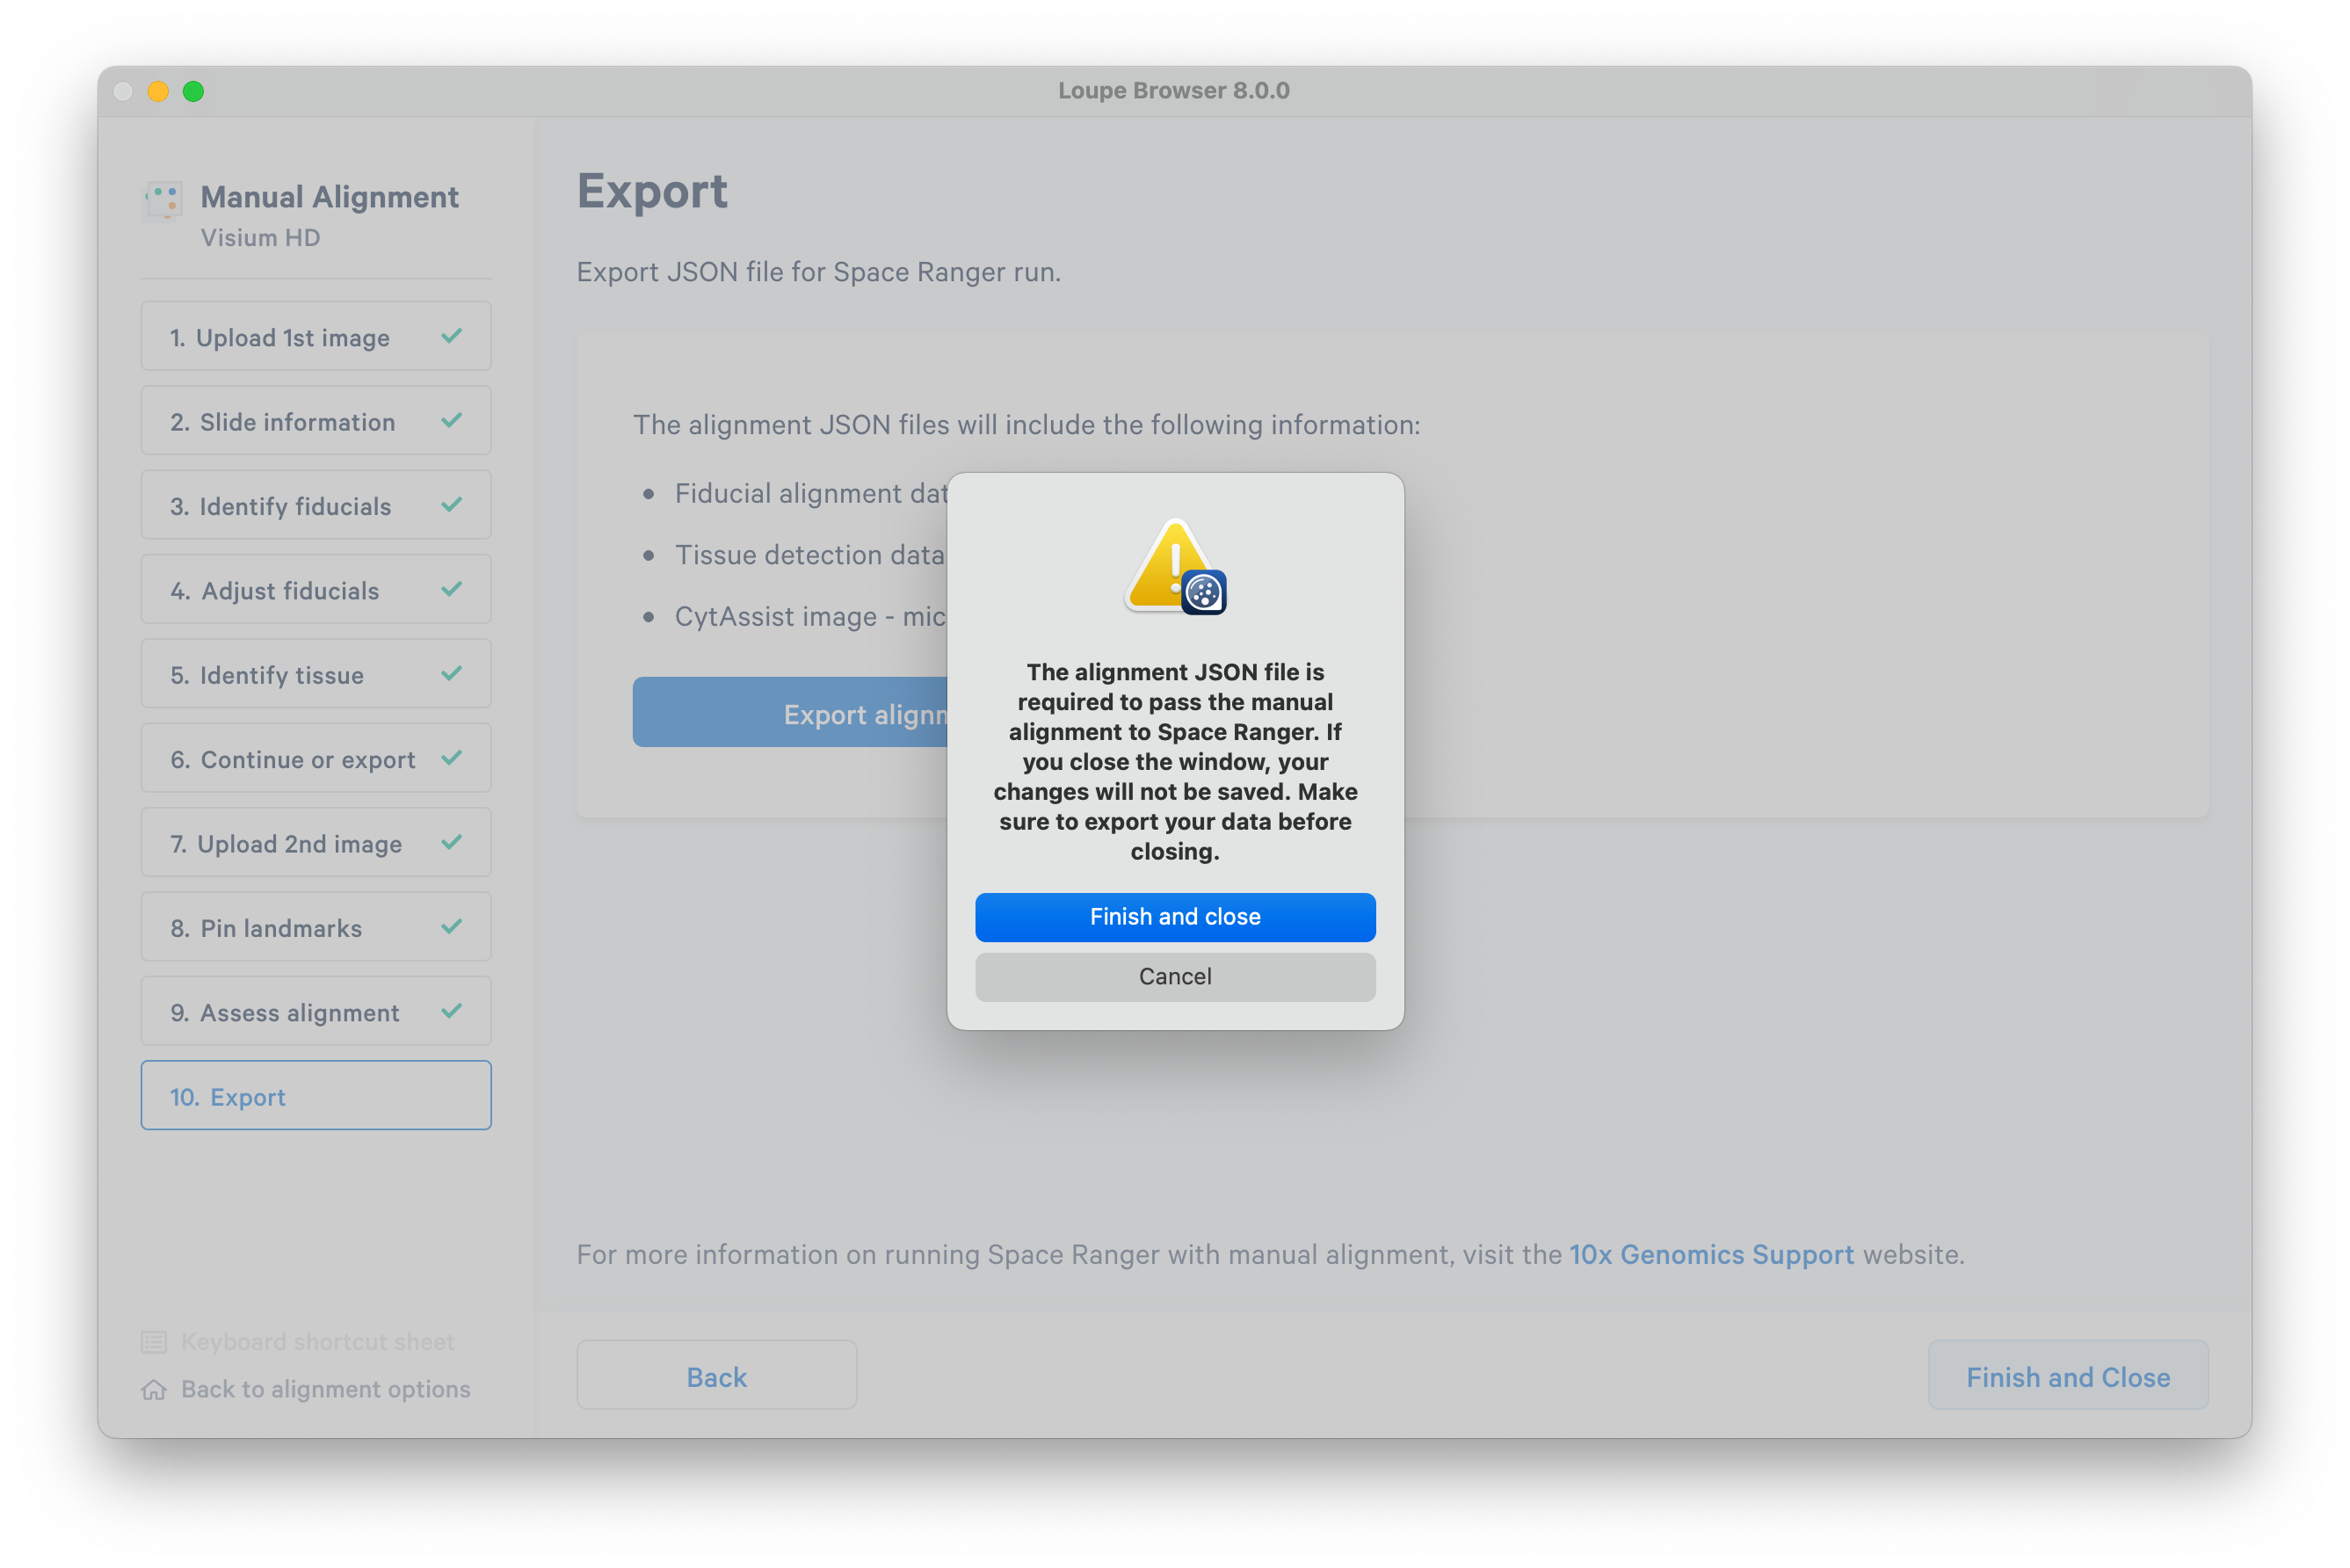
After you have exported the alignment, click Finish and Close. A warning message will pop up, even if you have already exported. When you have confirmed your JSON exported successfully, it is safe to close the window.
You are now ready to run spaceranger count following the instructions for Visium HD.