In addition to opening data from your computer or network drive, Xenium Explorer v4.0 enables cloud-based data loading for seamless access to large-scale spatial transcriptomics data.
This page describes how to open Xenium Onboard Analysis (XOA) files that are stored in an Amazon Web Services (AWS) S3 bucket in Xenium Explorer.
This experimental feature is recommended for users who:
- Are already using AWS for data storage or
- Have access to AWS via their IT department to centralize data storage in their lab or institution
- Have an AWS account.
- Create and upload Xenium data to an S3 bucket. AWS provides instructions for setting up S3 buckets.
- Familiarity with command line interface.
- Download and install AWS CLI v2 or higher (download link). AWS provides installation instructions for running the CLI on Linux, Mac, or Windows operating systems.
- Download and install Xenium Explorer v4.0.
To access your data from S3 using Xenium Explorer, you must configure an AWS profile named 10xXeniumExplorer.
Set up an AWS profile with any supported authentication method. We provide examples for two authentication methods below.
-
Download and install AWS CLI v2 or higher (download link). AWS provides installation instructions here.
-
Retrieve your SSO details, including the following information:
If unsure, please consult your IT department for help locating SSO details.
SSO Start URLSSO RegionAWS Account IDAWS Role Name
-
Run the following
awscommand in your terminal:aws configure ssoType the required inputs when prompted. Example entries are shown below (
SSO start URL [None]: https://your-organization.awsapps.com/startandSSO Region [None]: us-west-2):SSO session name (Recommended): WARNING: Configuring using legacy format (e.g. without an SSO session). Consider re-running "configure sso" command and providing a session name. SSO start URL [None]: https://your-organization.awsapps.com/start SSO Region [None]: us-west-2 -
Complete the web browser-based authentication: After entering the
SSP Region, the CLI should open a browser window for SSO authentication. If it does not, paste the given URL into your web browser manually. Then, enter the provided code at the prompt.Please request access from your IT department if you encounter a 403 error.
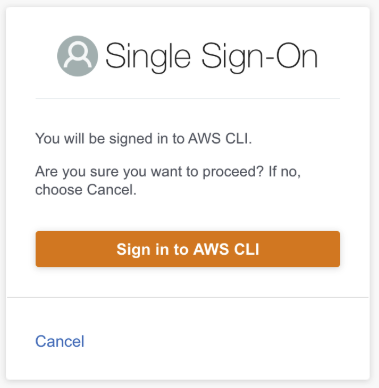
Click the orange button to confirm your login:
After signing in, you should see the following confirmation:
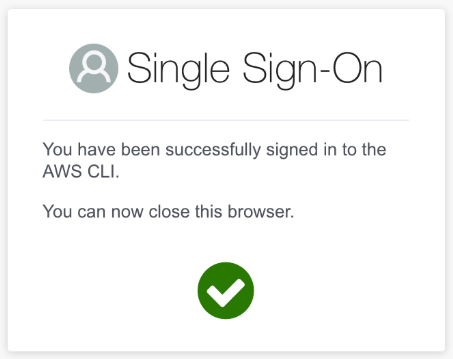
Close the browser tab and return to the terminal to complete profile setup.
-
Configure the AWS account: If you have access to only one AWS account, the CLI will automatically select it. Otherwise, choose the account that provides access to your data.
If unsure, please consult your IT department for help choosing an AWS account.
CLI default client Region: Provide the AWS Region for the bucket your data is stored in. We support all AWS regions except China.CLI profile name: The CLI will ask you to name your profile. For Xenium Explorer to access your files, you must name the profile10xXeniumExplorer.
Provide the required inputs for region and output format when prompted. Example entries are shown below:
CLI default client Region [us-west-2]: us-west-2 CLI default output format [None]: json CLI profile name [abcdefg-012345678901]: 10xXeniumExplorer
Profile saved: The 10xXeniumExplorer profile is now saved. This profile is persistent and can be used again in the future without repeating the steps above.
-
Download and install AWS CLI v2 or higher (download link). AWS provides installation instructions here.
-
Run the following
awscommand in your terminal:aws configure --profile 10xXeniumExplorerType the required inputs when prompted. Example entries are shown below for access key ID and secret access key (region name and output format inputs are not used by Xenium Explorer and are optional).
AWS Access Key ID [None]: your_access_key_id AWS Secret Access Key [None]: your_secret_access_key Default region name [None]: Default output format [json]:
Profile saved: The 10xXeniumExplorer profile is now saved. This profile is persistent and can be used again in the future without repeating the steps above.
-
Download and install Xenium Explorer v4.0.
-
If you set up an AWS profile without SSO, continue to the next step. If you set up an AWS profile with SSO, log in to AWS SSO and obtain credentials:
aws sso login --profile 10xXeniumExplorerYou can now log into AWS SSO using your saved profile. Open your terminal and type the command below to open a browser window for SSO authentication. Follow the prompts to save temporary credentials from AWS. Simply run the command again to refresh credentials when they expire after a few hours.
-
Open Xenium Explorer
-
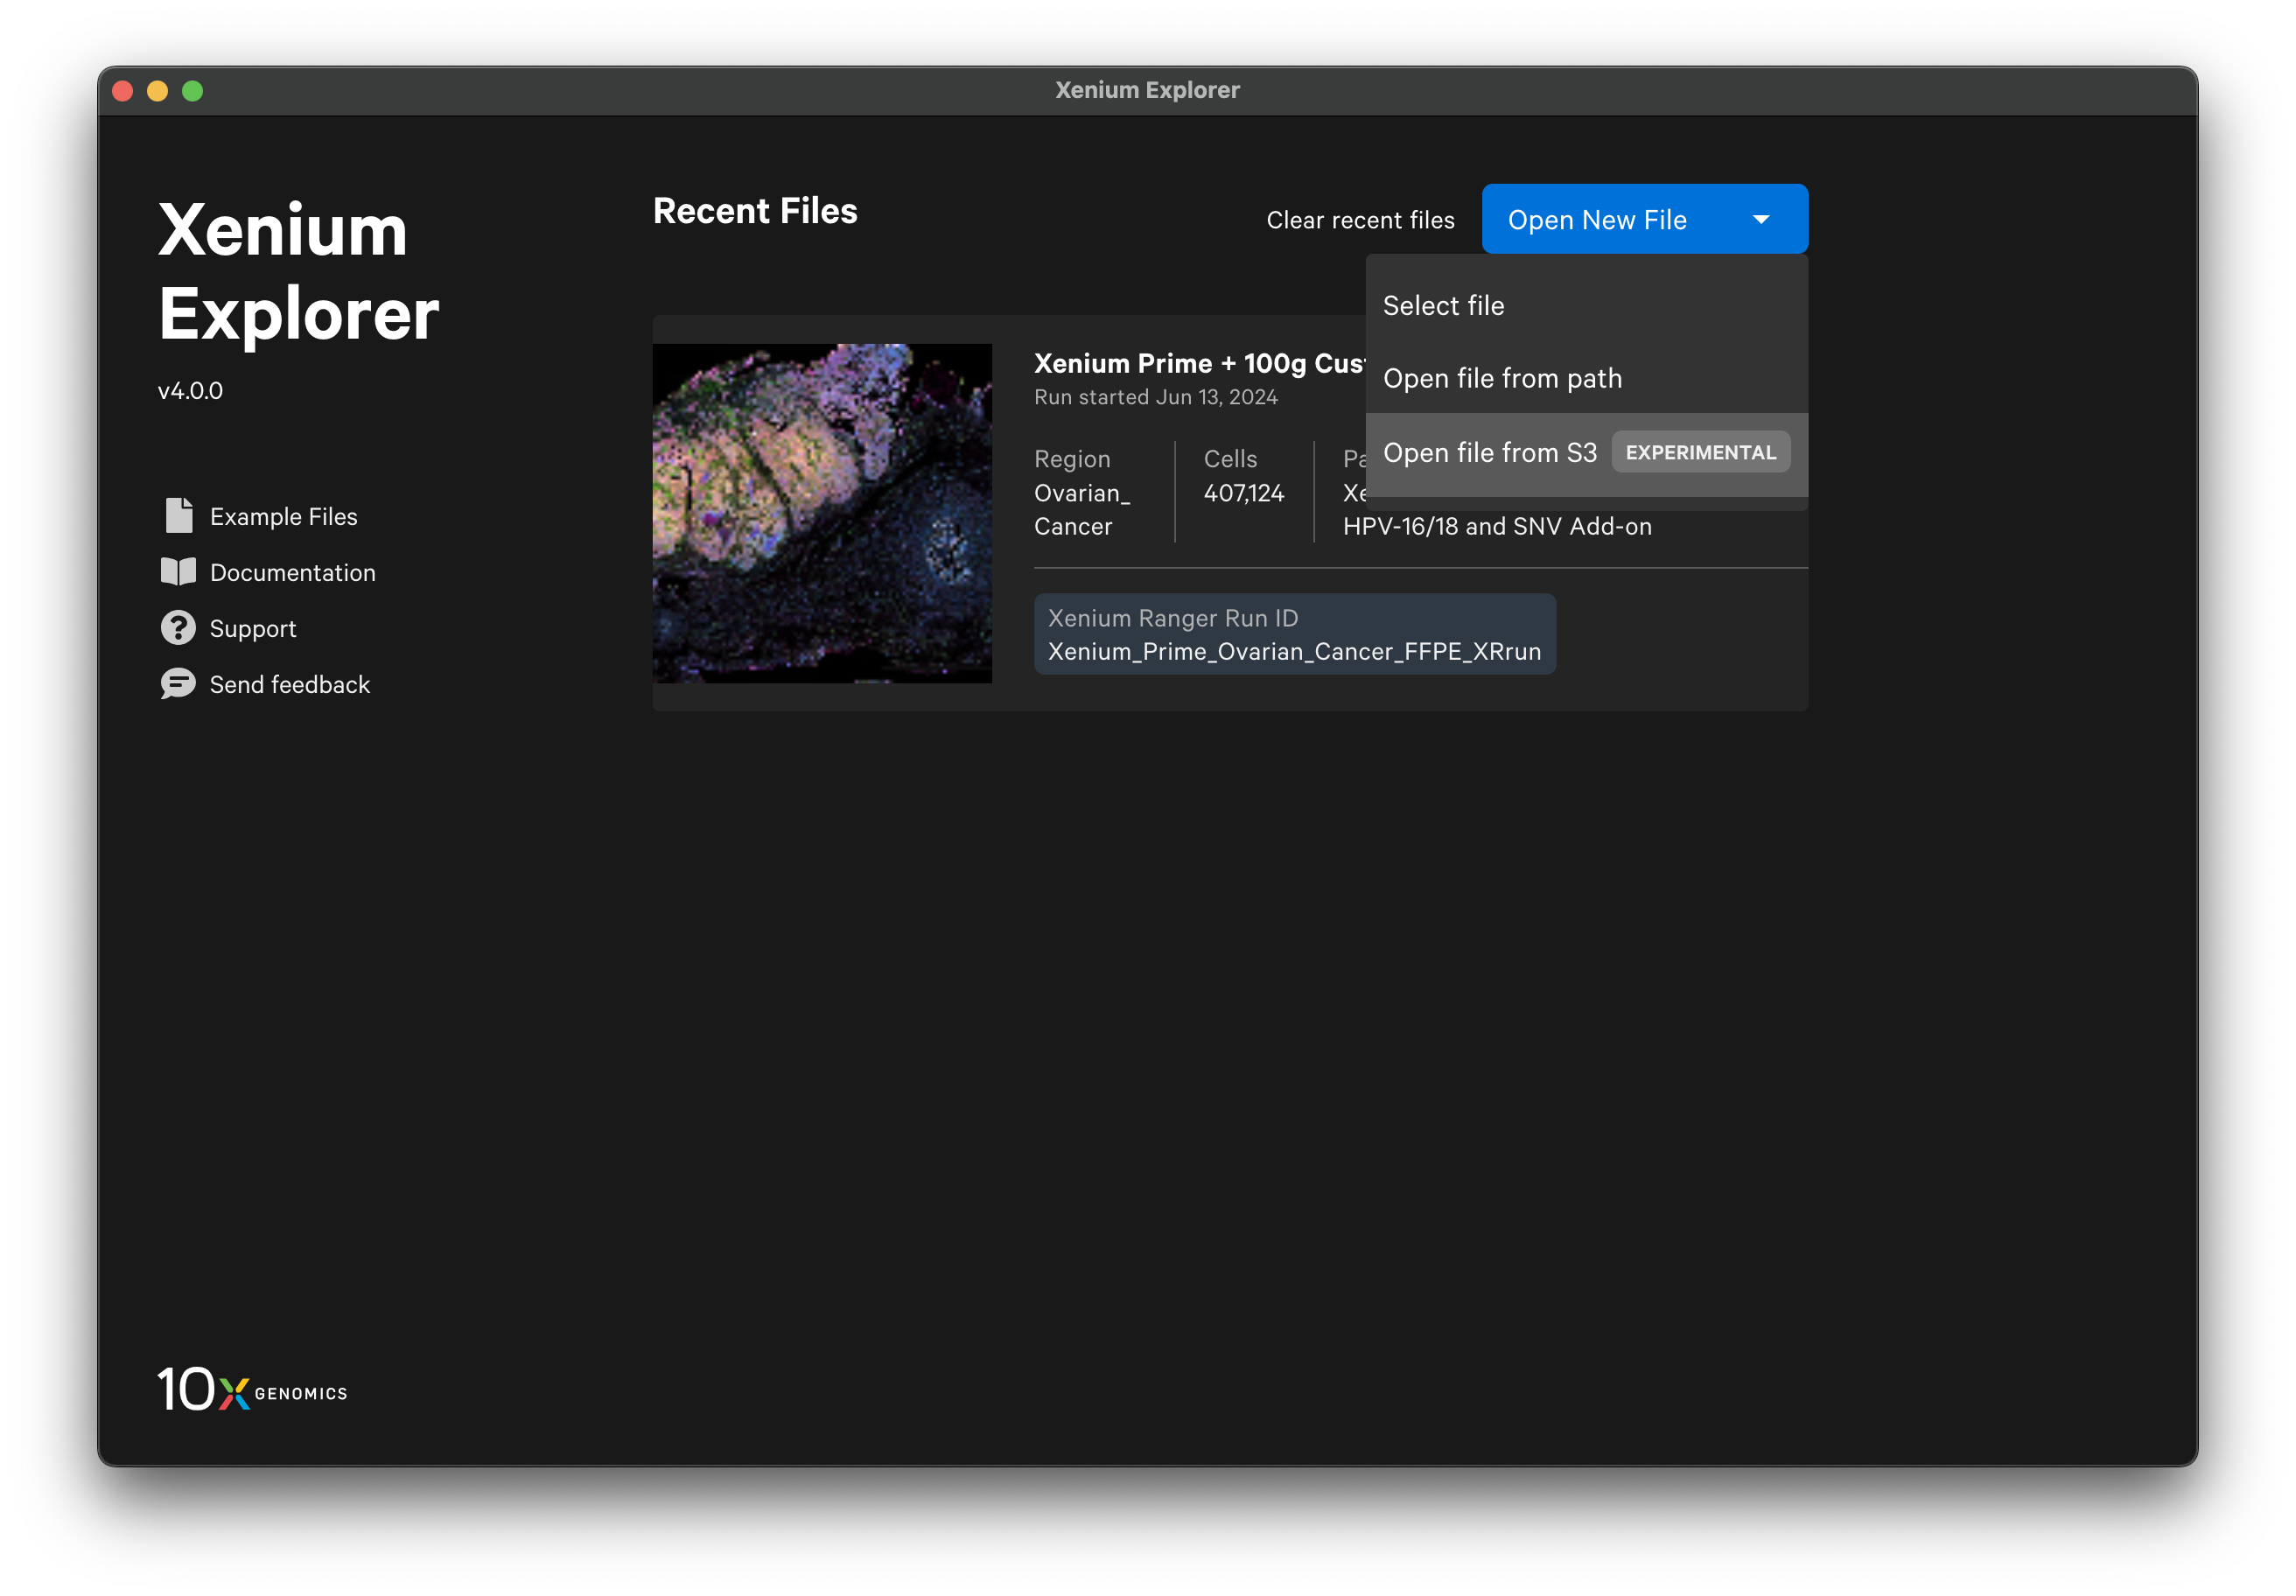
Click Open New File > Open file from S3 Experimental
-
Paste the S3 URL pointing to your XOA dataset experiment manifest file (
experiment.xenium). Like opening a dataset from your desktop, all input files should be stored in the same directory. The S3 URL should be in the following format (example directory path shown):s3://your-bucket-name/path-to-dataset/experiment.xenium.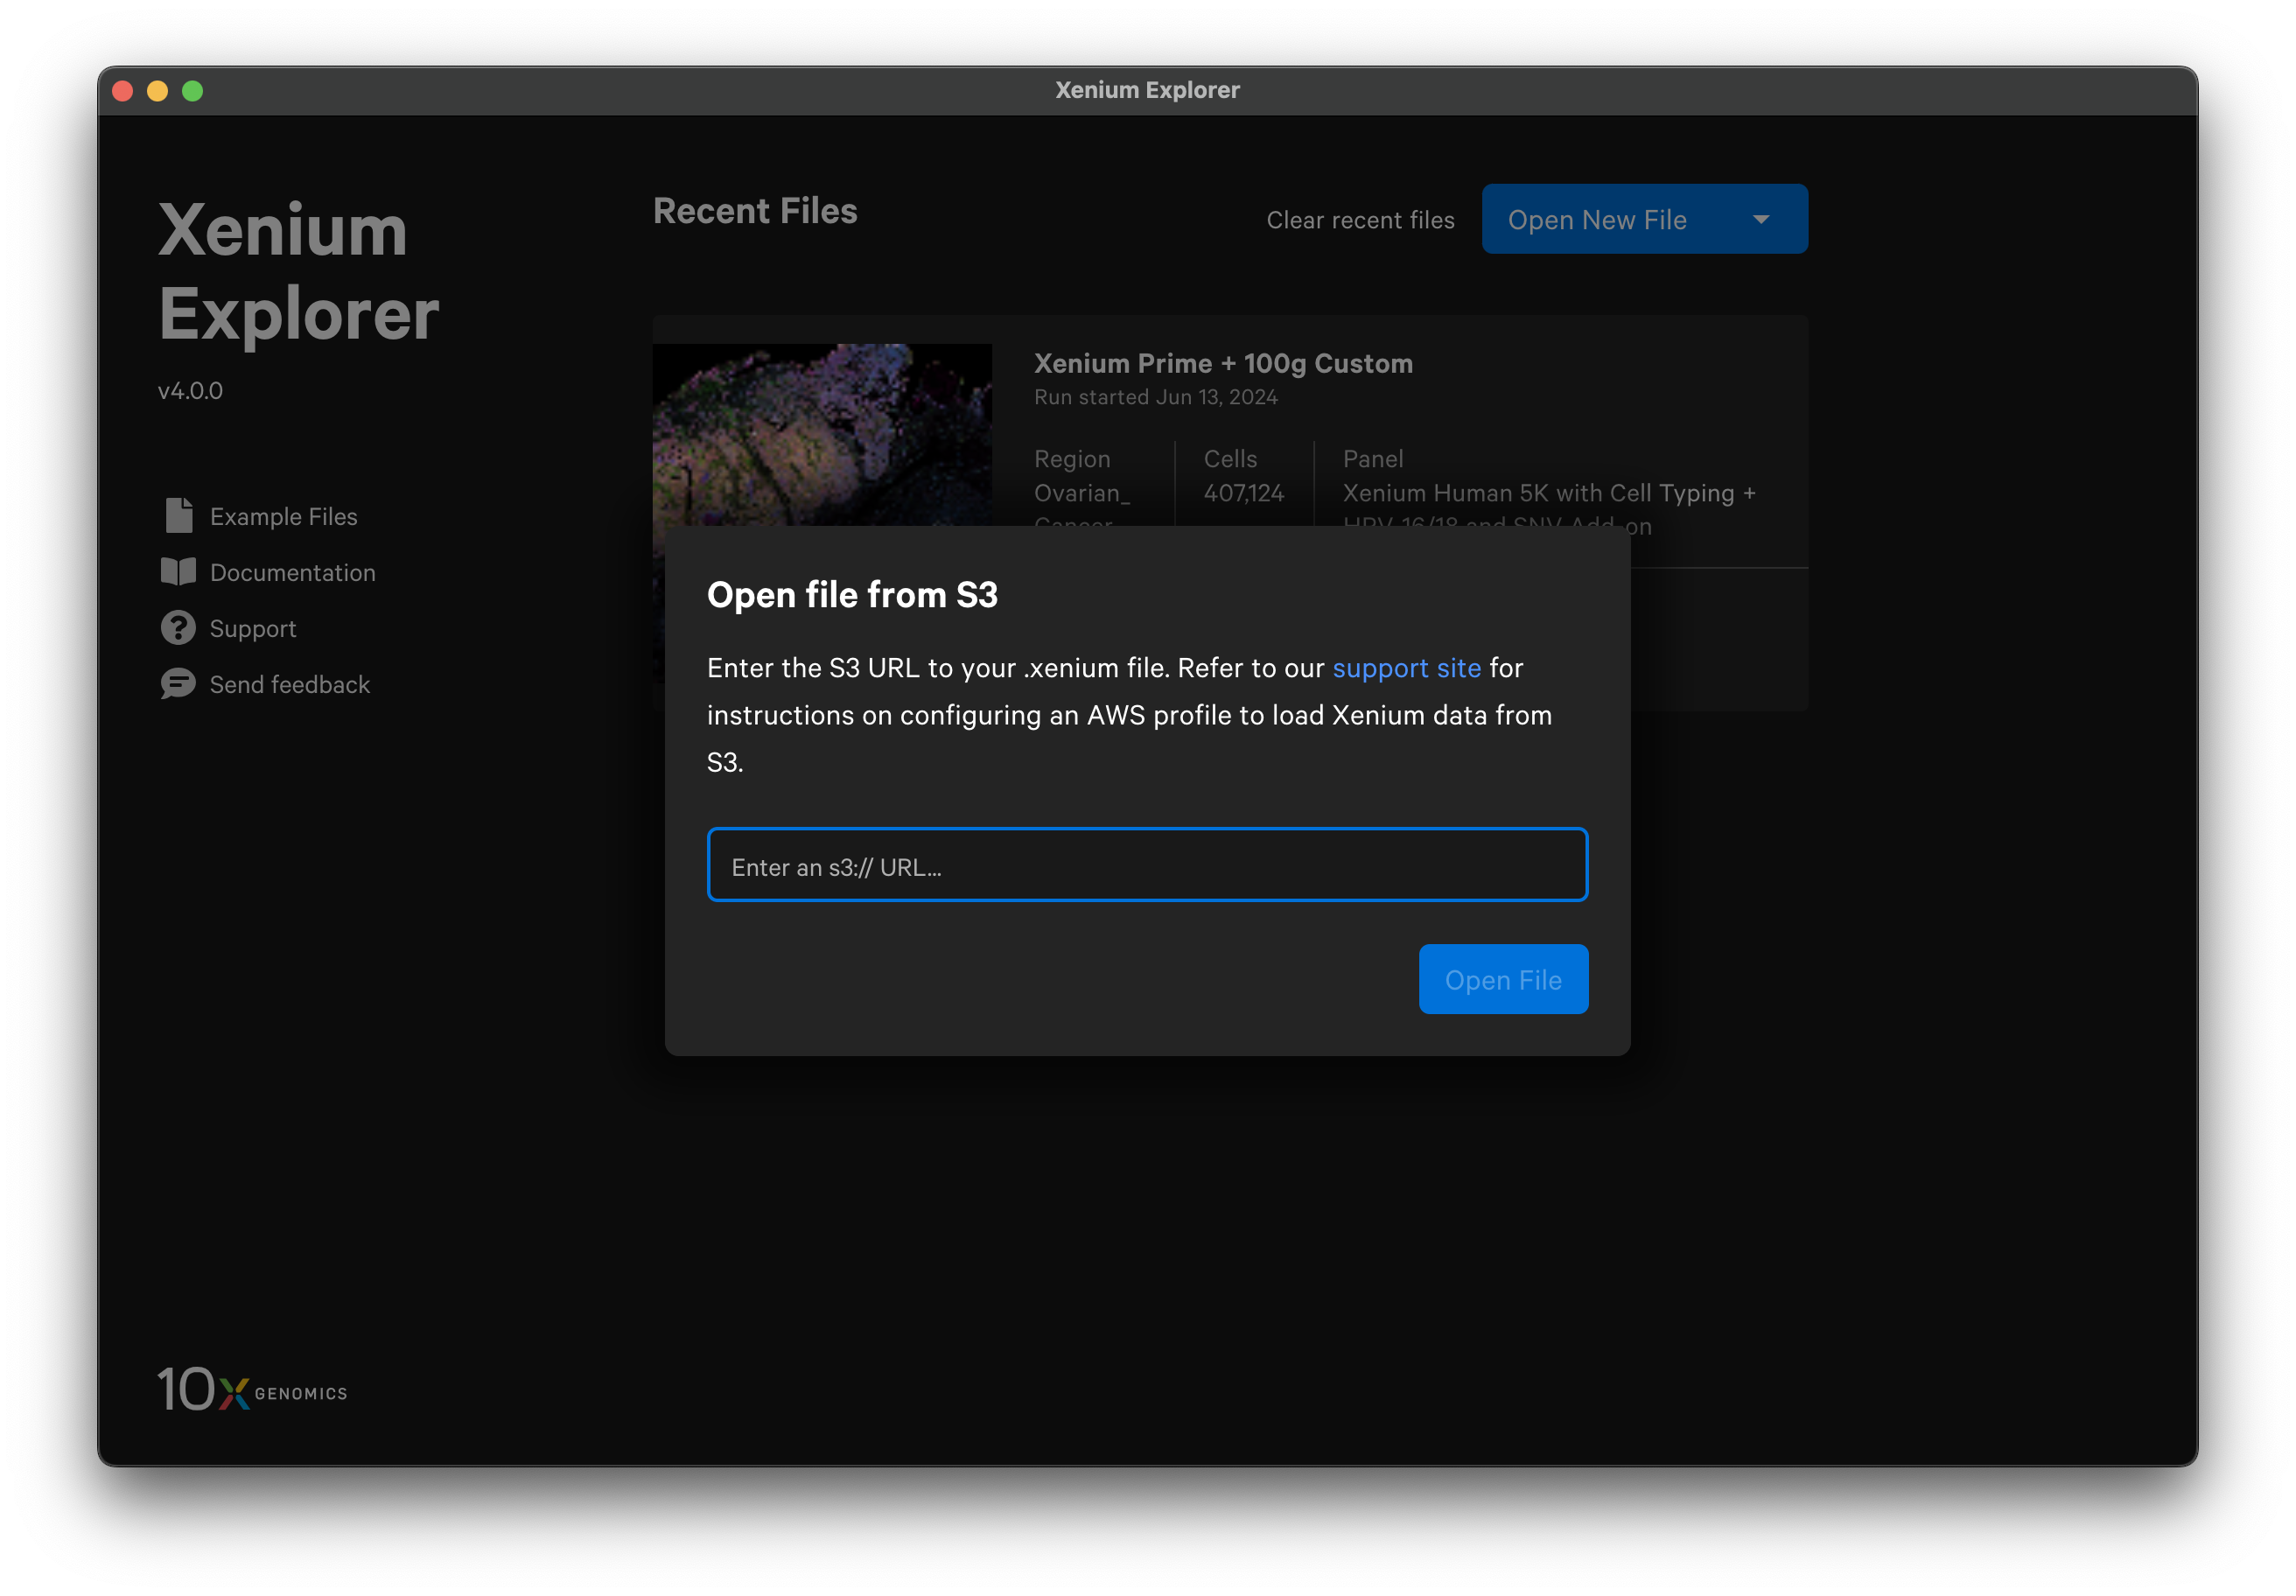
You must be connected to the S3 bucket to reopen XOA datasets from Recent Files.
Here are some tips to get you started with investigating data access issues.
If Xenium Explorer is unable to access required files, the files may be incompletely transferred, corrupted, incorrectly formatted, an unsupported version, or lack access permissions.
If you encounter errors when opening an S3 file, check the following:
-
Ensure your AWS credentials are valid
aws sts get-caller-identity --profile 10xXeniumExplorerThe output should look like this:
{ "UserId": "ABCDEFGHIJKLMNOPQRSTU:user@domain.com", "Account": "012345678901", "Arn": "arn:aws:sts::012345678901:assumed-role/some-path/user@domain.com" }If this fails or if you get an error message: check your local configuration or reauthenticate via SSO using this command and try again:
aws sso login --profile 10xXeniumExplorer -
Verify your AWS role permissions: Ensure your IAM Role has S3 read access to the target bucket.
-
Confirm the S3 URL format: The correct format is:
s3://your-bucket-name/path-to-dataset/experiment.xenium -
Restart Xenium Explorer after updating credentials: If credentials were refreshed, relaunch Xenium Explorer and try again.
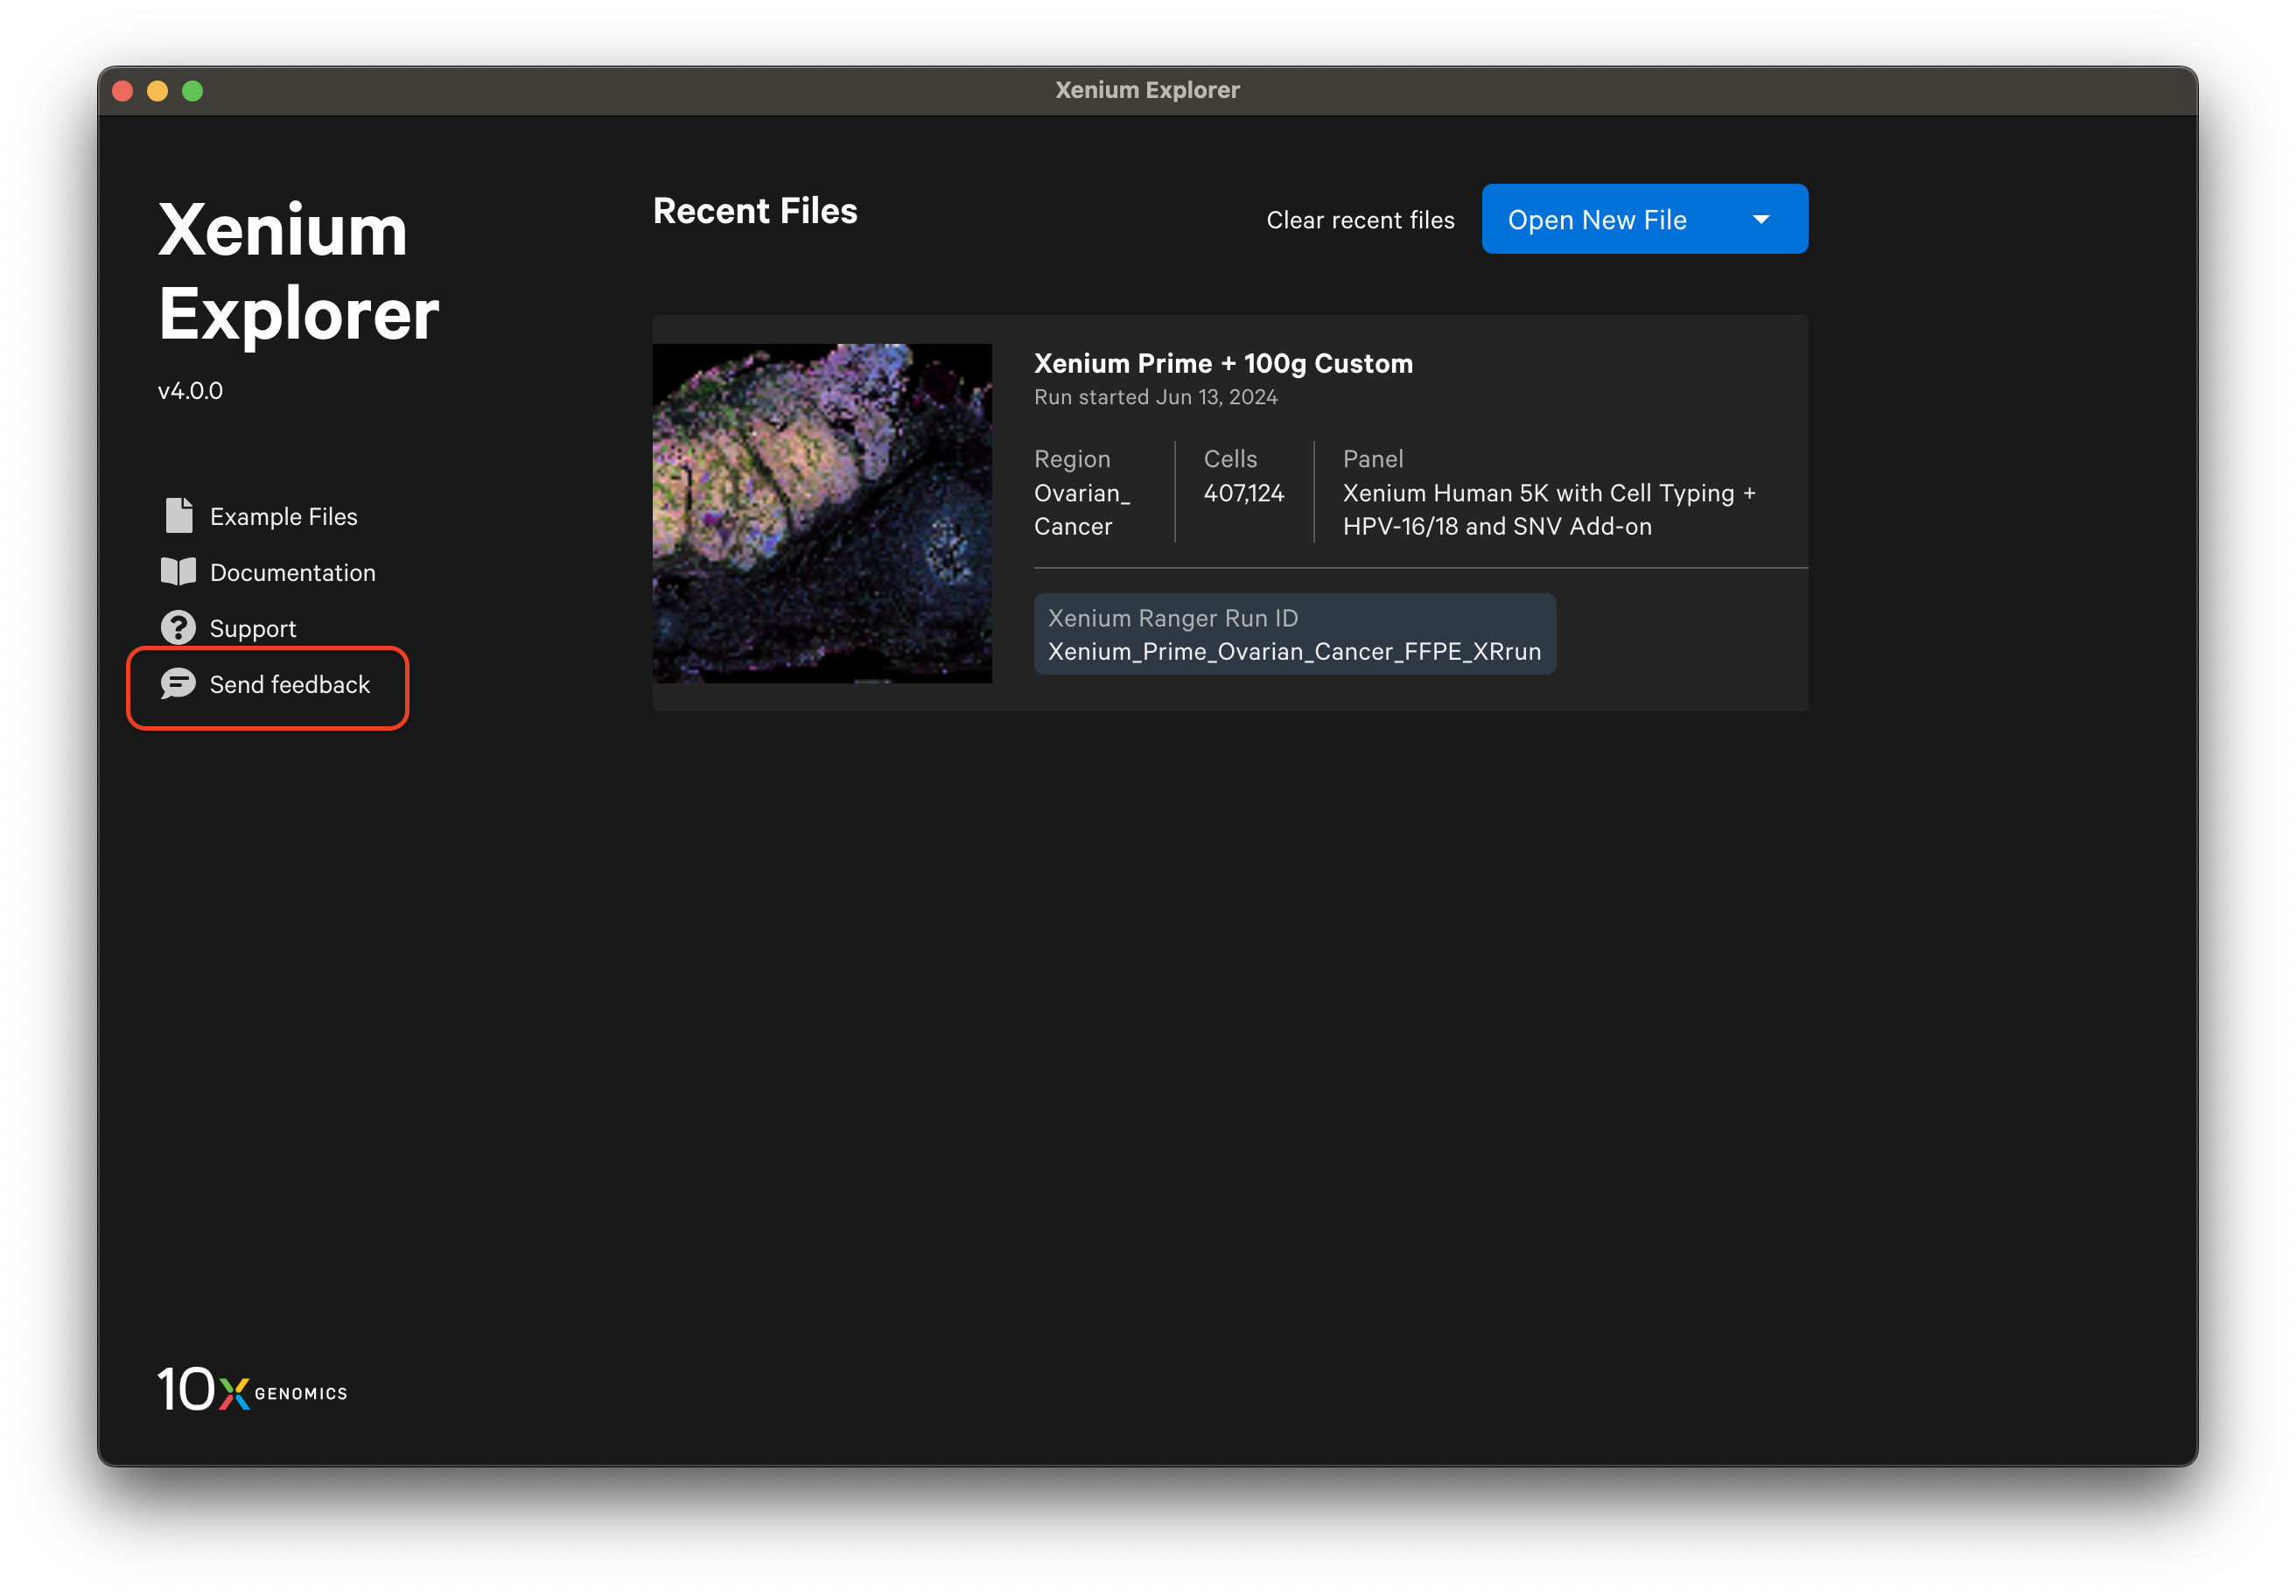
If you have feedback about this feature, please use the feedback form in the Xenium Explorer app:
- Click Send feedback from the home page of the Xenium Explorer app, or click Help > Send feedback from the menu bar.
- Fill out the form and submit